
How to paint miniatures for wargames
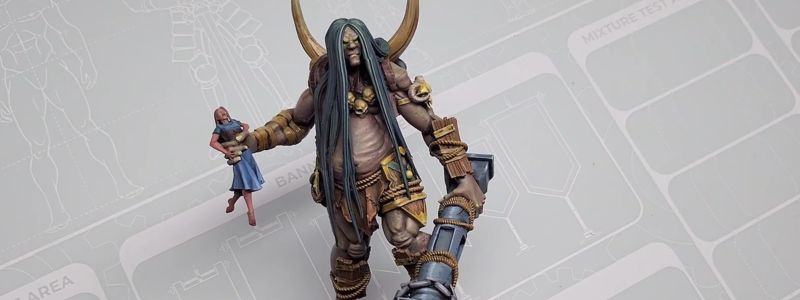
Throughout history, miniature painting has sparked great interest among many different groups, each one with its own preferences and characteristics. However, in this article we will focus on basic miniature painting, specifically on the first steps that those who are getting started in this world should follow. To do so, we will begin with something relatively simple: how to paint miniatures in a basic way using wargame miniatures. It is a good starting point before explaining more complex artistic creations.
Priming the figures
First of all, you need to prepare your miniature. Although preparing the figure is a broad topic that could be discussed at length, it is enough to know that the miniature must be primed before starting with the base color. Primer is a layer of color that covers the entire miniature. The best way to start painting miniatures the first few times is to prime in black, which creates a kind of blank canvas, in this case black, on which you will apply all the colors. It must be an even coat, covering the entire miniature and allowing a certain harmony in everything you do afterward. In addition, it has an important function: ensuring that the paint adheres in the same way across the entire surface. To begin, as we have said, the most convenient option is to use black, even though there are many other primer colors; they have very different functions that fall outside the basic level of painting, so we will explain them another time.
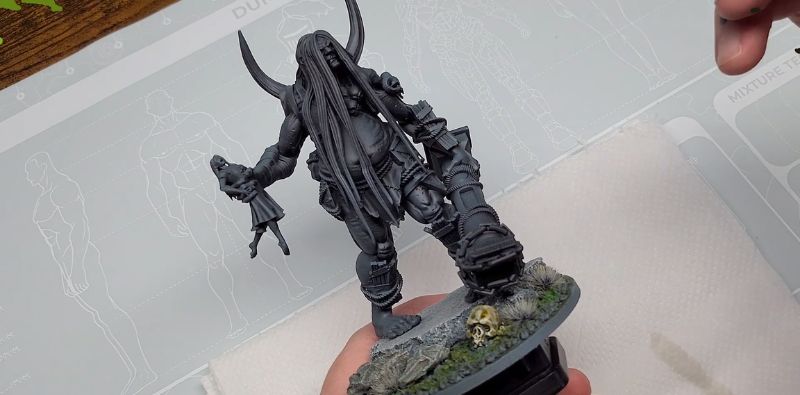
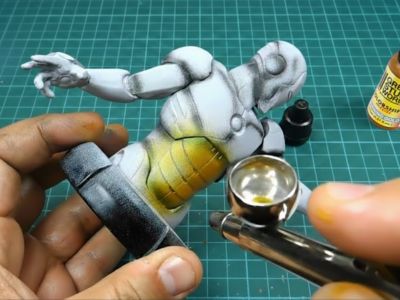
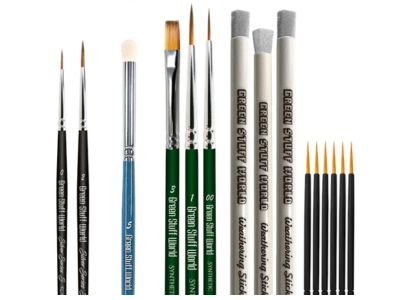
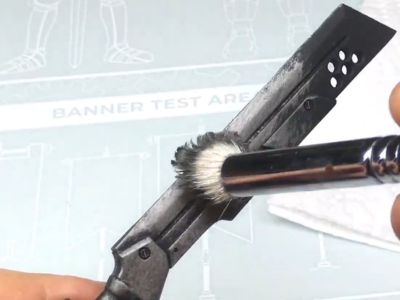
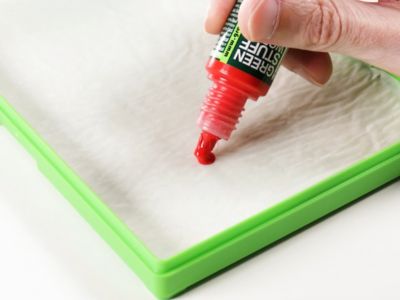
Once the figure has been primed, you can start painting the different defined areas: the face, the hair, the shirt or armor, the pants, the boots, a weapon, usually in the hands, and so on. The usual approach is to paint all these parts with a more or less uniform color. To do this, there are several techniques, although at this point it is enough to take a brush, place the paint on a palette, and apply it to the miniature. Other options include using an airbrush while masking the already painted dry parts so the colors do not mix.
Paint characteristics and thinning
One of the advantages of black primer is that it helps you distinguish the different areas of the miniature more easily during the first painting stage. In addition, if a thin black line remains between two areas, it can work as an initial visual separation. In flat painting, we look for a uniform surface, without visible brush marks. However, many paints retain a certain degree of transparency, so it is usually necessary to apply several thin coats instead of a single one with a large amount of paint. Although using one single coat of dense paint allows you to cover the area quickly and easily, the paint will create relief and may cover details of the figure, affecting the later application of other colors or layers.
On the other hand, it is also not advisable to apply coats that are too thin, since, because they are more transparent, you will need many coats to achieve a uniform and solid color. Ideally, you should use coats that are thick enough without affecting the later steps of the project. When a brush is used in this process, it is normal for the well-known “brush marks” to remain visible. Paint tends not to settle completely evenly, especially the less diluted the paint is. It also depends on the characteristics of the paint: some paints are very viscous or fluid and do not leave brush marks. Others have very low viscosity or are very thick and tend to create more relief when applied.
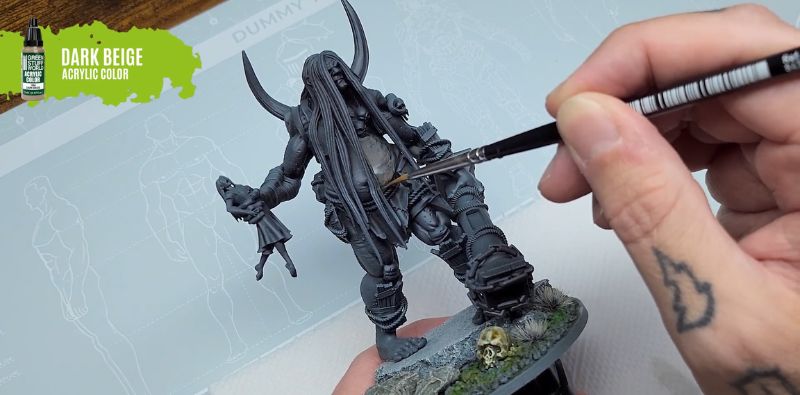
It is almost always advisable to thin the paint before applying it. The most commonly used material in miniature painting is usually acrylic paint, which can be thinned with water, although there are also specific mediums for this purpose. Other types of paint, such as oils or enamels, would require additional products and explanations, so in this article we will focus on water-based acrylic paints, which are the most common choice for beginners because of their convenience, cleanliness, ease of use, and lack of toxic elements in their composition.
Thinning paint is a delicate process, because if you add too much water or thinner, it will become too liquid and will only allow you to apply coats that are too thin. The amount of water needed depends, of course, on the condition of the paint. In addition, depending on the color, the paint has different degrees of transparency.
In general, the more vivid the colors are, the more transparent they are. Yellow, for example, is a very transparent color, but this transparency differs depending on whether it is a muted tone or a pastel tone, since the latter, by containing a large amount of white, will not be as transparent as the former. By contrast, blue colors tend to be more opaque. Colors such as browns also have a high degree of opacity. In general, pastel colors are the most opaque, which is why midtones are often the preferred choice of artists and, above all, beginners.
Color scheme for how to paint miniatures
Before you start painting, it is advisable to choose a color scheme depending on what you need: what you want the hair to look like, blond, dark, red-haired… perhaps the figure has no hair; the skin color, the clothing, or the armor. For each part, what are the colors? Choosing a suitable color scheme that preserves a certain harmony will require, especially at the beginning, consulting color theory or, in many cases, using a beginner’s guide or a photograph whose painter has already done this research.
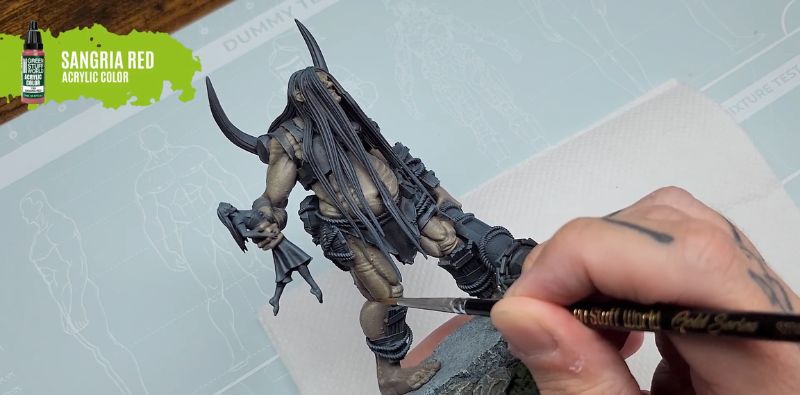
Once the color combination is clear, it is time to start painting as we have explained. Some artists try to bring certain effects forward through different painting techniques, but, focusing on the most basic approach, it is better to start with flat painting, in a midtone. If, for example, you choose for your figure to wear purple pants, you can use a more or less medium shade of purple. This will be followed by the application of highlights and shadows.
Applying highlights and shadows on a miniature
To apply highlights and shadows on a miniature, a lighter or darker version of the base color of the area you are working on is used. That is, if you have painted with a medium blue, such as cyan, to add shadows, you can use a darker version of blue, or you can create the mixture yourself. To darken a color, you can add a small amount of black, although in many cases it also works better to use a complementary color.
Shadows are applied in the recesses, folds, and areas that would generally receive less light, the ones that would normally look dark when looking at the miniature.
By contrast, in the more illuminated areas, such as edges, upper volumes, or exposed folds, a lighter color is used. To lighten the mixture, instead of adding black to the original mixture, you can add white. If you need more saturated, more vibrant, brighter colors, the ideal approach is to use a lighter or darker version of the same color.
In some colors this can be particularly important, as happens with yellow. Yellow is an especially delicate case, because when black is added directly, it usually becomes dirty, dull, or greenish. To shade it, it usually works better to use nearby warm tones, such as ochres, oranges, yellowish browns, or more muted yellows. To highlight it, you can use lighter yellows, cream tones, or mixtures with a small amount of white, always making sure that the color does not lose too much saturation.
Therefore, the general rule to start with is that you can work with three tones: a midtone as the base, a lighter tone for highlighting, and a darker tone for the shadows.
Transitions between highlights and shadows
To create transitions between the lighter and darker areas, the ideal approach is to mix the colors. Depending on the proportion used, you will get a tone closer to one color or the other. As an example, in the case of red, if you have a very light red and a very dark one, the dark tone usually dominates the mixture if it is used in the same proportion, and, if it predominates, the result will be a very dark mixture.
You can introduce several steps to make this type of mixture depending on how much you want to refine the painting, the transition, or the gradient, call it whatever you prefer, of the area you are working on. The most advisable approach is to paint all the parts with midtones, as we have already said, mainly to get an idea of how it is turning out, to know whether the color scheme has been chosen well and to what extent you should highlight or darken each area.
To apply highlights and shadows correctly, you should not completely cover the previous layers in each area, precisely because of the contrast that must be generated between the different colors of the different areas of the miniatures. Of course, everything explained in this article is advice to guide you if you are getting started in this world, a set of common first steps. In the end, each painter can choose the method they prefer for the result they are trying to achieve.
To finish this small tutorial on how to paint miniatures, we cannot forget that, once the miniature has been painted, you can place it on one of the types of bases available depending on the purpose of your painting, whether it is a movement tray for a wargame or one intended for display. This base usually accompanies the miniature painting in its decoration. On our blog, you can find a wide variety of ideas to decorate your bases realistically and professionally.
Share this content