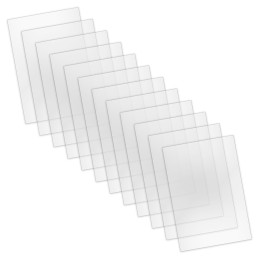
Reference: 8436574508536ES
Brand: Green Stuff World
Small Mylar Stencil Sheets x12
Review(s): 0
Small Mylar Stencil Sheets x12
Price €4.50
In stock
There are 2 products.
Reference: 8436574508536ES
Brand: Green Stuff World
Small Mylar Stencil Sheets x12
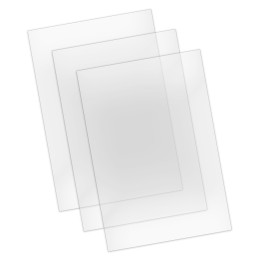
Reference: 8436574508529ES
Brand: Green Stuff World
A4 mylar sheets | A4 Mylar Stencil Sheets (pack x3)
Mylar is a brand name for a type of polyester plastic that is known for its high tensile strength, durability, and transparency. It is used in various applications due to its unique reusable, durable, and washable properties. In Green Stuff World we have Mylar stencil sheets.
It is made from a synthetic polymer called polyethylene terephthalate (PET). PET is produced through a chemical process involving the polymerization of ethylene glycol and terephthalic acid. The resulting material is a strong, transparent, and flexible polyester film that exhibits excellent durability, chemical resistance, and thermal stability, making it suitable for a wide range of applications.
It finds applications in various industries and everyday products due to its unique properties. It is used for packaging, such as food bags and snack packaging, thanks to its moisture and oxygen barrier capabilities. In arts and crafts, it serves as an excellent material for creating reusable airbrush stencils. It is used to make balloons, reflective insulation in construction, solar filters for viewing the sun, capacitors in electronics, and emergency blankets for outdoor use. Its versatility and durability make it suitable for a wide range of purposes.
Some common uses include:
Yes, it can be laser cut. Laser cutting is an effective method for creating precise and intricate designs on stencils sheets. The laser's focused beam can cut through this material with high accuracy, allowing for detailed stencils or shapes to be produced.
It should be borne in mind that excessively thin materials or too long exposure times could lead to the deformation of the material.
However, it's essential to choose the appropriate laser settings to prevent burning or melting, as excessive heat can damage the material.
Cleaning the Mylar stencil sheets and tools promptly with water or an appropriate solvent is essential to maintain their longevity and it is relatively straightforward. You can wipe them clean using a cloth or sponge soaked in an appropriate solvent, such as acetone or rubbing alcohol. Gently rub the painted areas until the paint residue is removed. Be careful not to scrub too vigorously to avoid damaging the plastic. After cleaning, rinse the plastic material with water and pat it dry with a clean cloth or let it air dry before storing it for future use.
You can cut your own stencils with various cutting tools, such as scissors, utility knives, or craft cutting machines like Cricut or Silhouette. Ensure you have a precise template or design, and then carefully cut along the lines, keeping a steady hand to achieve clean and accurate stencil edges. Art cutting machines offer automated precision for intricate designs. Always work on a flat surface and use a cutting mat to protect the surface beneath.
Start by creating or obtaining the design you want to stencil. Trace or transfer the design onto a plastic sheet. Then, carefully cut out the design using the appropriate cutting tools. Ensure the edges are smooth and clean for precise stenciling. This material is perfect for creating airbrush stencils that can be made by hand or using digital design software with cutting machines for more complex patterns.
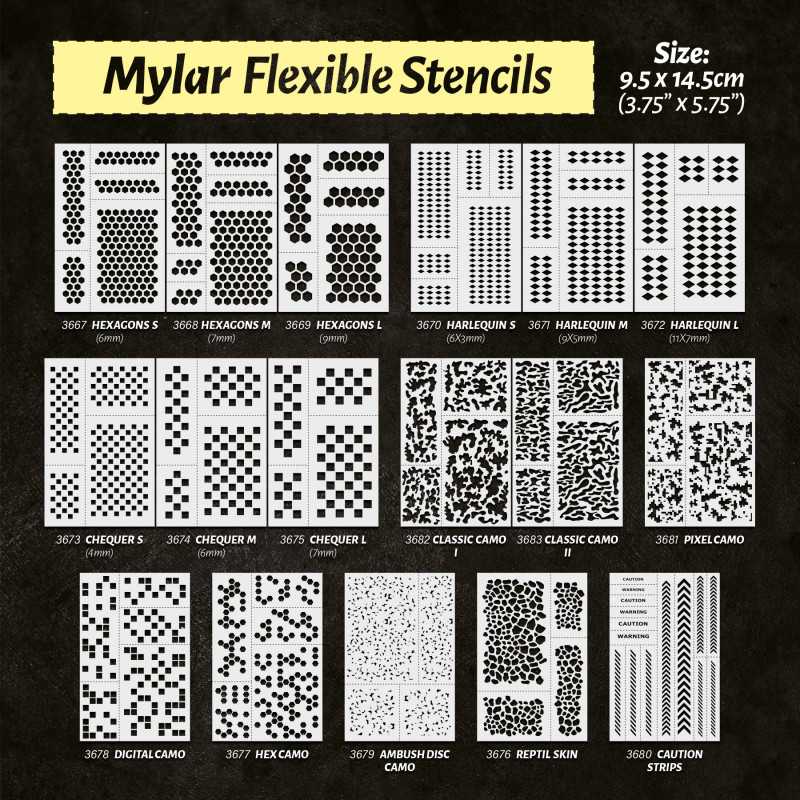
Some examples available in the Green Stuff World catalog:
Using Mylar stencil sheets involves the careful application of paint to create precise and clean designs on various surfaces. Repositionable stencil glue or adhesive spray is often used to secure it in place, ensuring it doesn't shift during painting seasons.
Place it on the desired surface and secure it in place with tape or adhesive if needed. Ensure it lies flat and snug against the surface to prevent paint bleed. Apply the color evenly over the template, using an airbrush, brush, or sponge, depending on the application.
To prepare the paint, select the appropriate type and color for your project. Acrylic paints are commonly used. It's essential to have the right tools for applying the colors, such as brushes, sponges, or airbrushes. Ensure your chosen tool is clean and not overloaded with paint to prevent smudging or dripping.
When applying the paint, work methodically and evenly, starting from the outer edges and moving inward. Use gentle and controlled motions to avoid pushing paint under. Depending on the design, you may need multiple layers to achieve the desired opacity.
For airbrushing, adjust the air pressure and paint flow to control the application. Maintain a consistent distance between the airbrush nozzle and the surface to paint to ensure uniform coverage. If necessary, mask off areas to isolate specific design elements.
Once the color is applied, carefully lift the stencil away from the surface, taking care not to smudge the freshly painted design. Allow the paint to dry completely before handling or adding additional layers if needed.
Discover also our miniature bricks collection.