Reference: 8435646520322ES
Brand: Green Stuff World
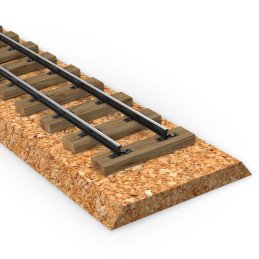
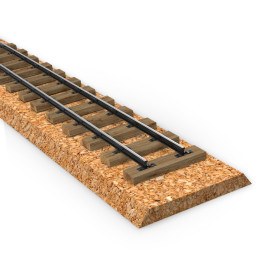
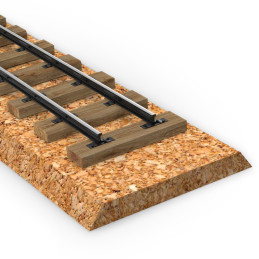
L Cork Roadbed
Review(s): 0
L Scale Cork Roadbed - Pack x6
Price €6.41 Regular price €6.75
In stock


There are 14 products.
Reference: 8435646520322ES
Brand: Green Stuff World
L Scale Cork Roadbed - Pack x6
Reference: 8435646518435ES
Brand: Green Stuff World
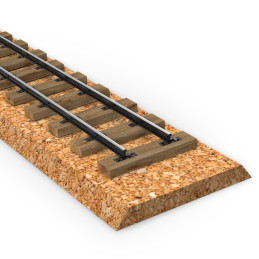
0 Scale Cork Roadbed - Pack x6
Reference: 8435646518428ES
Brand: Green Stuff World
Z0 Scale Cork Roadbed - Pack x6
Reference: 8435646518411ES
Brand: Green Stuff World
S Scale Cork Roadbed - Pack x6
Reference: 8435646518404ES
Brand: Green Stuff World
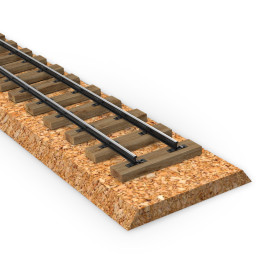
H0 Scale Cork Roadbed - Pack x6
Reference: 8435646518398ES
Brand: Green Stuff World
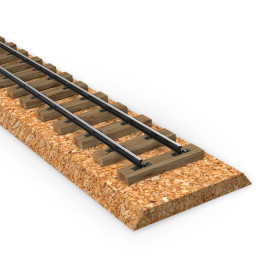
N Scale Cork Roadbed - Pack x6
Reference: 8435646506739ES
Brand: Green Stuff World
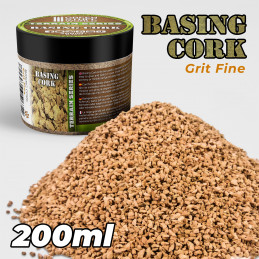
Basing Cork Grit - THICK - 200ml | Cork Basing rocks
Reference: 8435646506722ES
Brand: Green Stuff World
Fine Basing Grit
Reference: 8436574509571ES
Brand: Green Stuff World
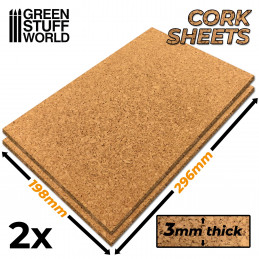
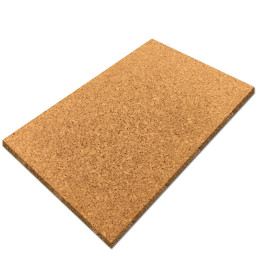
Cork Sheet in 3mm
Reference: 8436574509564ES
Brand: Green Stuff World
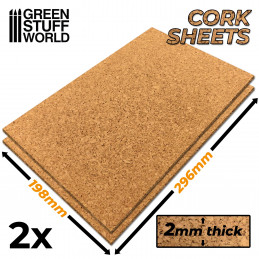
Cork Sheet in 2mm
Reference: 8436554360079ES
Brand: Green Stuff World
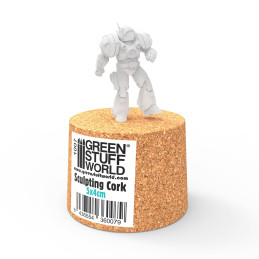
Sculpting Cork for armatures
Reference: 8436554360086ES
Brand: Green Stuff World
Cork Sheet in 5mm for modeling and crafts
Reference: 8436554364329ES
Brand: Green Stuff World
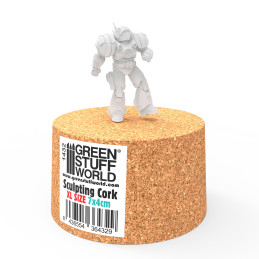
Sculpting Cork XL for armatures
Reference: 8436554364336ES
Brand: Green Stuff World
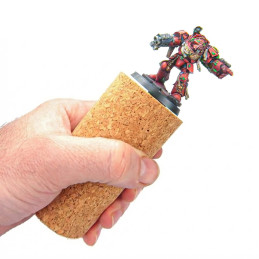
Sculpting COLUMN Cork for armatures | Miniature Holders
Craft cork for miniature bases is often used in model building and scale models as a material for creating terrains, such as hills and mountains, and other diorama landscapes. Cork for miniature bases can also be used to create texture on the surface of models, such as scenery manufacturing, entire army bases, or even theming dioramas or scale models. Additionally, this material cut in sheets or into cork grit is a lightweight and easy-to-shape material that can be cut and sanded to create a variety of different textures and forms.
This modeling material is used in broken pieces and glued together with modeling glue is one of the most basic techniques for decorating miniature bases.
Instructions:
Painting the bases with acrylic paints is a great way to add realism and detail to your dioramas.
Here are the steps you can follow to paint them:
Note: Acrylic paints dry quickly, so you can work on multiple bases at the same time, just be aware of the drying time when you are adding multiple layers.
When it comes to sealing cork miniature basing for tabletop gaming, several sealers can be used effectively, and the choice often depends on personal preferences and desired outcomes. Here are a few common options:
When selecting a sealer, consider factors like the finish (matte, gloss, or satin), your painting preferences, and the level of protection you want for your bases. Ultimately, the best sealer for miniature cork bases can vary from person to person, so it's a good idea to experiment with different options to find the one that works best for your specific needs and desired results.