Reference: 8435646520322ES
Brand: Green Stuff World
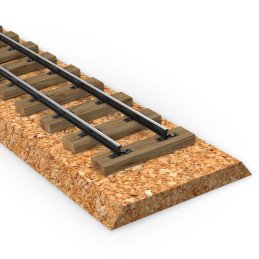
L Cork Roadbed
Review(s): 0
L Scale Cork Roadbed - Pack x6
Price €6.41 Regular price €6.75
In stock


There are 6 products.
Reference: 8435646520322ES
Brand: Green Stuff World
L Scale Cork Roadbed - Pack x6
Reference: 8435646518435ES
Brand: Green Stuff World
0 Scale Cork Roadbed - Pack x6
Reference: 8435646518428ES
Brand: Green Stuff World
Z0 Scale Cork Roadbed - Pack x6
Reference: 8435646518411ES
Brand: Green Stuff World
S Scale Cork Roadbed - Pack x6
Reference: 8435646518404ES
Brand: Green Stuff World
H0 Scale Cork Roadbed - Pack x6
Reference: 8435646518398ES
Brand: Green Stuff World
N Scale Cork Roadbed - Pack x6
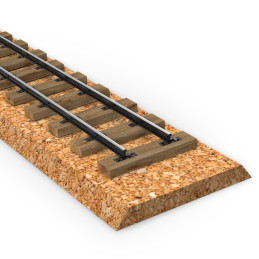
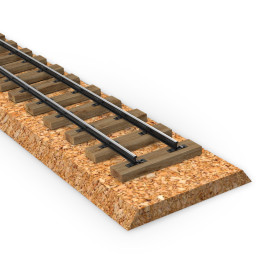
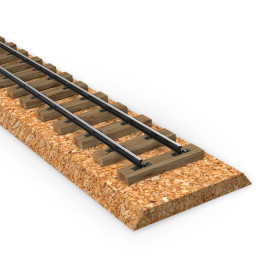
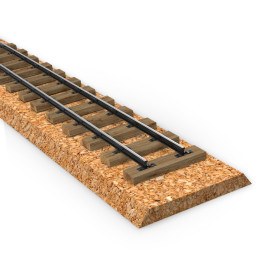
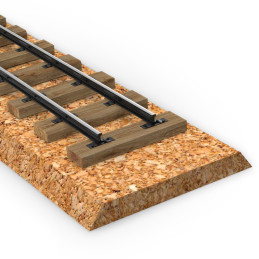
Scale Cork roadbed is a commonly used material in the hobby of model railroading. They serve as a foundation for model train tracks, providing a realistic and functional base for creating miniature layouts. These materials are designed to mimic the appearance and function of real railway roadbeds, enhancing the overall realism of the model train experience.
These are made from sheets or strips of natural cork material that are typically cut into the shape of the track's cross-section. It is used to elevate and cushion the model train tracks, cushion the installation of the tracks to avoid wear and tear and deterioration over time, as well as reduce the amount of noise, as well as simulate the ballast and roadbed found on real railroads. They are available at Green Stuff World in various widths to accommodate different types and scales.
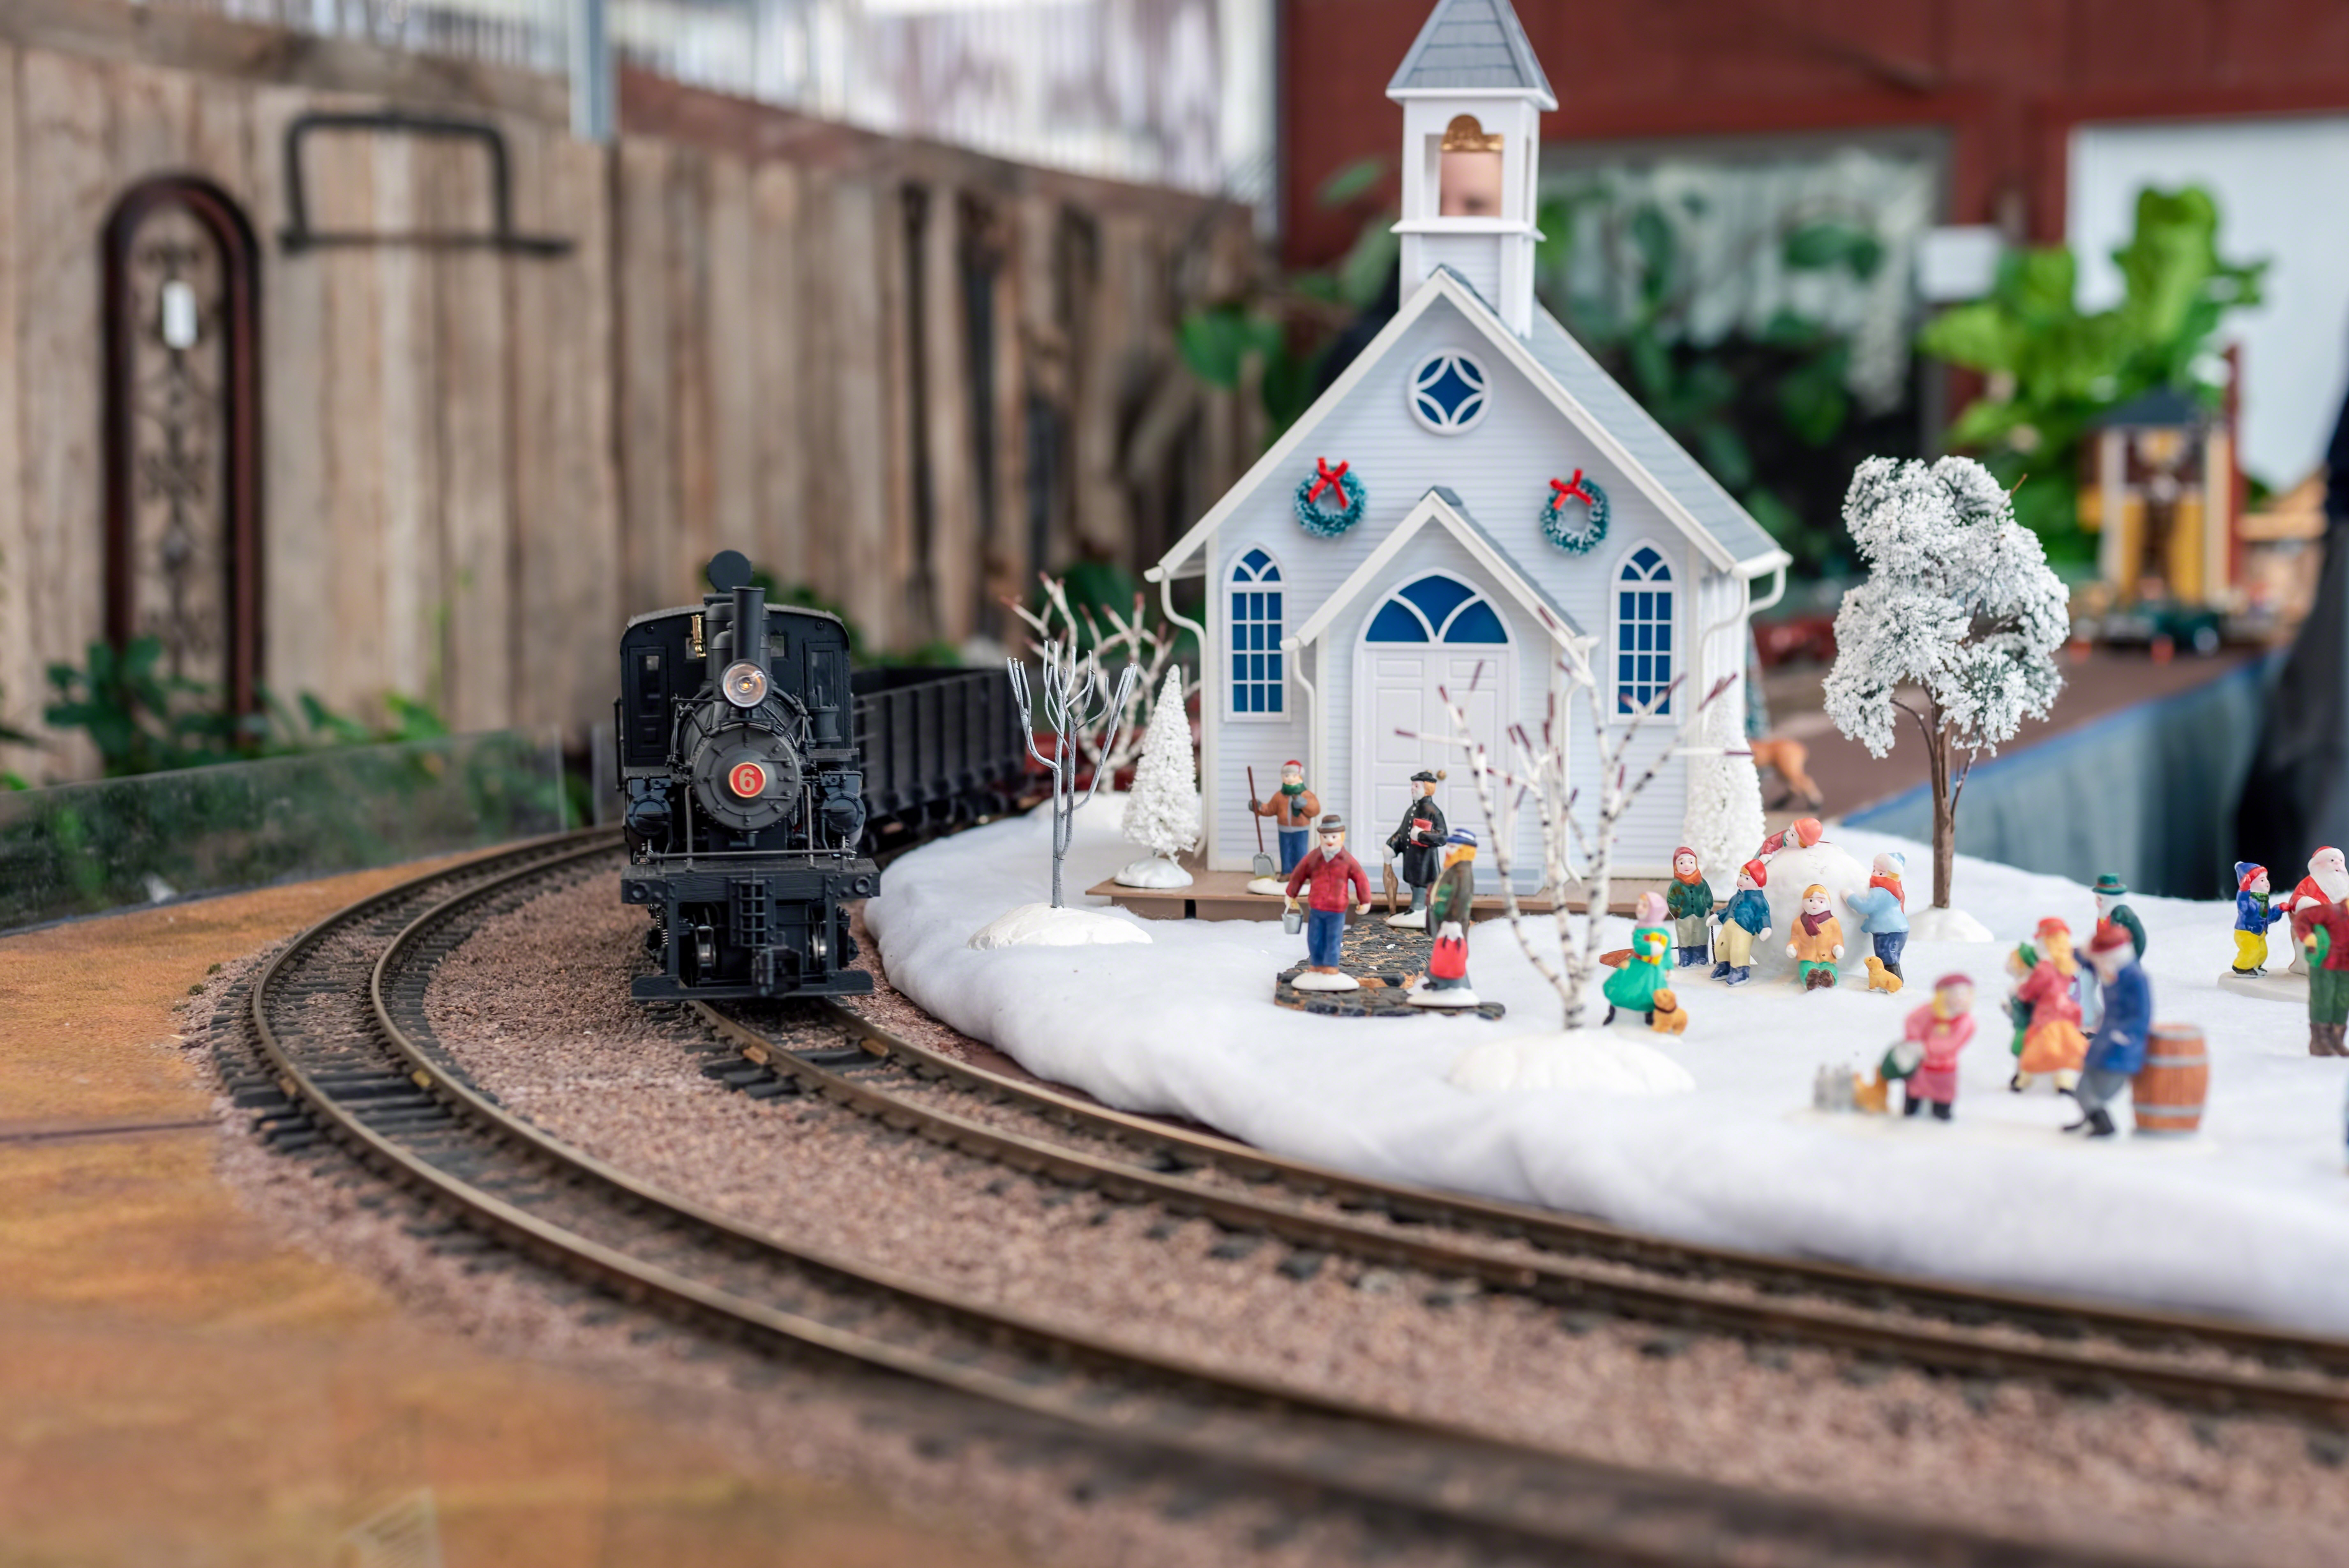
These types of elements are widely used in model railroading, also known as model railroading, which is an exciting hobby that revolves around collecting and building scale models of trains and railroad tracks. This fascinating practice has deep roots and is one of the foundations of the traditional hobby. The most popular scales are H0 (1/87) and N (1/160), which make it possible to create detailed worlds in a small size.
Model railroading encompasses both the collector and the artistic side of the miniature train, creating a universe in which the passion for railroads comes to life.
In order to achieve very realistic finishes, it is advisable to complement with different types of hobby sand, modeling glues such as PVA glue, or Medium Decoupage (better the matte version in its function of glue), as well as any other decorative element, miniature basing materials or some vegetation.
Using track beds as Cork underlay for Model Railways involves a few steps:
It is not an absolute necessity for building a model railway, but it offers several advantages that many model railroaders find beneficial. Whether or not you choose to use a cork track bed depends on your specific goals, preferences, and the level of realism you want to achieve in your model railway layout.
Advantages of using them:
In summary, track beds are popular choices among railroaders for creating realistic and functional foundations for their train tracks. They enhance the visual appeal and operational quality of the layout, making the model train experience more enjoyable and immersive.
A standard thickness of 5mm is often a practical choice for various model railway scales. This thickness provides a versatile foundation that works well across scales while allowing room for customization. Whether you're working with HO, N, O, or even G scale, this consistent thickness simplifies planning and installation.
By using the 5mm material, model railroaders can maintain a consistent level of realism and track elevation changes, making it easier to build and modify layouts. The adaptability of this thickness means you can adjust the appearance of the ballast and track bed as needed to match the specific characteristics of your chosen scale.
Additionally, its combination with hobby sand and ballast allows for further customization and fine-tuning. This approach empowers modelers to create lifelike landscapes and smooth transitions, while still adhering to the inherent qualities of each scale.
Adopting a 5mm as a standard for all scales streamlines the construction process, promotes consistent design principles, and provides ample flexibility for adjusting scenic details. This thickness acts as a solid foundation upon which the intricacies of each scale can be uniquely realized through the careful incorporation of sand and ballast.
Creating curves using cork roadbeds for model railroads is a common practice to ensure smooth and realistic-looking tracks. If you want to increase the flexibility of the cork roadbed, you can cut it into two parts along its length. Here's a step-by-step guide on how to make curves using cork roadbed and how to cut it for increased flexibility:
Steps:
Remember, practice makes perfect. Take your time, measure accurately, and be patient while cutting and assembling the cork roadbed. Flexibility is important for smooth curves, so be sure to test and adjust as needed before permanently securing the roadbed in place.