Reference: 8435646504964ES
Brand: Green Stuff World
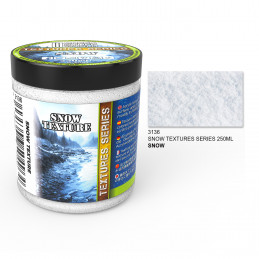
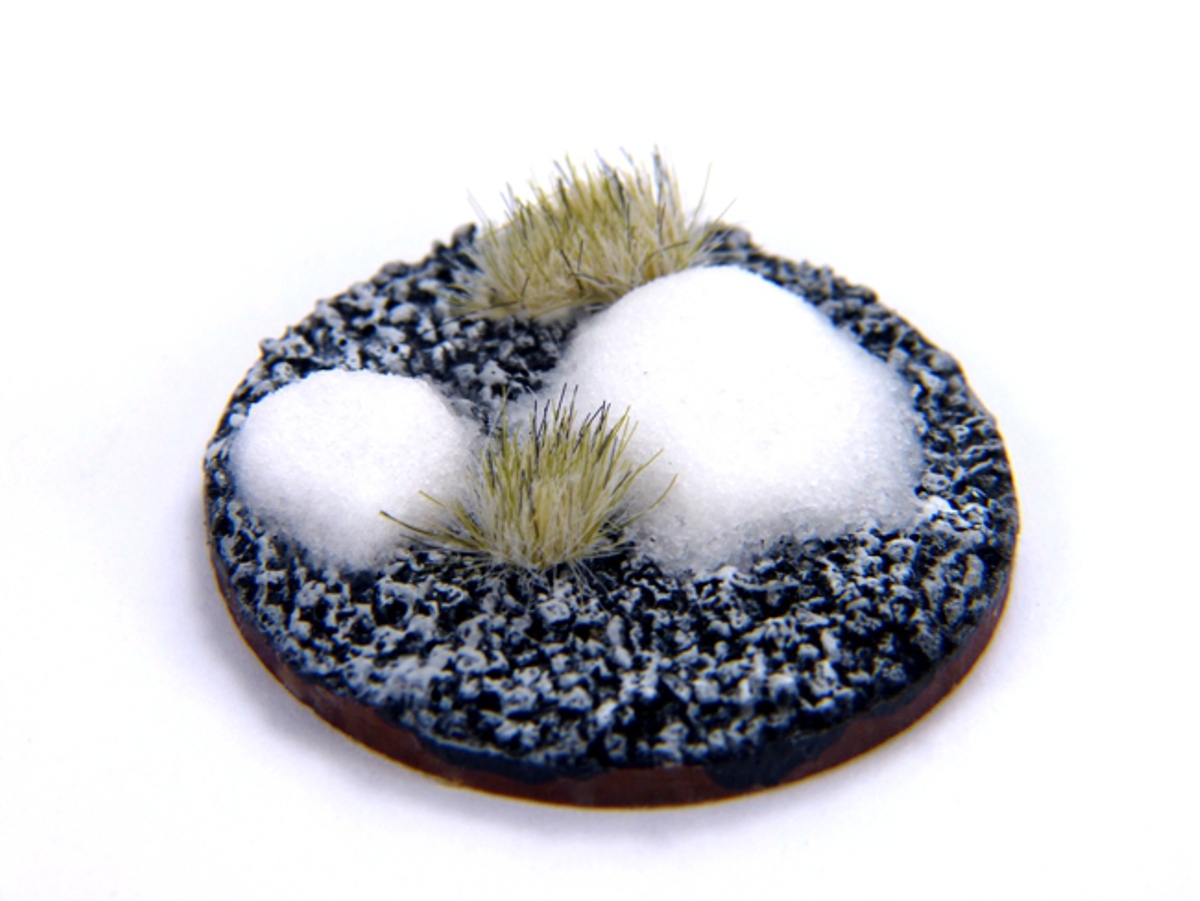
Snow Textures - SNOW 250ml
Review(s): 2
Snow Textures Serie
Price €8.46 Regular price €9.95
In stock


There are 12 products.
Reference: 8435646504964ES
Brand: Green Stuff World
Snow Textures Serie
Reference: 8435646506890ES
Brand: Green Stuff World
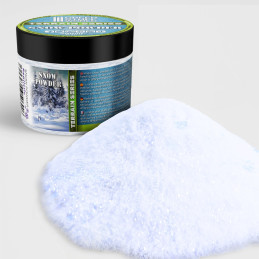
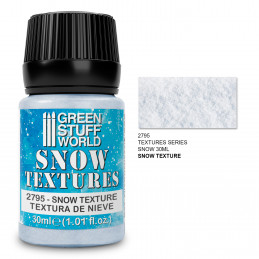
Model SNOW Powder
Reference: 8435646540955ES
Brand: Green Stuff World
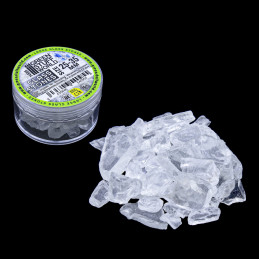
Non-sharp crushed crystal stones for models, dioramas, and any craft project.
Reference: 8435646540948ES
Brand: Green Stuff World
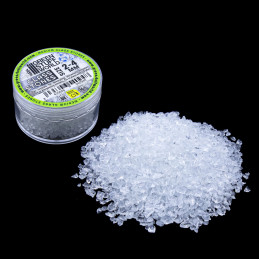
Non-sharp crushed crystal stones for models, dioramas, and any craft project.
Reference: 8435646540931ES
Brand: Green Stuff World
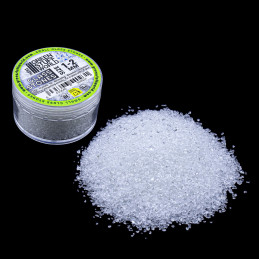
Non-sharp crushed crystal stones for models, dioramas, and any craft project.
Reference: 8435646506906ES
Brand: Green Stuff World
Model SNOW Powder 200ml
Reference: 8435646511382ES
Brand: Green Stuff World
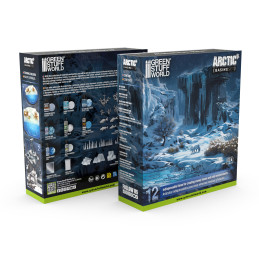
Basing Sets - Arctic | Snowy Environment Set
Reference: 8435646508351ES
Brand: Green Stuff World
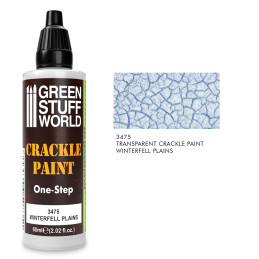
A unique product that will create amazing cracks.
Reference: 8435646506630ES
Brand: Green Stuff World
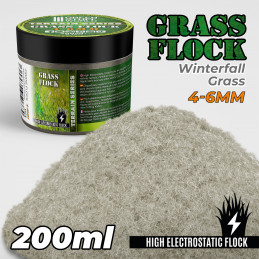
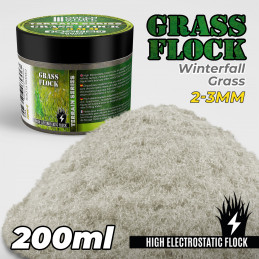
Static Grass Flock 200 ml
Reference: 8436574504064ES
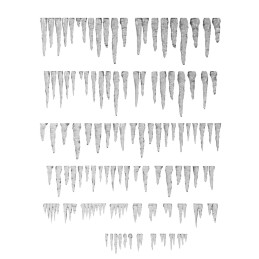
Set of stalactites, stalagmites and icicles 3D printed in high quality transparent resin.
Reference: 8435646506500ES
Brand: Green Stuff World
Static Grass Flock 200 ml
Reference: 8435646501550ES
Brand: Green Stuff World
Snow Textures Serie
Creating realistic model snow for modeling involves replicating the appearance and characteristics in a miniature or scaled-down form. It is the process of imitating texture, color, and behavior using various materials and techniques. The goal is to achieve a lifelike representation of pure winter in a model, capturing its unique qualities such as softness, light reflection, and the way it accumulates and melts. Realistic snow modeling adds depth and visual interest to dioramas, architectural models, train layouts, and other miniature scenes, enhancing their overall realism and creating a sense of winter or snowy environments. It requires careful attention to detail, choice of materials, and techniques such as texture application, layering, and sculpting to achieve an authentic and convincing portrayal in a model setting.
Creating realistic winter dioramas involves several key steps. Start by selecting an appropriate snow texture, which closely mimics the appearance of realistic snow modeling.
Before applying the Hobby Snow Powder, ensure that the surface of your model or diorama is clean and smooth. Consider priming or painting the surface with a white or light gray base color to enhance the realism. The base color provides a suitable background against which the hobby snow powder will stand out. Dark base colors will dull the effect.
Next, apply a thin layer of clear-drying adhesive to the desired areas where you want to accumulate. The adhesive serves as the bonding agent that will hold the powder in place. Make sure to use an adhesive that dries transparent, as you wouldn't want it to interfere with the appearance; otherwise will look like fake snow.
Sprinkle the chosen winter powder onto the adhesive-coated surface. Start with a light dusting, and gradually build up the thickness as desired. By doing so, you can create a sense of depth and accumulation. To achieve an even distribution, you can use a fine sieve, sifter, or a soft brush to gently spread the frost particles across the surface.
To make it look more realistic, introduce variation in both density and distribution across the scene. Focus on areas where it would naturally accumulate, such as corners, ledges, and flat surfaces. By strategically placing it you can create a sense of realism and capture the random nature of snowfall.
After applying the hobby snow powder, you can further enhance its appearance by blending and sculpting. Use a soft brush or your fingertips to gently blend and shape the texture. You can lightly press on the surface to create footprints or drag a brush across it to simulate wind-blown patterns. Pay attention to the directionality and flow of the texture, as this will add to its authenticity.
To add more depth and realism, consider incorporating interactive elements. For example, you can place small props or objects partially buried, or create footprints and animal tracks. These details will make the scene more engaging and believable.
Once you are satisfied with the placement and appearance of the hobby snow, allow it to dry completely. Depending on the way of application a sealer may be required, for example, a clear matte or gloss varnish to protect will work here to give it a finished look.
Creating realistic snow modeling is an art that requires careful observation and attention to detail. Study real formations, examine reference images, and experiment with different techniques to achieve the desired effect in your modeling and diorama projects.
In Green Stuff World we have a basing set - arctic with all the necessary products to create snowy and arctic environments as well as any type of base or element of winter scenery.
Creating a winter base is a fun and easy craft project. Here's a quick tutorial to guide you through the process:
Materials you'll need:
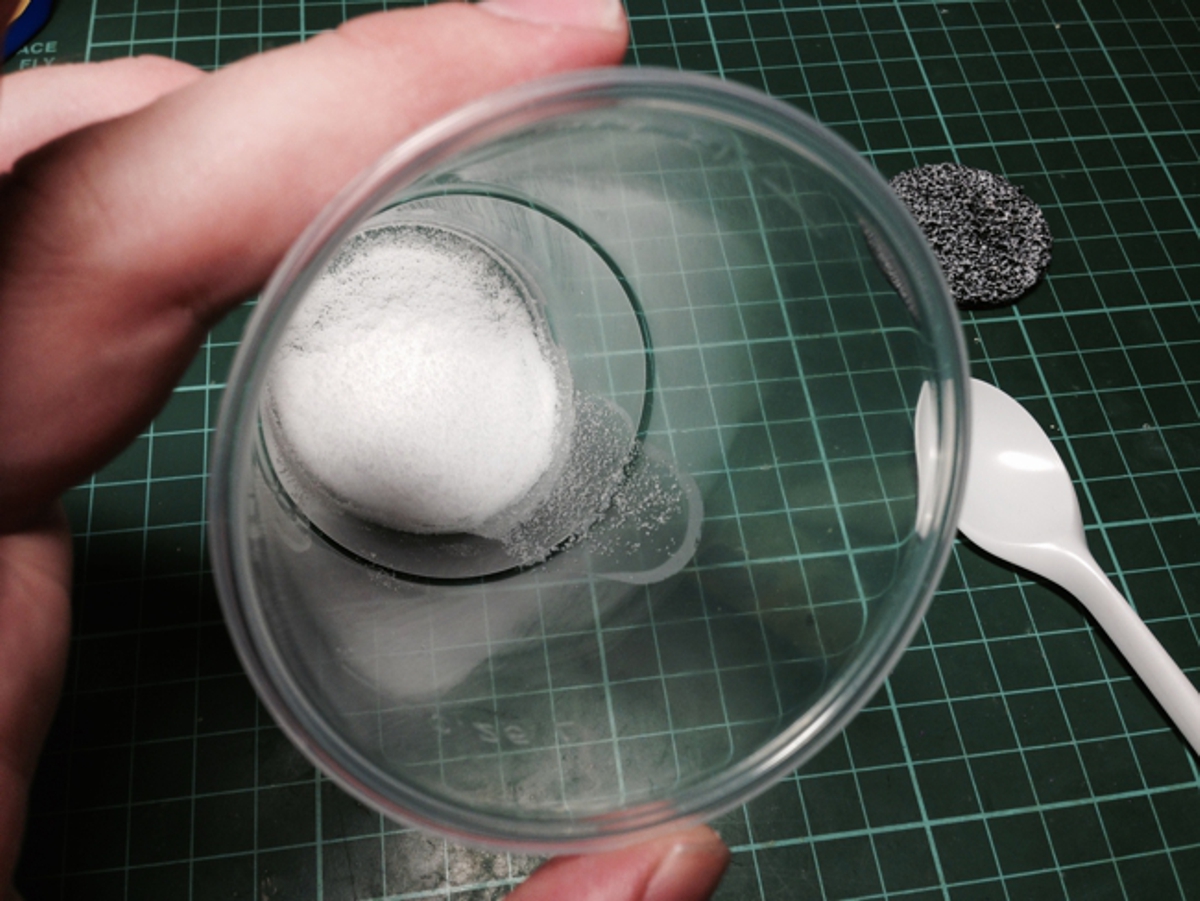
Step 1: Prepare the Mixture
In a mixing bowl, combine PVA glue and water in a ratio of approximately 3 parts PVA glue to 1 part water, and mix
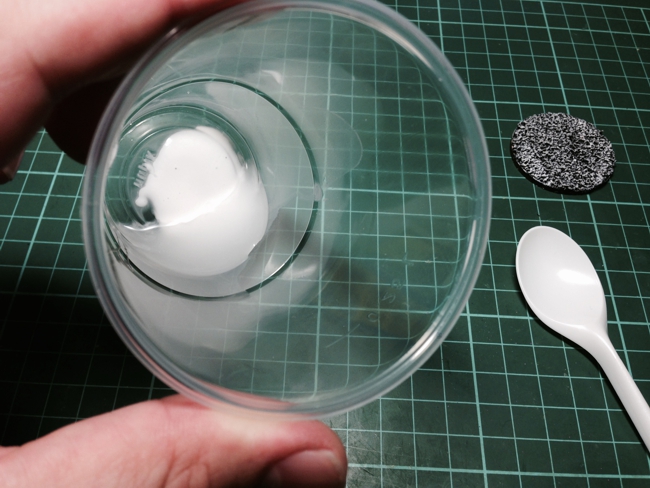
Step 2: Add Powder
Start with a small amount and adjust the proportions as needed to achieve your desired consistency. Mix it all together until they are well combined.
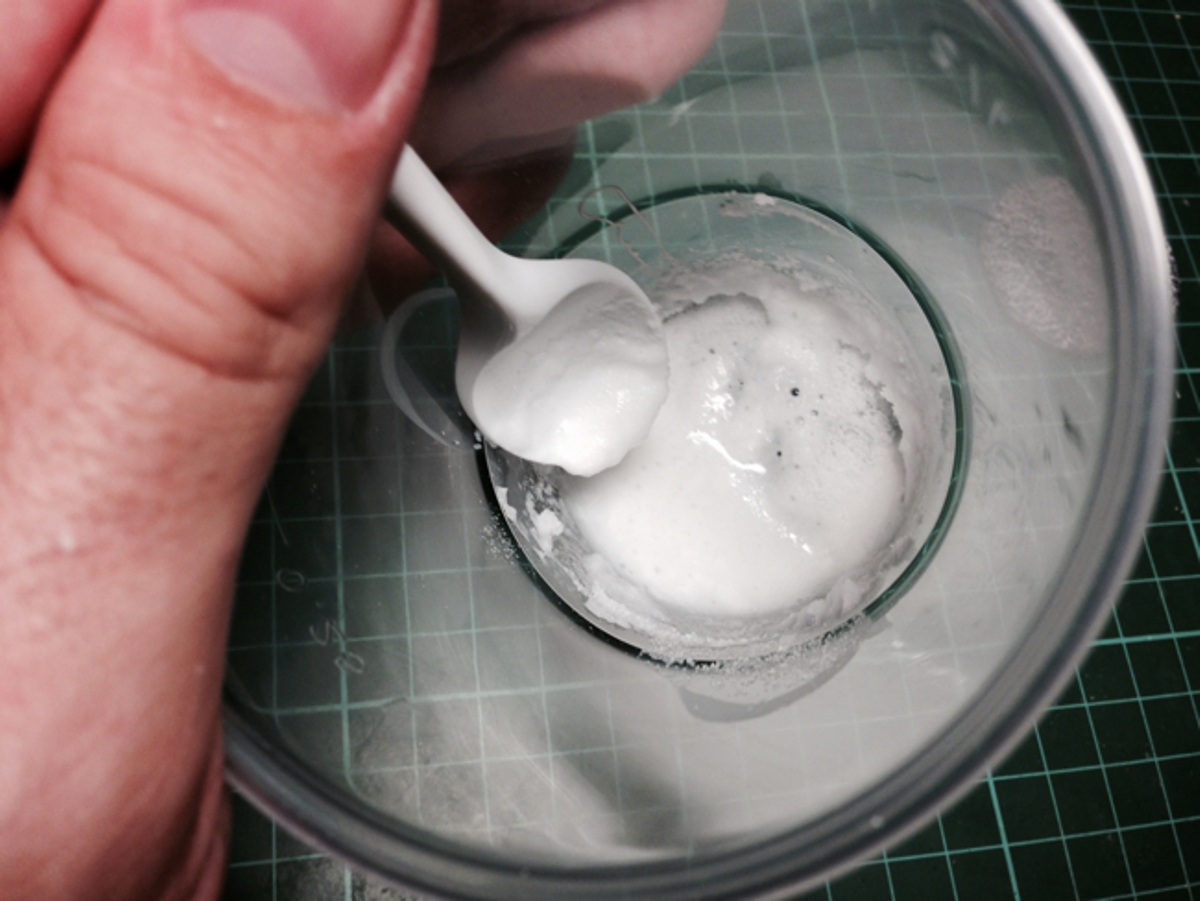
Add water gradually drop by drop until the mixture reaches a snowy, slushy consistency. Be careful not to add too much water at once, as it can make the mixture too runny. Aim for a thick, paste-like texture that can be easily spread or molded.
Step 3: Test and Adjust
Take a small amount of the mixture and test its texture. If it's too dry, add a little more water and mix well. If it's too wet or runny, add a bit more snow powder and mix until it reaches the desired consistency. Continue adjusting until you're satisfied with the snowy texture.
Step 4: Decorate
At this point, you can add some decorative elements to enhance the effect. Sprinkle in some powder to give it a sparkling appearance, or small winter-themed figurines for added visual interest.
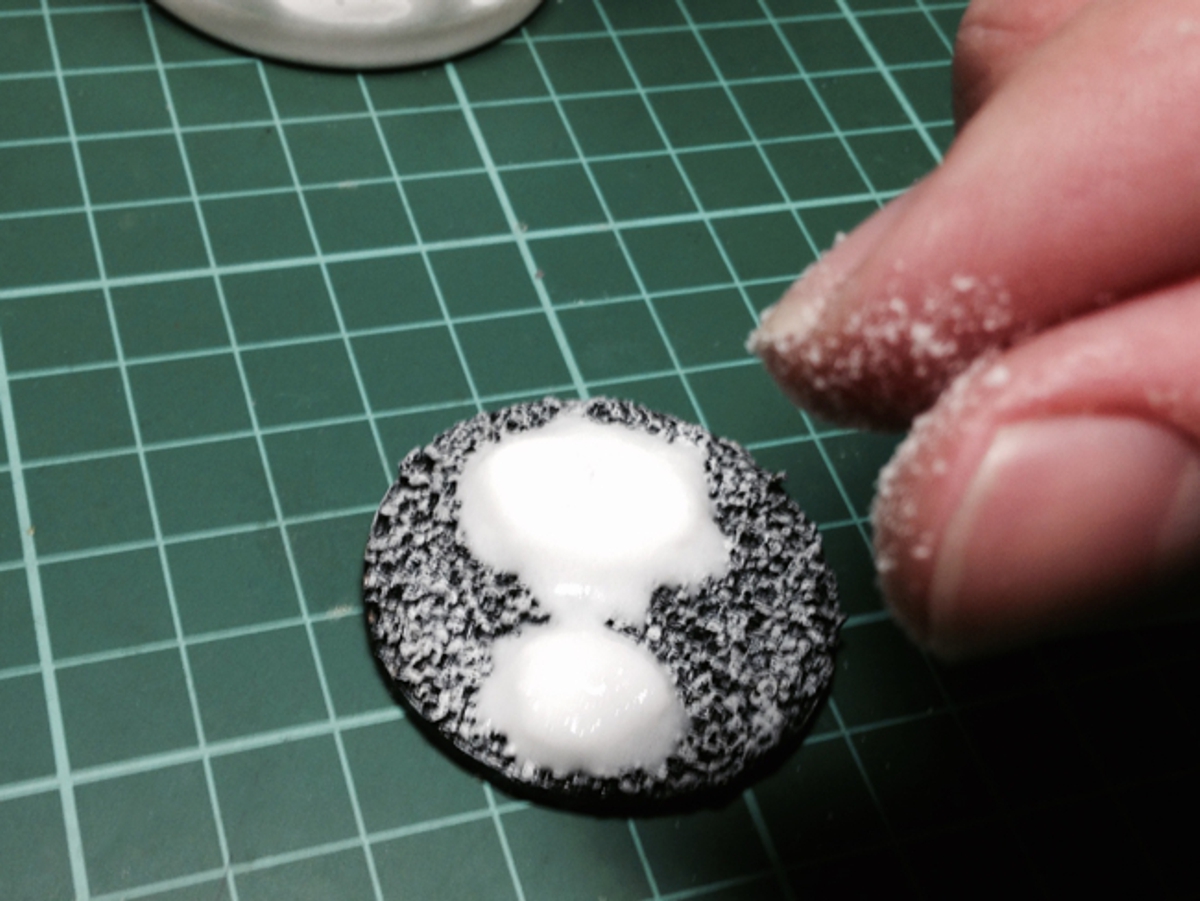
Step 5: Spreading and placing the mix: Use a spatula or your fingers to spread the mixture onto desired surfaces, such as a craft project, a winter-themed display, or the base of a holiday decoration.
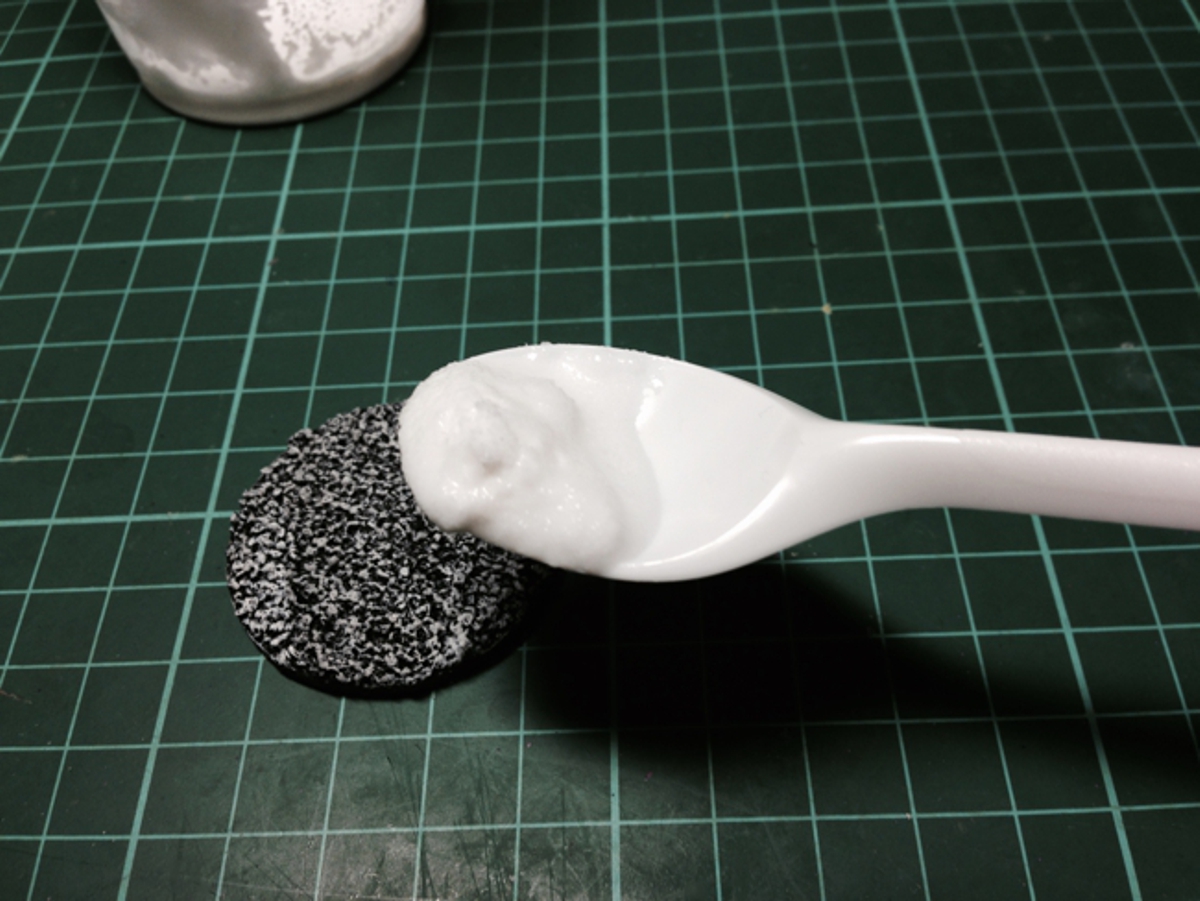
Step 6: Drying
Allow to dry completely. The drying time will depend on the thickness of the layer and the environmental conditions. It is best to leave it undisturbed for a few hours or overnight to ensure thorough drying.
Enjoy your homemade creation! Whether it's for a craft project or as winter decor, this quick tutorial will help you achieve a wintry look with ease.
You can create realistic footprints in a diorama using Green Stuff World products. Here's how:
Creating footprints in a diorama using Green Stuff World products allows you to achieve highly realistic effects and add depth to your miniature scene.
The quality of snow modeling, when creating a diorama or a winter miniature, must be high; realism must prevail above all else to achieve a genuine immersive effect. Therefore, it is important to purchase the product from an expert supplier, dedicated to the modeling sector, such as Green Stuff World. Our brand has managed to position itself as one of the main destinations for hobbyists looking for versatile and realistic products.
Among its range of snow modeling products, we offer different textures, grain sizes, formulations, and finishes. You can choose from textured paste; snow powder and realistic powder; white crackle paint that simulates breaking ice; Winterfall static grass that replicates old snow; and 3D printed resin stalactites and stalagmites. Additionally, we have an "Arctic" themed scenery set where you will find many of these products along with others to create a totally realistic winter landscape with the characteristics you desire.
All these materials are easy to apply, with excellent adhesion properties, and a pure white appearance that perfectly mimics snowy landscapes under different lighting conditions. Everything you need for your winter dioramas can be purchased on the official Green Stuff World website, on our official eBay and Etsy stores, as well as through our network of resellers distributed worldwide.
It's not what are you looking for? check out our Static Grass collection.