How to apply static grass

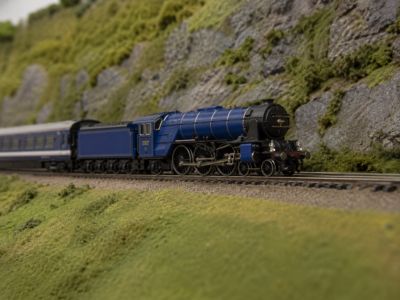
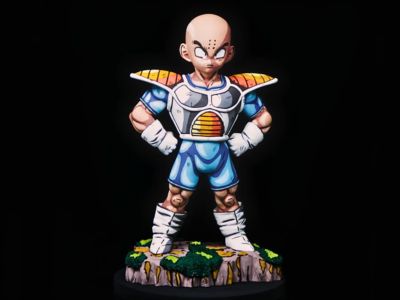
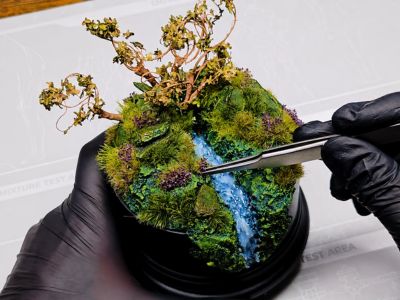
Modeling, diorama design, and the painting of wargame figures are artistic disciplines where attention to detail defines the quality of the final result. When the goal is to bring a miniature scene to life, the terrain on which the figures stand plays an important role. A flat ground surface painted simply in green rarely manages to convey the realistic atmosphere of a battlefield or a dense forest. To overcome this physical limitation, modelers use advanced texturing techniques, with flocking using static fibers being one of the most notable. Learning how to apply static grass to miniatures allows you to transform an ordinary base into a fragment of nature that is well integrated with the figure.
Throughout this guide, you will discover the physical principles that govern static flocking, the essential materials needed to obtain a professional finish, the differences between the tools available on the market, and a step-by-step method that will ensure that every grass filament remains upright.
What is static grass?
Static grass, or model grass, is a material made up of lightweight synthetic fibers. In general, these fibers are made of nylon or polyester, materials chosen specifically for their ability to react to electric fields and become charged with static electricity.
Depending on the manufacturer, the thickness of the strand can vary from fine to coarser, which directly influences the texture and final rigidity of the grass layer. The main characteristic that defines this material is its electrostatic reactivity. When subjected to an electrostatic field, each individual strand acquires an electric charge that repels it from its neighboring filaments and orients it vertically in relation to the grounded surface. When it falls onto a wet adhesive, the fibers remain fixed upright, imitating the natural behavior of wild grass.
Variety of lengths and scales
To achieve realistic terrain, you must select the fiber length that best suits the scale of your project. Static grass is sold in different lengths:
• Short fibers from 1 to 2 millimeters: They are ideal for representing freshly cut grass, heavily trampled meadows, or fields at very small scales, such as micro-modeling scales or railroad modeling scales.
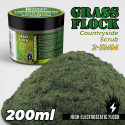
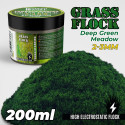
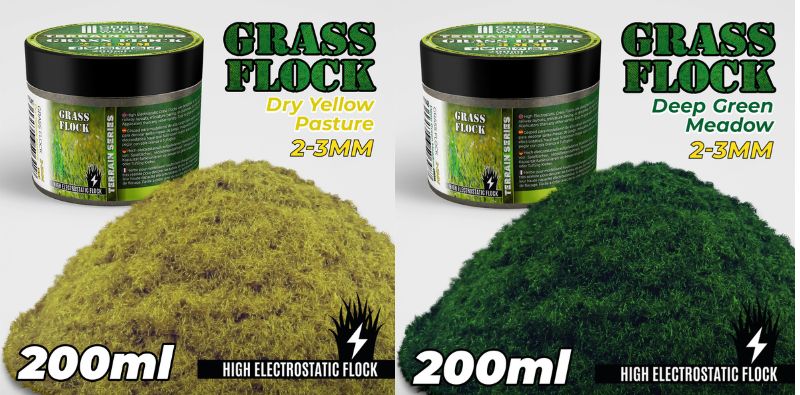
• Medium fibers from 2 to 4 millimeters: This is the most popular size and the one most commonly used in the field of wargames and 28 mm to 32 mm miniatures. Its length provides the ideal balance between ease of application and visual realism, representing wild grass of standard height.
• Long fibers from 4 to 6 millimeters: They represent taller vegetation, light undergrowth, or bushes in areas with little traffic. They are a good option for combining in layers with shorter fibers and creating natural terrain transitions.
• Extra-long fibers from 9 to 12 millimeters: Ideal for representing very tall grass, reeds, or neglected wild vegetation in larger dioramas or scenic bases.
• Long grass up to 100 millimeters: It is used to simulate very tall weeds, reeds, or disorderly shrubs in forest or wetland scenes. It is cut to size and added at specific points of the base to provide unmatched depth.
Colors, mixes, and combinations
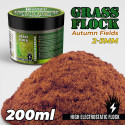
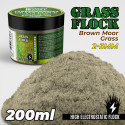
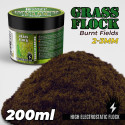
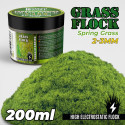
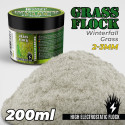
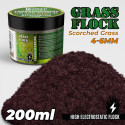
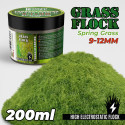
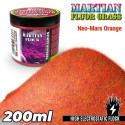
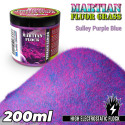
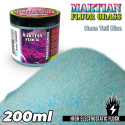
Synthetic grass is available in a wide chromatic range that includes intense spring greens, muted summer tones, autumn browns, beiges, and creams that simulate dry or dead grass. There are even fluorescent ranges designed to represent alien or fantasy environments.
Although you can purchase and apply pure colors separately, true realism in modeling is achieved through mixes. In nature, grass is never monochromatic. For this reason, it is common to buy or create combinations of different shades of green mixed with brown and straw-colored strands. Static grass jars are usually sold in volumes ranging from 100 ml to 500 ml. The same volume, for example 200 ml, will contain a higher density of individual fibers the shorter the synthetic filaments are. To obtain the best result, especially with medium and long fibers, it is recommended to apply them with a static grass applicator.
What is a static grass applicator?
A static grass applicator, or flocking applicator box, is an electric tool designed to generate the potential difference necessary to vertically align nylon fibers. The operation of these devices is based on a fundamental physical principle of electrostatics: the attraction between charges of opposite signs and the repulsion between charges of the same sign.
Mechanics of electrostatic operation
The device consists of two main electrical components:
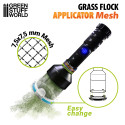
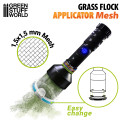
1. The mesh or metal container. This is the compartment where the nylon fibers are inserted. When the device is activated, the metal mesh of the head acquires a high-voltage electrostatic charge. The grass that passes through the mesh becomes impregnated with this electric charge.
2. The grounding clip, ground wire. This is an external cable connected to the opposite pole of the circuit. This clip is connected to a conductive surface or to the prepared terrain base itself with wet glue, establishing the ground connection.
When the electrically charged fibers leave the container through the mesh, they repel each other intensely because they all share the same electric charge. This mutual repulsion prevents the fibers from clumping together or forming compacted fiber lumps. When the head of the applicator is brought close to the ground area, where the wet glue has been applied and the ground connection has been placed, the electric field effectively attracts the fibers toward the surface. This attraction causes the synthetic filaments to travel at high speed and land tip-first directly onto the adhesive, remaining firmly attached in a vertical position.
Types of applicators: portable vs. flocking box
At Green Stuff World, we have two main types of static grass applicators, each one aimed at a specific function within the modeling workshop. Understanding their differences will allow you to choose the best tool for each stage of your project.
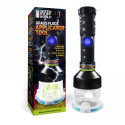
The portable applicator or torch-style applicator
This model features an elongated structure, similar to a flashlight or torch, with the grass container and metal mesh at one end, and the handle with the switch and battery compartment at the other. It is a lightweight, cordless, and highly versatile tool.
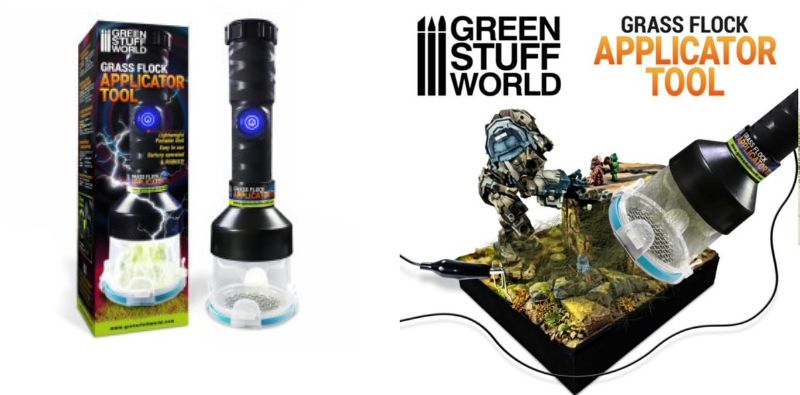
Its main advantage lies in mobility: you can take the applicator head to any corner of a large diorama, over sculpted hill slopes, or directly onto the bases of your miniatures. Since the device can be moved freely, you can direct the stream of fibers with precision, flocking complex and hard-to-reach areas with great ease.
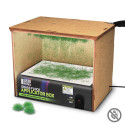
The flocking applicator box
The applicator box or flocking table works on the inverted physical principle compared to the portable model. Instead of moving the tool toward the diorama, you must place the object you are going to flock inside a wooden and methacrylate box.
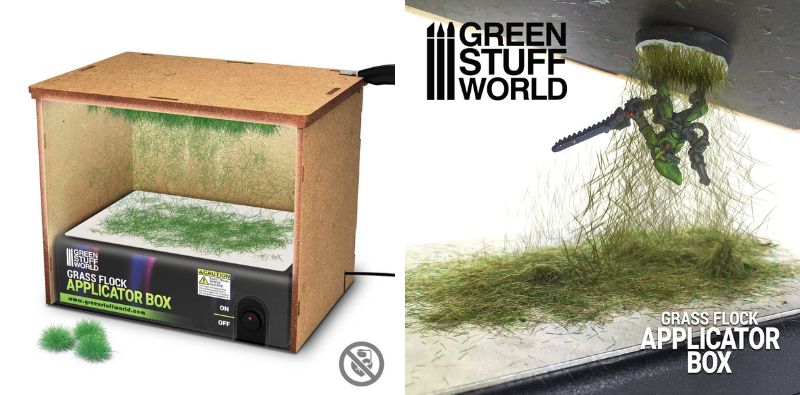
The grass fibers are spread directly over the conductive metal surface at the bottom of the box. The object to be flocked, such as a magnetized figure or a sheet with glue, is fixed to an upper support with opposite polarity. When the machine is turned on, the electric charge drives the fibers upward, forcing them to fly vertically toward the suspended object.
This system offers three advantages of great practical value:
• Absolute cleanliness: Since the entire process takes place inside a closed structure, the leftover fibers remain inside the box instead of flying freely around the whole room, clearly making it easier to clean the workspace.
• Material savings: Since it does not disperse through the air, the grass that does not adhere to the glue falls back to the bottom of the box, minimizing waste and allowing you to immediately reuse the excess in the next batch.
• Ideal for creating bushes: It is the tool of choice for producing custom grass tufts in batches on special paper, ready to be stored and applied later.
Choosing the adhesive: white glue vs. Tuft Glue
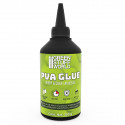
The flocking process requires a wet adhesive that acts as a receiver for the fibers and fixes their base before the static charge is lost. Although white glue, PVA, has traditionally been used in modeling, not all glues offer the same performance.
Traditional white glue, PVA
White glue or carpenter’s glue is an accessible option that is easy to clean with water. It is a versatile adhesive that works well on porous materials such as wood, cardboard, and plaster. It is one of the most recommended adhesives for static grass fibers, although once dry it tends to release them gradually. For this reason, Green Stuff World has created a specific glue for this task.
Specific flocking glue, Tuft Glue
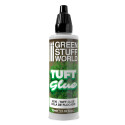
Green Stuff World’s Tuft Glue is a water-soluble acrylic adhesive specifically formulated to interact optimally with synthetic nylon fibers.
Its mechanical properties make a clear difference in the final result:
• Greater elasticity and permanent adhesion: Unlike the rigidity of white glue, Tuft Glue maintains a certain flexibility after drying. The fibers remain trapped in a rubbery base that withstands handling on gaming tables.
• Repositionable properties: If you apply this glue onto a non-porous, non-stick surface, such as wax paper or special wet palette paper, and let it dry completely, the adhesive drop turns into a repositionable self-adhesive film. This allows you to prefabricate bushes or grass tufts, peel them off easily, and place them on your models without needing to add more glue.
Step-by-step guide: how to apply static grass?
Follow the steps detailed below to make the grass remain upright and firm.
Step 1: Preparing and delimiting the terrain
Before starting, clean the surface where you are going to work thoroughly. If you are decorating gaming bases, this is the ideal moment to apply base paint in earthy tones or texture pastes that simulate sand and mud, for example. Let them dry completely. This will ensure that, if some areas have lower grass density, the background of the base shows a natural texture and not the smooth plastic of the base.
Step 2: Applying the adhesive by sections
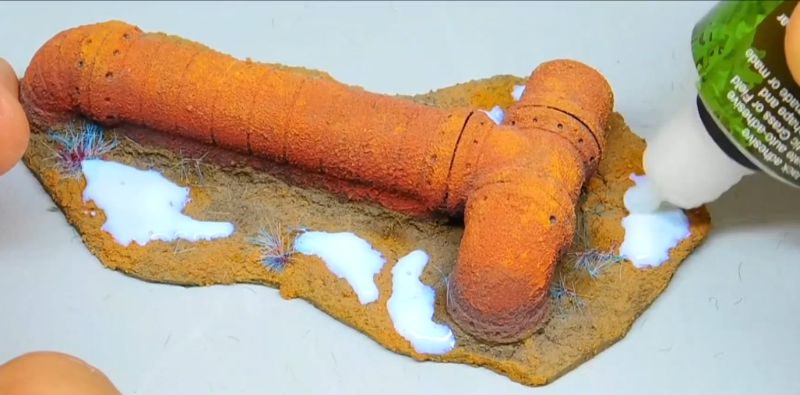
Use an old brush to apply an even layer of Tuft Glue over the areas where you want the vegetation to grow. If you are going to work on large surfaces, such as a gaming board or a large diorama, never apply the glue over the entire surface at once. The adhesive dries quickly on the surface and, although it may still feel wet to the touch, it will lose the ability to retain the fibers with the necessary strength. Work in an orderly way on small areas of a few square centimeters at a time.
Step 3: Loading the portable applicator
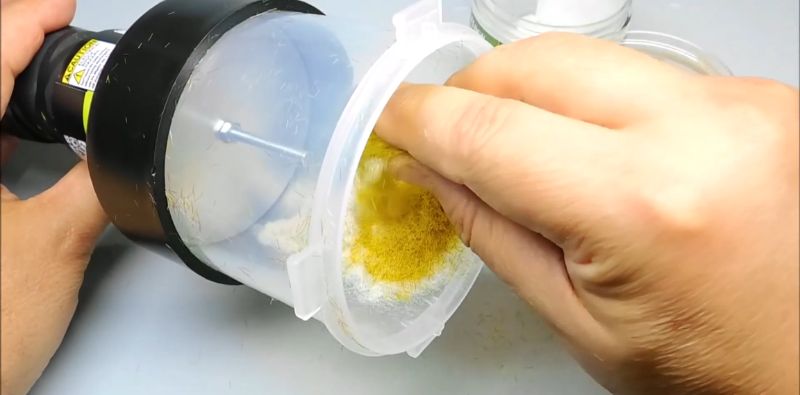
Fill the container of the portable torch-style applicator with your preferred grass mix. As a fundamental rule, never fill the container completely. It is recommended to fill it to approximately two thirds of its total capacity. If the container is too full, the excess material will block the fibers that are in direct contact with the internal metal plate at the bottom, preventing them from acquiring a static charge and slowing the exit of the grass through the mesh. Likewise, if the material level drops below one third of the hopper, the grass output will lose regularity, so you will need to refill the container to maintain a uniform flow.
Step 4: Placing the ground connection
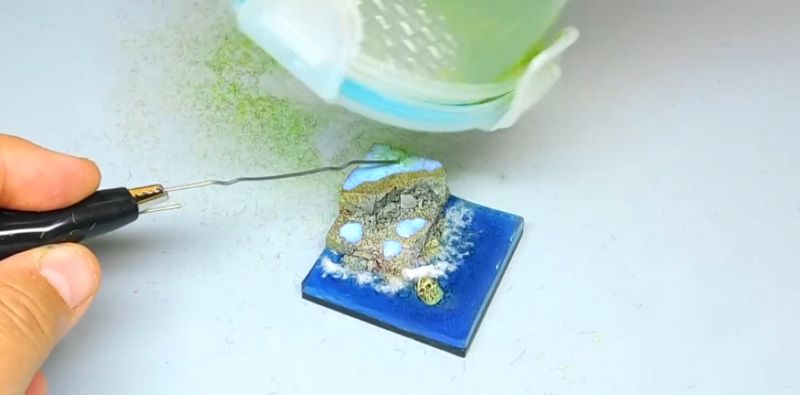
The electrostatic field needs a discharge point to direct the synthetic filaments toward the base. To make this task easier in modeling and to apply static grass to miniatures, connect the ground clip to a conductive metal rod or, more simply, to an opened metal paper clip. You can insert this conductive clip directly into the wet area with glue or fix it under the base of the figure if it has a magnetic or conductive metal support. The clip must be connected to a conductive element located near the area with adhesive, so that the electrostatic field directs the fibers toward that surface; the static electricity will guide the fibers toward the metal, driving them tip-first into the fresh glue.
Step 5: The flocking process
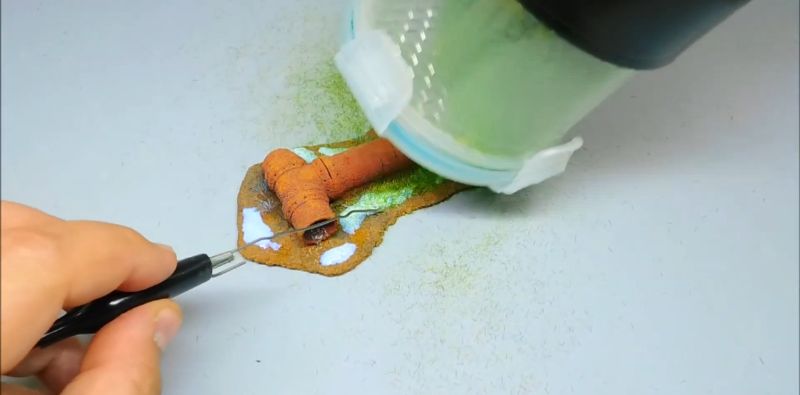
Turn on the switch of the portable applicator. Hold the machine in a position close to horizontal, or slightly tilted downward, at a distance of between 3 and 5 centimeters from the base with wet glue. Do not place the head in a fully inverted vertical position, as this would cause the grass to simply fall by gravity onto the adhesive, lying flat and disordered instead of standing upright due to the force of static electricity. Gently shake the device with a constant back-and-forth motion. You will see how the nylon fibers shoot out, repel each other in the air, and land tip-first in the glue in a fraction of a second.
Step 6: Shaking and recovering the excess
Not all the fibers that leave the applicator become fixed in the glue. A significant amount remains loose around the base. To avoid wasting material and to keep your workshop clean, always carry out this task over a clean plastic tray, a box, or a folded sheet of newspaper.
Once the flocking of the piece is finished, turn off the device. Give the base or diorama a few gentle taps with your fingers, of course, without touching the wet glue area, to shake off and detach the excess strands that have not adhered. Remove the piece and collect all the grass accumulated in the tray to return it to the jar and reuse it in the next project.
Making repositionable tufts
You can use your portable applicator or your flocking applicator box to create your own self-adhesive tufts on wet palette paper or wax paper:
1. Place small drops of Tuft Glue on the special wet palette paper, spacing them a few millimeters apart.
2. Load the applicator with the chosen grass mix and connect the ground clip to a magnetic sheet or conductive surface located under the paper.
3. Apply the fibers using the standard method until the glue drops are completely covered.
4. Wait for the adhesive to dry completely in the open air.
5. Remove the excess loose strands with gentle taps and shake the paper.
6. Thanks to the special properties of Tuft Glue, you will be able to peel the finished tufts off the protective paper, carefully, using modeling tweezers. The tufts will keep their elastic and sticky base, ready to be fixed effectively onto your models or figures immediately.
In the end, electrostatic flocking is a useful resource for every modeler. The visual difference between a base textured in a traditional way and one decorated with upright three-dimensional grass fibers is undeniable. By applying static grass to miniatures, you add unmatched realism and a perfect setting that highlights the painting work on your figures. Now that you know how to apply static grass, include this technique in your next projects to add natural realism.
Share this content