Reference: 8435646531519ES
Brand: Green Stuff World
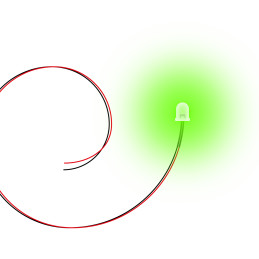
Green Flickering LED Lights 3mm
Review(s): 0
Flickering LED Lights | Flashing LEDs for dioramas
Price €5.93 Regular price €7.90
In stock
There are 25 products.
Reference: 8435646531519ES
Brand: Green Stuff World
Flickering LED Lights | Flashing LEDs for dioramas
Reference: 8435646531502ES
Brand: Green Stuff World
Flickering LED Lights | Flashing LEDs for dioramas
Reference: 8435646531496ES
Brand: Green Stuff World
Flickering LED Lights | Flashing LEDs for dioramas
Reference: 8435646531489ES
Brand: Green Stuff World
Flickering LED Lights | Flashing LEDs for dioramas
Reference: 8435646511900ES
Brand: Green Stuff World
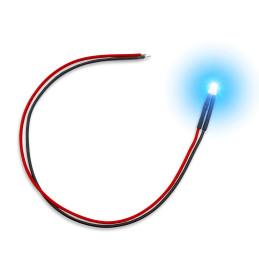
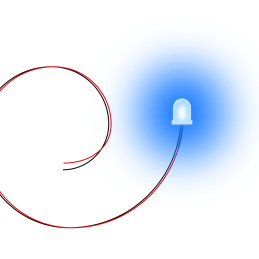
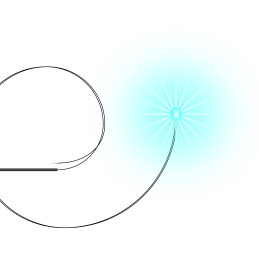
Cool BLUE LED Lights
Reference: 8435646511894ES
Brand: Green Stuff World
Cool BLUE LED Lights
Reference: 8435646511887ES
Brand: Green Stuff World
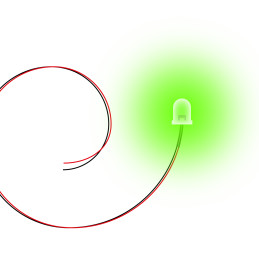
Green LED Lights
Reference: 8435646511863ES
Brand: Green Stuff World
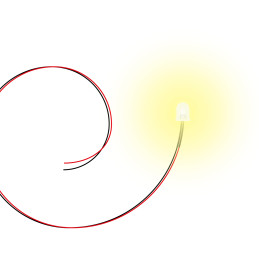
Warm White LED Lights
Reference: 8435646511856ES
Brand: Green Stuff World
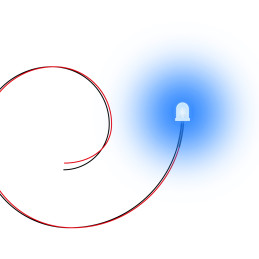
Cool BLUE LED Lights
Reference: 8435646511849ES
Brand: Green Stuff World
Green LED Lights
Reference: 8435646511825ES
Brand: Green Stuff World
Warm White LED Lights
Reference: 8435646510101ES
Brand: Green Stuff World
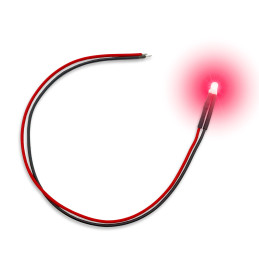
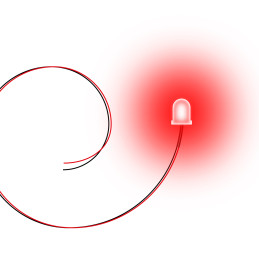
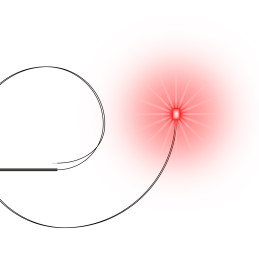
Red LED Lights
Reference: 8435646510125ES
Brand: Green Stuff World
Cool White LED Lights
Reference: 8435646510118ES
Brand: Green Stuff World
GREEN LED Lights
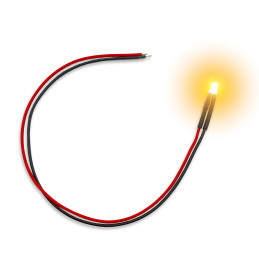
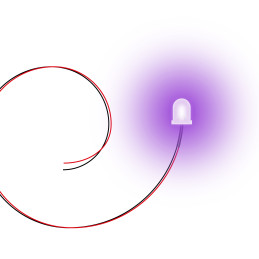
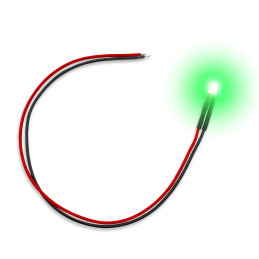
A LED (Light Emitting Diode) is a semiconductor device that emits light when an electric current is passed through it. They are energy-efficient and have a longer lifespan compared to traditional incandescent bulbs and they are a great choice for modeling because they are small, energy-efficient, and come in a variety of colors including white, red, green, blue, and yellow. They are also easy to use and can be connected to any power source between 3V to 18V, which makes them versatile and suitable for a range of modeling projects.
Green Stuff World offers fully assembled LEDs that come with plastic wire and a resistor for plug-and-play use, which makes them easy to set up and use in your projects. You can choose between solid non-flashing or flashing and among many different colors including Ultraviolet, depending on your preference.
When using these LEDs, it's important to note that they will look best with 9-12 volts of power input. This will give them a bright, vibrant glow that will make your modeling projects stand out. However, if you want a more subdued look, you can use a lower voltage input to create a dimmer light.
Overall, hobby LED lights are an excellent choice for modeling because they are versatile, energy-efficient, and easy to use. Whether you're creating a diorama, building a model train set, or designing a miniature scene, any sort of illumination will add a great touch of realism and visual interest to your projects.
Assembling LED lights in dioramas can add a lot of visual interest and depth to your miniature scenes.
Here are the steps you can follow:
Overall, adding any sort of illumination can be a fun and rewarding process that adds a lot of visual interest to your miniature scenes. By following these steps and using your creativity, you can create a beautiful and realistic diorama that showcases your skills and imagination.