Reference: 8435646511429ES
Brand: Green Stuff World
Basing Sets - Toxic
Review(s): 0
Toxic Basing Set | Toxic Diorama Set
Price $49.28 Regular price $60.10
In stock


There are 7 products.
Reference: 8435646511429ES
Brand: Green Stuff World
Toxic Basing Set | Toxic Diorama Set
Reference: 8435646501246ES
Brand: Green Stuff World
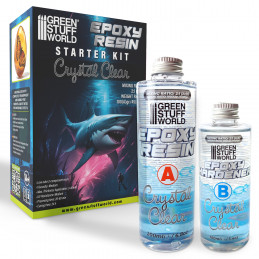
Transparent epoxy resin | Crystal Clear epoxy resin ice
Reference: 8435646520902ES
Brand: Green Stuff World
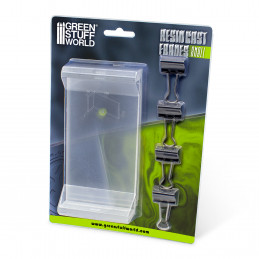
Resin Cast Frames with spring clips to create multiple mold boxes for resins and silicones
Reference: 8435646520896ES
Brand: Green Stuff World
Resin Cast Frames with spring clips to create multiple mold boxes for resins and silicones
Reference: 8435646511412ES
Brand: Green Stuff World
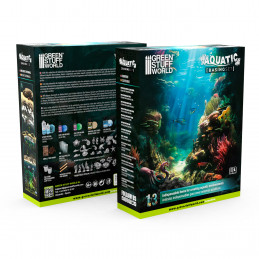
Aquatic Basing Set
Reference: 8436574508123ES
Brand: Green Stuff World
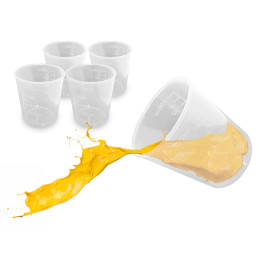
Disposable Cups of 100ml
Reference: 8436574507768ES
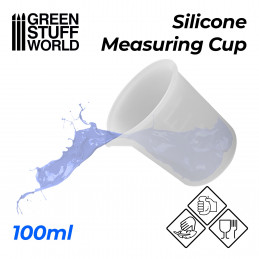
Brand: Green Stuff World
Flexible measurement cup made of high quality silicone.
Clear Epoxy resin is a versatile and popular material used in modeling and diorama projects for its remarkable properties and wide range of applications. It is a type of synthetic polymer that, when combined with a hardener, undergoes a chemical reaction to create a strong and durable material.
In the realm of modeling, it offers several benefits that make it an excellent choice for various applications. One of its key advantages is its exceptional clarity. The standard one dries to a crystal-clear finish, allowing for the creation of transparent or translucent elements such as water effects, glass-like surfaces, or simulated liquids. This clarity adds a realistic and visually appealing touch to models and dioramas, enhancing their overall aesthetic appeal.
Another noteworthy characteristic is its excellent self-leveling properties. When poured or applied to a surface, it spreads out evenly, creating a smooth and level finish. This feature is particularly useful when creating flat surfaces, tabletops, or terrain elements in dioramas. Its self-leveling nature helps eliminate unevenness or imperfections, resulting in a professional and polished look.
This product also boasts exceptional hardness and durability once cured. It forms a robust and sturdy material that can withstand physical impact, making it suitable for creating durable components or surfaces. This durability ensures that any sort of encapsulations will remain intact even when handled or displayed over time, maintaining their quality and longevity.
Furthermore, this material, once cured, exhibits excellent chemical and moisture resistance. Once fully cured, it becomes highly resistant to chemicals, including solvents, oils, and household cleaners. This resistance protects models and dioramas from damage or discoloration caused by exposure to various substances. Additionally, this product is moisture-resistant, making it suitable for applications that require contact with water, such as creating water features, ponds, or streams in dioramas.
Additionally, It is known for its versatility in terms of coloring and customization. It can be easily tinted or pigmented using dyes for resins, allowing modelers to achieve a wide range of desired effects. Whether it's creating vibrant landscapes, replicating specific materials, or adding artistic touches, it provides a versatile medium for expressing creativity.
Moreover, crystal clear epoxy resin offers a wide window of working time before it begins to cure. This allows modelers and diorama builders to work on intricate details, complex structures, or multiple layers without feeling rushed. The extended working time ensures that every aspect of the project can be carefully executed, resulting in precise and refined outcomes.
Green Stuff World is a well-known supplier of hobby materials and modeling tools that cater to the needs of hobbyists and enthusiasts alike. They offer a wide range of products, including 2 part epoxy resin for dioramas, which is also ideal for various art and craft projects. The answer to the question of where to buy 2 part epoxy resin is very easy, at Green Stuff World, visit their website, take a look at the products, and place an order.
Creating an encapsulation with this product is a straightforward process that requires careful preparation and attention to detail. Here's a step-by-step guide on how to make an encapsulation:
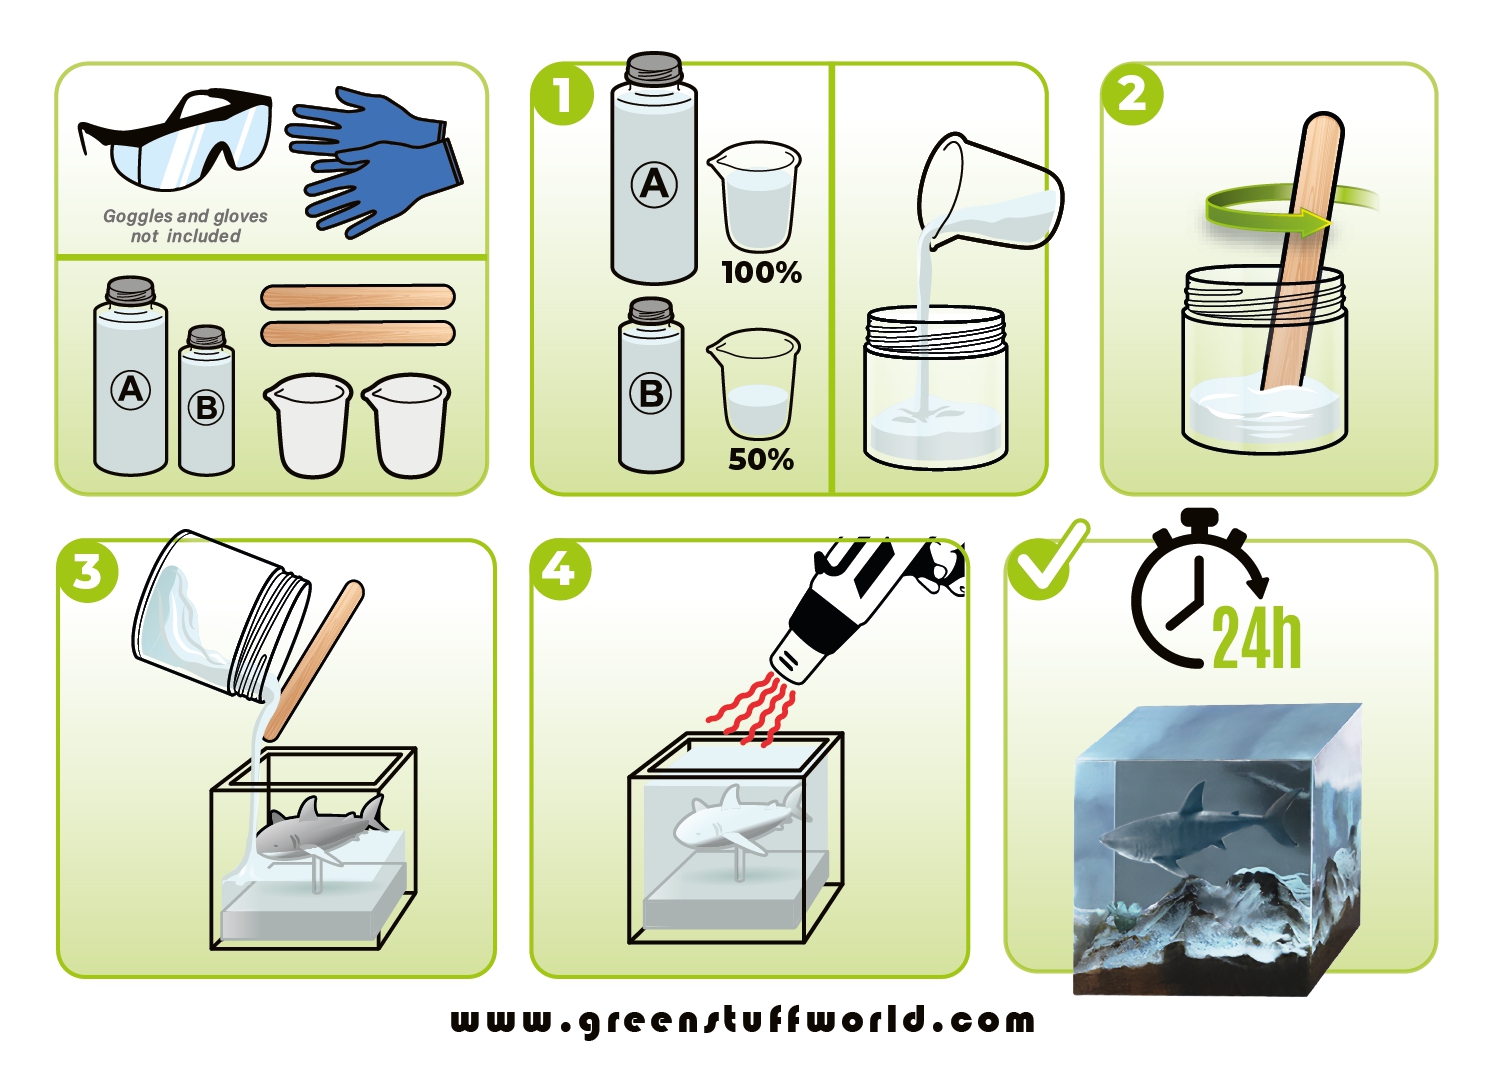
Achieving flat and smooth edges requires careful attention to detail and a few essential steps. Firstly, start by assessing the current state of the edges. If there are any irregularities or bumps, they will need to be addressed before attempting to flatten the surface. Use sandpaper with a grit of around 800 and continue with 1200 to gently sand the edges. Sanding in a circular motion can help ensure the even removal of any uneven areas. Be cautious not to apply too much pressure, as this may result in creating new unevenness or damaging the surrounding resin surface.
After sanding, thoroughly clean the edges to remove any sanding residue or particles. A lint-free cloth can be used to wipe the surface and ensure it is free from dust and debris. Once the edges are clean, apply a thin layer of crystal-clear epoxy resin over the entire surface, including the edges. The resin will help fill in any remaining unevenness and create a level surface.
To achieve a truly flat finish, it may be necessary to repeat the process of sanding and applying a thin layer of clear epoxy resin multiple times until the desired result is achieved. Take care to allow it to fully cure between each layer. This process can help gradually build up a smooth and level surface on the edges.
While handling these varieties of products is usually a relatively straightforward endeavor, achieving transparent results devoid of air bubbles necessitates adequate preparation, meticulousness, and adherence to the manufacturer's guidelines regarding timing, blending proportions, and quantities. Below are some basic suggestions to reduce the occurrence of bubbles:
The curing time can vary depending on several factors, including the specific brand and formulation of the product, the temperature and humidity of the environment, and the thickness of the application. However, in general, most 2 part epoxy resins have a curing time of about 24 to 72 hours to reach full cure and maximum strength.
Here are some general guidelines:
It can be a bit challenging because it's a strong adhesive and can become hard when cured. Here are some steps to help you clean epoxy resin:
It is known for its ability to adhere to a wide variety of materials, which makes it useful in many applications. However, there are some materials to which it generally does not adhere well or may have difficulty adhering. These materials include:
While the terms "2 part epoxy resin" and "clear epoxy resin" are often used interchangeably, there is a subtle distinction between the two.
In summary:
It is a game-changer in the world of crafting, modeling, and diorama building. This epoxy polymer stands out for its exceptional clarity and durability, making it an ideal material for creating water effects, encapsulations, or glass-like finishes. When paired with its self-leveling properties, it offers a smooth, professional-grade finish that enhances the visual appeal of any project.
This material is also part of a broader family of epoxy products that share remarkable resistance to moisture and chemicals, making them suitable for both decorative and functional applications. This product is easily customizable with dyes or pigments, allowing for endless creative possibilities. Whether you're designing realistic landscapes or encapsulating delicate objects, this versatile medium ensures both durability and aesthetic excellence.
It is a highly versatile and appreciated material in the world of arts and crafts. Thanks to its crystalline finish and self-leveling properties, it is ideal for creating decorative pieces such as custom jewelry, encapsulations, and artistic objects with a professional finish. This products allows creators to experiment with pigments, dyes, and other decorative materials to achieve unique effects, such as glossy or translucent surfaces that enhance the aesthetics of any project. Its ease of use and durability make it an essential tool for hobbyists and professionals in general model making, dioramas, and crafts.
At Green Stuff World we have similar products that may interest you such as UV Resin and static grass.