How to Clean an Airbrush
An airbrush is a delicate tool that needs to be pampered to ensure it performs correctly at all times. Proper cleaning is essential to guarantee its optimal performance and prolong its lifespan. Whether you paint miniatures, models, or use it for artwork on canvas, it is imperative to clean it after every session and perform a more exhaustive deep clean occasionally. Below, we explain how to clean airbrush step-by-step for each occasion using specialized products from Green Stuff World, experts in miniature paints.
Importance of Proper Cleaning
The airbrush is a precision tool that, if not cleaned correctly, can accumulate paint residue that clogs its internal components. This buildup not only affects its immediate operation but can have long-term consequences that directly impact the quality of your work and the durability of the equipment. Therefore, before learning how to clean airbrush, you must understand the importance of doing so.
Nozzle and Needle Clogging
One of the most common problems is the clogging of the nozzle and needle. When paint dries inside the passage channel or on the tip of the nozzle, a blockage forms that prevents the correct flow of pigment and air. This results in interrupted lines, uneven spray patterns, or even complete failure to function. Imagine you are applying fine details to a miniature; if the nozzle is partially clogged, the strokes that should be precise become irregular and diffused. Furthermore, forcing the spray through a dirty nozzle can cause paint splatters that ruin the finished work and contaminate your workspace.
Loss of Precision
Another significant effect of not cleaning the airbrush regularly is the loss of precision. Over time, even small amounts of dried paint or residue can alter the spray pattern, causing paint to come out inconsistently. This is especially critical in work requiring accuracy, such as painting miniatures with fine details, delicate textures in model-making, or smooth gradients on canvases. Residue buildup can cause the paint to spray in irregular bursts, creating unwanted hard edges or overly dense areas. Therefore, keeping the nozzle and needle free from obstructions ensures the spray pattern remains uniform and controllable.
Premature Wear
In addition to affecting paint quality, lack of cleaning can cause premature wear of the airbrush parts. Dry paint and abrasive residue can scratch or erode the needle, nozzle, and other internal components, reducing their lifespan. This means that, without adequate maintenance, you could face frequent repairs or even the need to replace expensive parts. A well-maintained tool, on the contrary, can last many years without losing performance, resulting in cost savings and a much more satisfactory user experience.
For all these reasons, it is essential to know how to clean airbrush to establish a cleaning routine after every painting session. Even if you have only used it for a few minutes, paint residue can begin to dry and accumulate. Cleaning immediately after painting not only prevents clogs and loss of precision but also facilitates subsequent deep cleaning, as fresh residue is much easier to remove.
For this reason, it is recommended to carry out periodic deep cleans, where all airbrush parts are disassembled, inspected, and carefully cleaned. This comprehensive maintenance ensures that even the least accessible areas are free of dried paint or pigment residue, keeping the tool in optimal condition.
Therefore, a clean airbrush not only guarantees high-quality results in your miniatures or artwork but also protects your tool investment and ensures that every painting session is fluid and controlled. Learning how to clean airbrush and adopting consistent cleaning habits is almost as important as the painting technique itself.
Necessary Tools and Products
To carry out an effective airbrush cleaning, it is recommended to have specific utensils and products for this purpose to achieve the best result. All of these can be found on the Green Stuff World website. Below, we detail the basic elements and the function of each one.
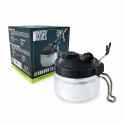
• Airbrush Cleaning Pot: Its main function is to safely collect paint residue, preventing it from being dispersed into the air and contaminating the workspace. It also reduces the fumes and particle lift generated when purging the airbrush. The Green Stuff World airbrush cleaning station includes a holder to place the tool during cleaning.
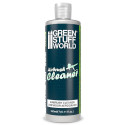
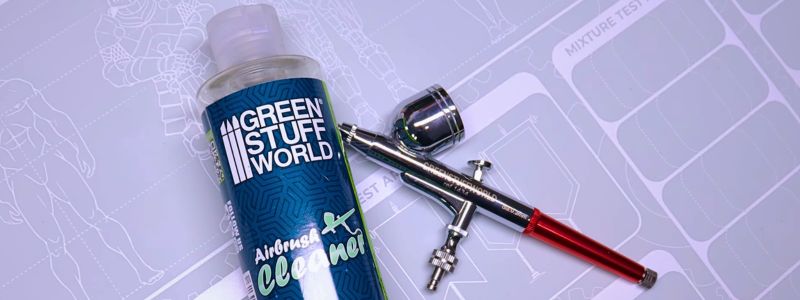
• Airbrush cleaner: Unlike water or generic solvents, the cleaner has a specific formulation to effectively dissolve acrylic paint residue without damaging the internal components. Additionally, it helps lubricate and protect the mechanism, preventing future residue accumulation. Green Stuff World's Airbrush Cleaner can be used for both quick cleans between colors and the more intensive cleans after the session.
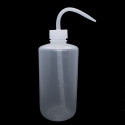
• Wash Bottle: Although it is a simple accessory—a bottle with a long, curved nozzle—it is very useful. It is specially designed for adding water or other liquids with precision so as not to waste any product or wet the work area.
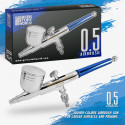
• Nozzle Cleaning Tool: The nozzle is the most delicate part of the airbrush, and the most prone to clogging. Green Stuff World's airbrush nozzle cleaner is a manual tool composed of an extra-fine needle that allows you to unblock even the smallest orifices without damaging the needle or the nozzle.
• Absorbent Paper or Cloths: Essential for any type of cleaning, you will use them to remove excess cleaner, dry the parts after rinsing, and clean the airbrush's exterior surface. They are also practical for checking if paint residue remains by spraying and verifying if the flow comes out transparent or with residual pigment. It is advisable to use lint-free paper or microfibre, or linen cloths.
How to Clean Airbrush After Each Session (Quick Clean)
Good airbrush maintenance requires a clean after every painting session. Not cleaning it correctly runs the risk of it becoming clogged by paint residue and spoiling its operation virtually overnight. To avoid this, we explain how to clean airbrush below:
Step 1: Emptying
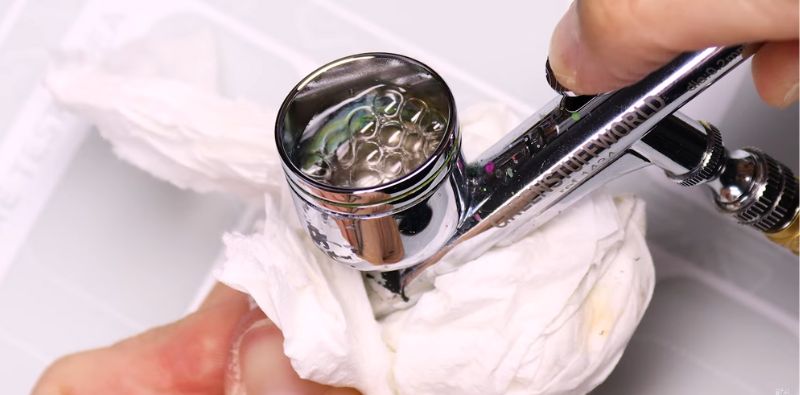
At the end of the session, empty the airbrush of any paint residue. Starting with the cup, use a piece of absorbent paper to wipe away all paint residue from the reservoir. If it has dried, add water to loosen it so it can be absorbed more easily.
Step 2: Rinse with Water
Once the excess paint is removed, fill the cup with clean water, using the siphon/wash bottle for convenience, and place the airbrush in the cleaning pot to spray the tool's contents inside. This way, you will not only empty it easily, but the station's filter will prevent any generated vapors from affecting you.
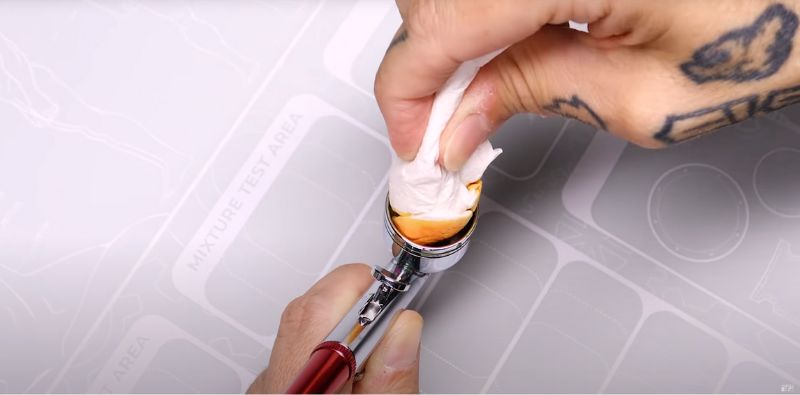
Step 3: Rinse with Airbrush Cleaner
Once emptied, we recommend washing the airbrush with a specific cleaner. Green Stuff World's cleaner effectively removes acrylic paint residue and lubricates the internal mechanisms without the need for a deep clean, preventing damage and ensuring smooth operation. In this case, cover the nozzle with a piece of paper and spray. This way, the liquid will reach all areas of the airbrush. For a deeper cleaning, you can dilute the cleaner with a little water and repeat the process if you deem it necessary.
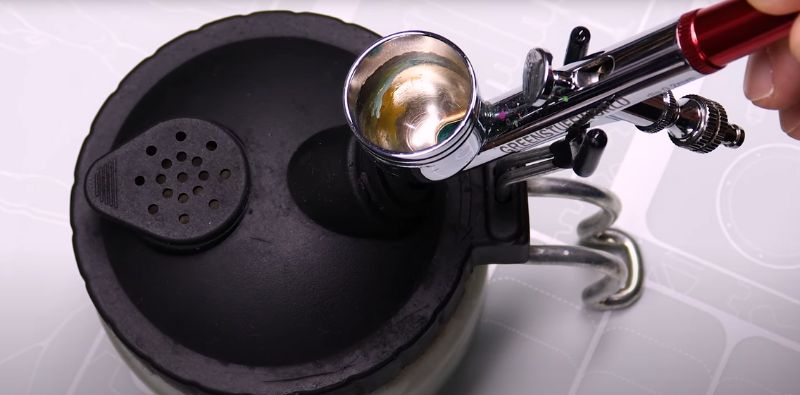
Step 4: Cleaner Spray-Out
With the cleaner in the airbrush, spray again into the cleaning pot so that the liquid thoroughly reaches the output area. This is also a way to ensure no paint residue remains inside. If there is still product in the cup, empty it.
Step 5: Drying and Storage
After cleaning, dry the necessary parts with absorbent paper or a clean cloth. Then, store it in its original case and keep it in a safe place away from bumps, humidity, or excessive heat.
Deep Cleaning
In addition to the basic clean at the end of each session, it is advisable to perform a deep clean periodically to keep the airbrush in the best condition. The frequency of this clean depends on your usage, but the optimum is every one to two months. It is also important to carry it out at the first sign of clogging. Take advantage of this time to change the needle as well. Below, we explain how to clean an airbrush thoroughly.
1. Basic Clean
To begin, clean the paint cup as taught in the previous section, as well as the interior of the tool. Once finished, it's time to disassemble it.
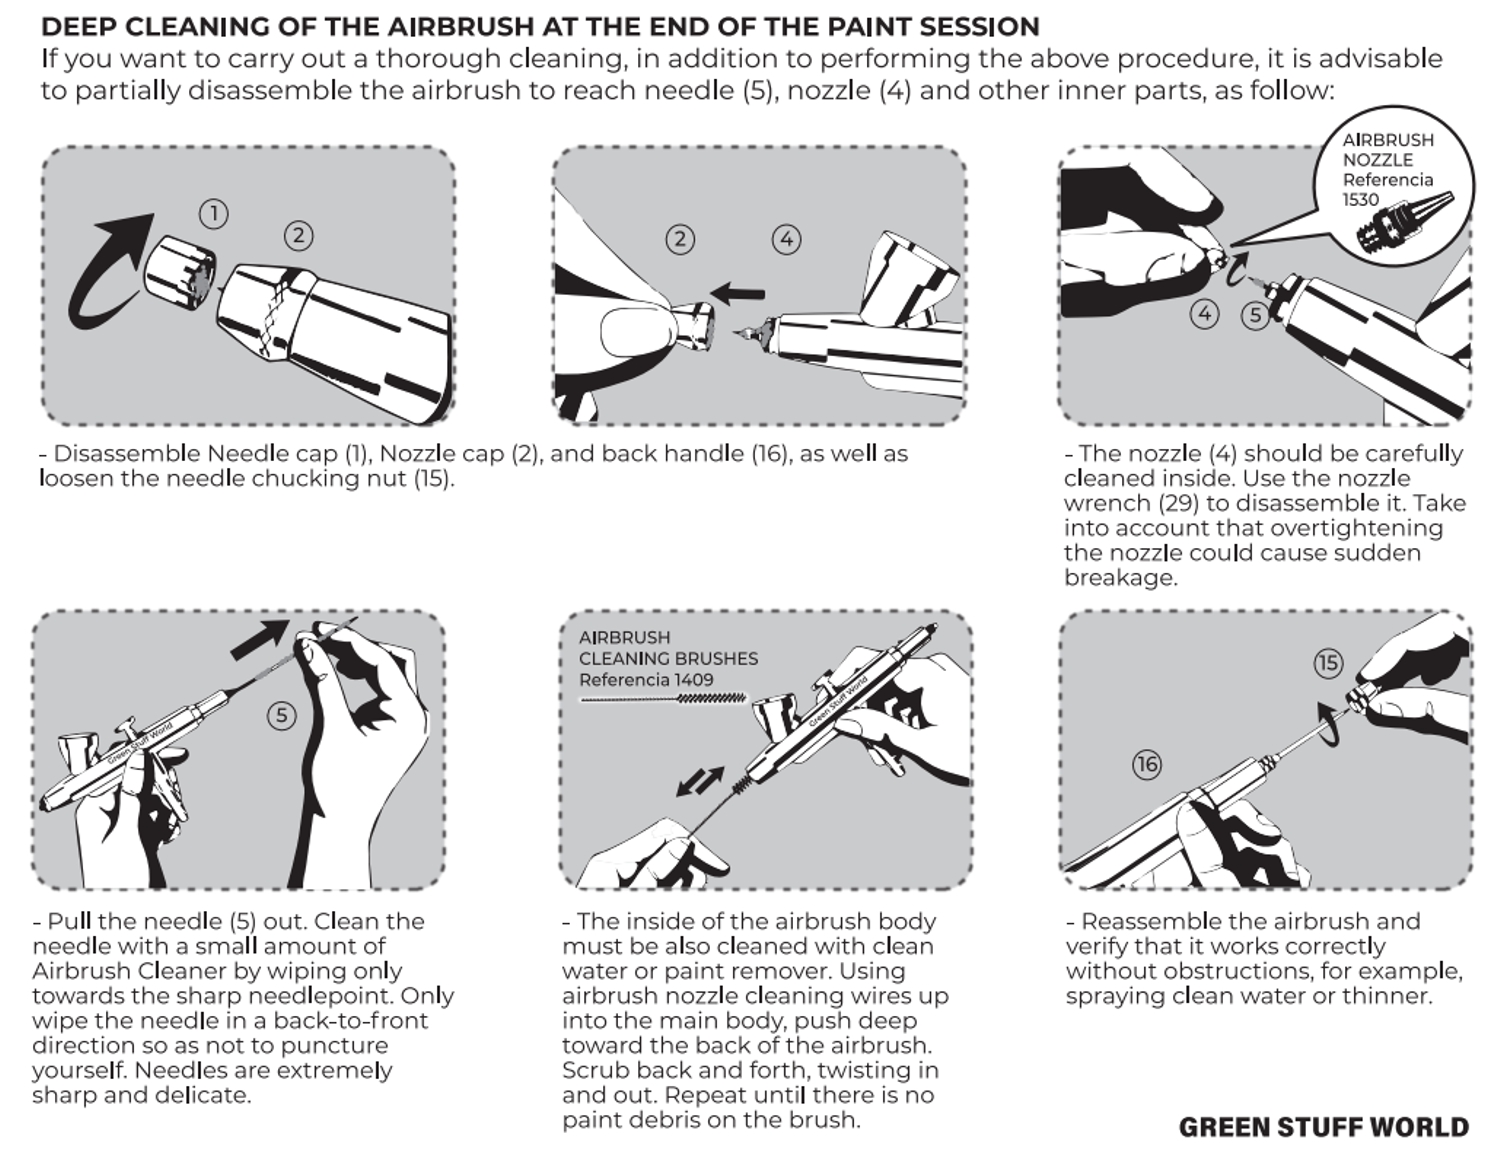
2. Disassembly
Disconnect the airbrush from the compressor before proceeding with disassembly. Separate its main parts starting by unscrewing the handle. Inside, you will find the end of the needle held by a screw chuck. Loosen it and carefully pull the needle out. It is a very delicate piece, easy to break, so handle it gently. The tip may have paint residue. Clean it with a microfibre cloth and a little cleaning product, wiping from back to front to avoid pricking yourself with the needle tip.
Next, unscrew the needle cap or head and, using the corresponding wrench, separate the nozzle from the airbrush body, and then the nozzle cap. Always follow the manufacturer's instructions for disassembling this tool, as specifications for each model may differ.
3. Component Cleaning
Place the needle cap, nozzle, and nozzle cap in a sturdy container and add airbrush cleaner until the parts are covered to loosen any stuck-on paint stains.
Remove the pieces and, before drying them, use an extra-fine tube brush (interdental brush or fine pipe cleaner) to clean the inside of each one. Use the leftover product in the container to dampen the brush and facilitate cleaning. Finally, re-dampen the brush in the liquid and clean the paint channel by inserting the brush and moving it in circles, as well as back and forth.
4. Inspection and Lubrication
Before reassembling, check all parts for wear or damage. Remember to always check the nozzle for deformations or cracks, deviations in the needle, and the paint channels for any residual paint that could lead to a quick clog. If everything is in order, you can lubricate the moving and friction-prone parts with a specific product for this purpose. The goal of lubricating these tool parts is to prevent scratches, deformations, or premature aging of its components in general. Furthermore, it helps achieve smoother and more precise operation. However, it is not necessary to lubricate every time the tool is deep cleaned. If there are paint stains on the exterior of the airbrush, clean it with a little more specific cleaner.
5. Reassembly and Final Check
Reassemble the tool following the manufacturer's instructions to avoid any mistakes. When assembling the nozzle, screw the piece on by hand and tighten it with the wrench without forcing it, to avoid damaging the part or the body. Once assembled, check that everything works correctly by connecting the air source to the airbrush and filling the cup with color or any liquid, such as water. Move the trigger down to check for air. If water comes out, the needle is not correctly positioned, as water should only come out when the trigger is moved back.
Now that you know how to clean airbrush after a session and how to clean airbrush thoroughly, save this article and refer back to it whenever you need it. Remember that keeping this tool clean is essential to prevent clogs and ensure its long and successful lifespan.
Share this content