Air Formula Acrylic Paints: How to paint a bust with an airbrush
The company Green Stuff World, with more than 10 years of experience in the scale modeling industry, has brought together all its knowledge of airbrush paint to develop this new high-performance range that has sparked strong interest within the hobby community: Air Formula acrylic airbrush paints. It will be available soon, but in this article, we will give you an early look at its most important features and, to test its efficiency and results, we will see how to paint a bust with Air Formula airbrush paints.
The science and benefits of Air Formula
One of the key aspects of the Air Formula is not only the fine grinding of its pigments, but also the acrylic medium that carries them, created to provide exceptionally high fluidity. This viscosity calibration allows the pigments to travel smoothly through the airbrush channels, atomize evenly in the air, and settle in a more controlled way on the miniature, instead of getting stuck while fighting against the needle.
Thanks to this advanced “flow science,” modelers can enjoy a truly pleasant shake, pour, and spray experience straight from the bottle, designed to offer consistent performance from the first drop to the last without the need to use acrylic thinners.
On the other hand, surface finish is a vitally important aspect when applying advanced techniques to large-scale figures. The paints in this range dry with an even matte finish, which is useful for applying later realistic effects such as weathering, dirt, and rust, among others. Unlike traditional modeling inks, which tend to be translucent, the binding matrix of this formula allows it to hold a high pigment density without having to sacrifice fluidity. This color saturation ensures strong coverage in fewer layers, even when the paint is sprayed over very dark or black primers, making it easier to create very subtle gradients and filters without oversaturating the model’s surface.
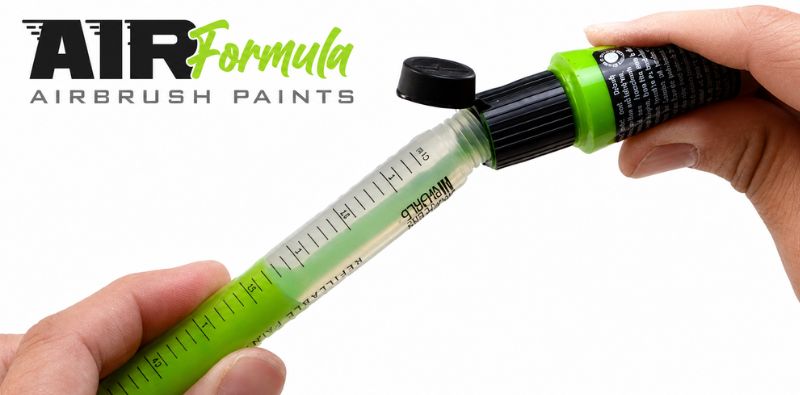
The product’s ergonomics have been carefully considered. The collection’s color range consists of 104 vibrant colors optimized to provide maximum efficiency at the workbench. Each one comes packaged in a practical bottle equipped with the new flip-top cap, whose design has been carefully developed to allow highly precise dosing in a way that is very comfortable for the user. The hinged design allows you to open and close the bottle with one hand, keeping the other free to hold the airbrush or the figure you are painting. In addition, since the cap remains attached to the body of the bottle at all times, it prevents accidents such as accidentally mixing up caps, loose caps rolling uncontrollably across the table, and cross-contamination of colors that can affect the workflow.
Structural resistance and versatility
When we take on the task of painting large projects, the physical durability of the paint is a key factor that cannot be overlooked. This advanced chemical formula has been designed to provide strong adhesion and durability, forming a robust bond with plastic, resin, and metal surfaces.
Once Air Formula paint has fully cured, it creates a flexible layer that is resistant to scratches caused by normal handling. This structural integrity means that the artist can apply washes, handle the figures, and use masking techniques with tape or putty with confidence, knowing that their base layers will remain in good condition throughout the creative process.
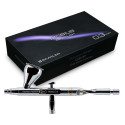
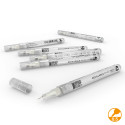
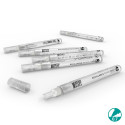
Although its name and initial functional design are focused and calibrated for airbrushing, the hidden potential of Air Formula paints lies in their creative versatility. The paint’s low viscosity and high fluidity make it a very suitable option for filling and loading refillable paint pen. This paint moves very easily through the body and fine felt tip, reducing the risk of clogging when painting fine patterns, freehands, or outlining details on busts.
On the other hand, they can also be used with a brush for certain traditional tasks, since the formula retains enough body despite its fluidity. If used on a wet palette, they can be useful for glazes, thin layers, or touch-ups, although their behavior will depend on the technique and dilution. Air Formula acts as a hybrid between fluid inks and acrylic model paints: it loads very easily into the bristles of the brush, glides smoothly over the raised details of the model, and makes it easier to carry out advanced freehand techniques such as glazes, thin layers, layering, subtle wet blending, and clean gradients.
How to paint a bust with Air Formula airbrush paints: Step by step
It is not only important to understand the characteristics and theoretical behavior of Air Formula paints; their true potential becomes clear in practice, so we are going to explain how to paint a bust with Air Formula airbrush paints.
Step 1: Priming and zenithal highlight
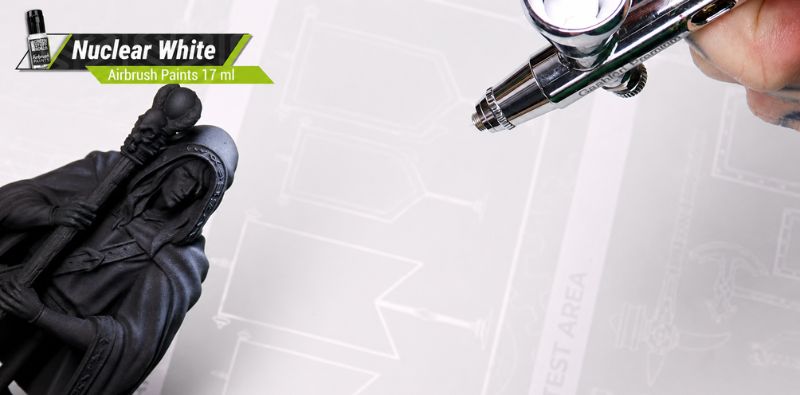
The first step in painting any large-scale piece is to correctly map out the initial volumes, lights, and shadows that shape the anatomy of the figure. To carry out this task, always starting from a figure that has previously been primed in black, dark gray, or white depending on the design, we will begin by enhancing the overall volume and visible texture by applying zenithal highlights with a white such as Nuclear White.
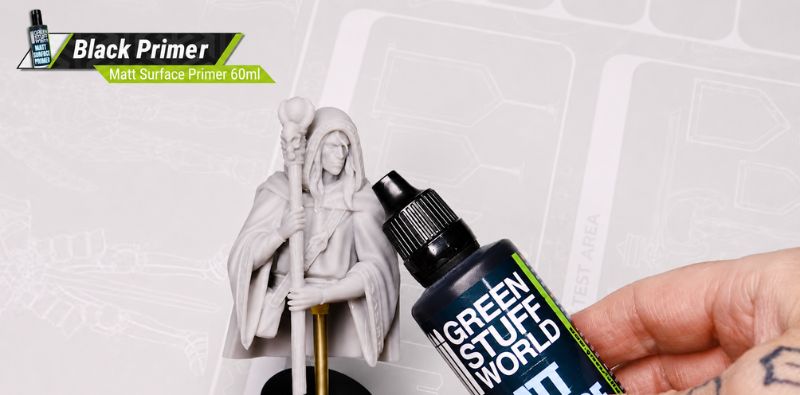
The advantage of Green Stuff World’s Air Formula that you will notice at this point is that you do not need to add thinner. Thanks to its convenient flip-top cap, the process is clean and direct: open the bottle with a touch of your thumb, pour a few pure drops into the cup of your airbrush, and it will be ready to spray. As a result, the paint will settle mainly on the areas where the light would hit, helping you distinguish the areas of higher and lower illumination.
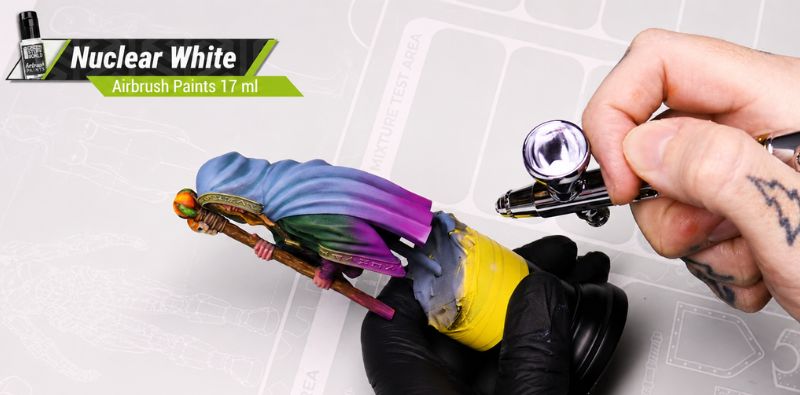
Step 2: Building lighting and contrast
In the second step, focus on building realistic lighting by establishing the primary color tones over the white guide we have just created. With a spectrum of 104 colors, along with the practically infinite combinations you can create by mixing them directly in the airbrush cup, you will have plenty of room to plan base layers, highlights, shadows, and custom mixes.
The trick is not in the amount of paint, but in making the most of the natural relief and intricate three-dimensional texture of the sculpture itself. To achieve this successfully, you should angle your airbrush by projecting it directly along the exact path of your imaginary light source. By keeping this vector unchanged, you will spray increasingly lighter and more vibrant tones exclusively from this specific angle, allowing you to patiently build and raise the facial volume and musculature of the character. By working this way, you will be able to create a dramatic lighting contrast that highlights every groove, scar, or embedded detail in the anatomy of the centerpiece.
Step 3: Masking techniques
The third step is one of the most feared: decorating textures of different materials that are sculpted together, such as cold metal armor rubbing against or biting into the warm green skin of an orc warrior, without ruining the previous work. This is precisely where you will notice the mechanical resistance of the protective acrylic layer. Once the paint has fully dried and cured, the resistant finish allows you to handle and mask the piece safely and without stress. Using masking putty, carefully cover the surface to isolate and protect the areas of skin that you have already finished. In this way, you will leave completely exposed and ready for further painting the specific areas where you plan to apply the next colors, which may correspond to thick fabrics, worn leather straps, or heavy weaponry.

Step 4: Light filters and glow effects
In this step, the goal is to add an extra level of depth by incorporating light filters and secondary lighting. In the field of epic fantasy or dark science-fiction busts, it is common to try to emulate and paint the warm reflection of flickering torches, powerful glowing runes of power, or magical spells that tint the character’s own skin and clothing.
To apply these very fine environmental light filters, the process is simplified. You need to mix a little of your paint with a few drops of thinner. By diluting the opacity of the pigment in a controlled way, you will be able to create a subtle, translucent, and ethereal underlying lighting effect that visually tricks the viewer’s eye, making it appear as if the bright light is emanating and being born from inside the figure.
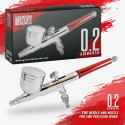
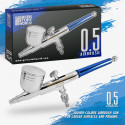
One of the technical advantages of these paints at this point is that their performance remains reliable; they work even when the modeler decides to push the limits and reduce the size of their tools to the smallest scales. You can spray these filters smoothly and without interruption using airbrushes equipped with small nozzles ranging from 0.5 millimeters in diameter to a more extreme precision of 0.2 mm. This reliability, reducing the risk of clogging in the airbrush head, is what will allow you to draw extremely fine lines to define complex contours and direct light reflections with great precision.
Step 5: Final details
The fifth step consists of polishing the overall quality of the piece by patiently applying the final touches, many of them requiring microscopic precision, and the last details. Although most of the work is completed through the creation of volumes, lighting atmosphere, and softer transitions, the bust always requires fine finishing work around the wrinkles of the eyes, the highlights on sharp teeth, the wear on metal straps, or the tiny cuts in scarred skin.
Since Air Formula airbrush paints can also be used with a brush, they are useful for touch-ups, glazes, details, and thin layers. However, it is important to keep in mind that their consistency is more fluid than that of many conventional acrylics, so the amount loaded onto the brush and dilution control will be important when painting these small freehand details, organically unifying the lighting across the entire sculpture.

In the end, learning how to paint a bust with Air Formula airbrush paints is no longer an unreachable challenge. It becomes a methodical, satisfying, and fun process when you know exactly what you need to do and have the right technology.
Share this content