

How to make a forest diorama
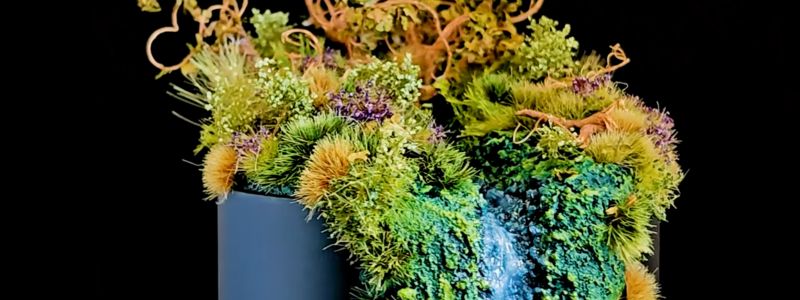
In this article, we are going to explain, in detail, how to make a forest diorama so you can replicate it at home without making a single mistake. This landscape includes a waterfall, cliffs, and an entire ecosystem of plants and trees full of saturated colors. All the products you need can be found in the Green Stuff World online store.
Below, we will break down every step, every technique, and every product we used so you can follow the process step by step. To make the task easier, at the end of the article you will find a video so you can follow the steps in a more visual way.
Materials to create a forest diorama
Before we start explaining how to make a forest diorama from scratch, make sure you have all the necessary materials and tools to carry out this project and achieve a realistic look for the terrain relief and vegetation.
| Product / Material | Use in the project |
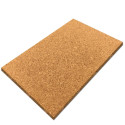
| Cork Sheets | Building the cliff structure. |
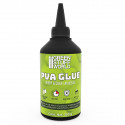
| Cyanoacrylate Glue and PVA Glue | Bonding the cork and fixing the miniature trees. |
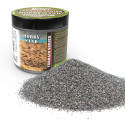
| Thin Hobby Sand | Texturing the bottom of the waterfall. |
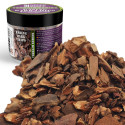
| Earth textures and bark chips | Creating realistic ground and rear texture. |
| Paints: Dark Evergreen, etc. | Base coloring and creating highlights and shadows on the ground. |
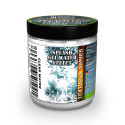
| Water Effects | Modeling the waterfall and the turbulent current. |
| Vegetation: tufts, roots, micro leaves | Organic decoration and tree creation. |
1.Building the main structure
The first step to creating the forest diorama is to prepare a black pedestal by making a groove in it that will represent the waterfall in this landscape. The easiest option is to use an electric sander, but a flat screwdriver or a similar tool will also work perfectly well. The trench should run almost completely through the center of the pedestal. Sand one of the sides of the pedestal as well, following the gap, to create the illusion of an infinite waterfall. The hole should be irregular, just like water when it flows or falls from a waterfall.
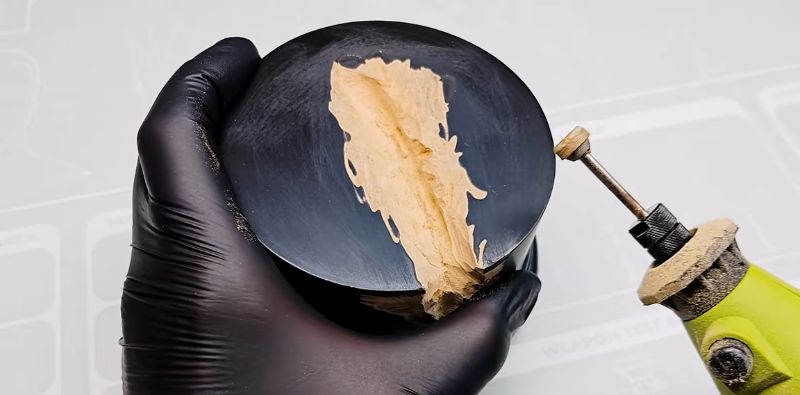
Next, take the Cork Sheets to create the cliffs. Mark and cut a circle on the material matching the size of the pedestal, then remove the central area that would coincide with the waterfall gap. To ensure better adhesion for the cyanoacrylate, scratch the base with a hobby knife before gluing the cork. Cut two more layers of cork and glue them one on top of the other to finish creating the cliff effect.
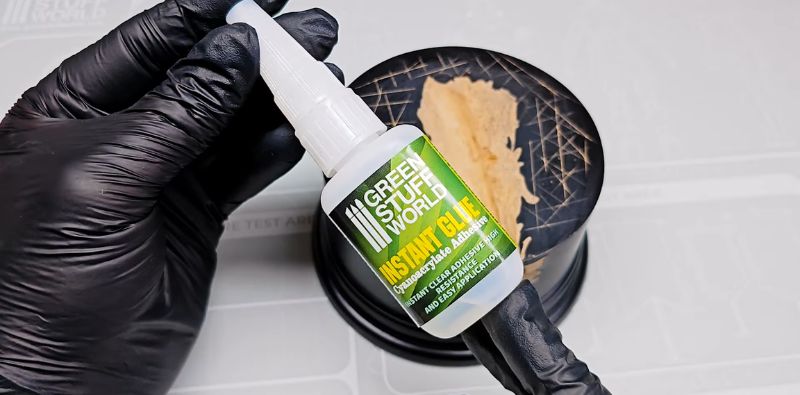
Fill the lower part of the waterfall with Thin Hobby Sand, imitating the stones at the bottom of any river. Press gently to fix them onto the glue.
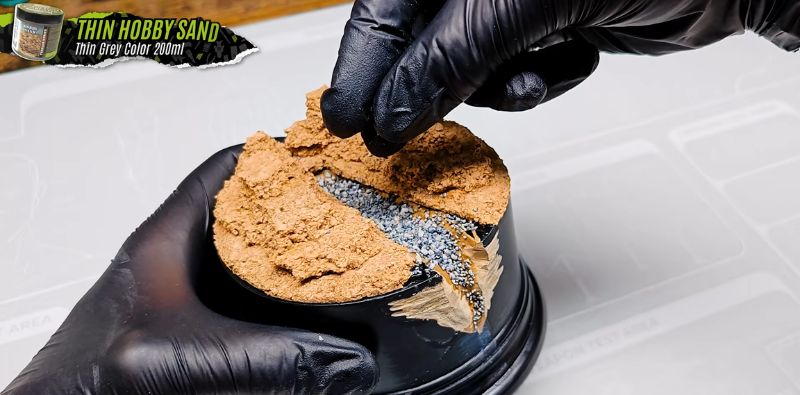
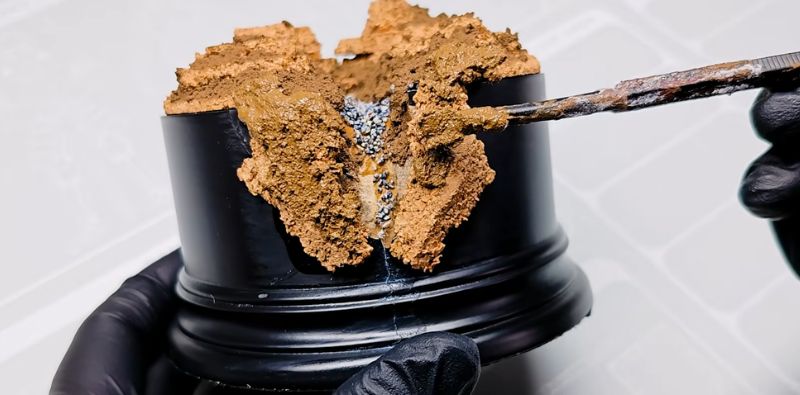
Once the basic shape of the forest diorama is assembled, it is time to give the terrain a more natural touch. To create realistic rocky ground, apply earth texture between the layers of cork. Repeat the process, cork and earth texture, at the final area of the waterfall to add depth.
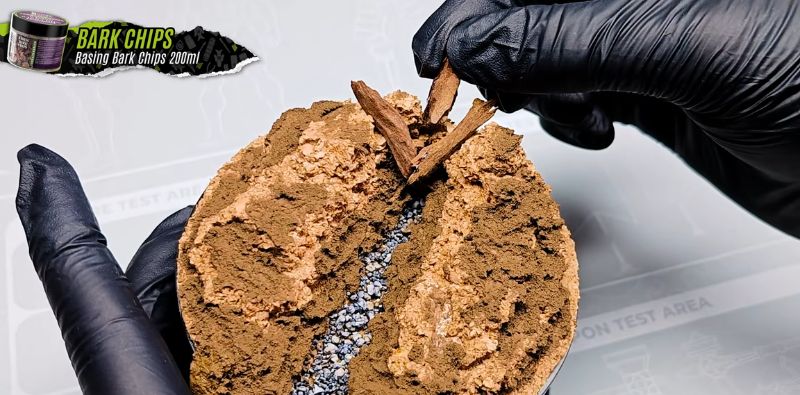
To complete the structure at the back, from where the waterfall emerges, add a few pieces of bark to provide a new layer of organic texture. When you reach this point, let everything dry and cure completely before you start painting.
2.Painting process
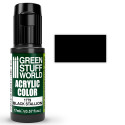
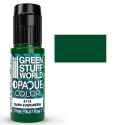
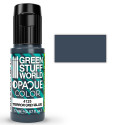
Once the structure has cured, start the painting process for the forest diorama. The first step, as in any diorama and miniature painting process, is to apply a black primer over the entire surface to ensure that the paint applied later adheres evenly. Then, apply a first green base coat over the entire terrain, except for the water trench. To do this, mix Dark Evergreen and Black Stallion and paint by gently dabbing with the brush so the paint reaches every corner, even the most irregular areas. For the first coat in the waterfall area, apply the Terror Grey Blue shade.
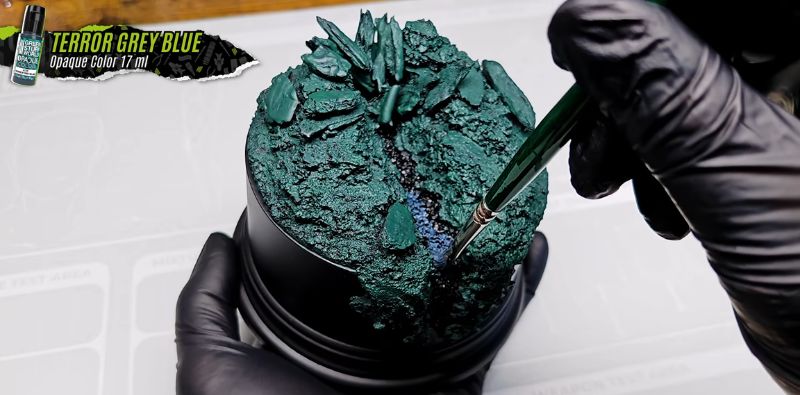
This is where different painting techniques come into play to achieve specific effects. To begin, tear a piece of foam with your hands to give it a pyramidal shape on one side, the same side where you will need to apply paint, in this case Green Evergreen, and spread it by dabbing it over the green surface to start creating highlights, shadows, and contrast. On the highest edges of the cliffs, use even lighter shades. We used Gangrene to create very realistic depth.
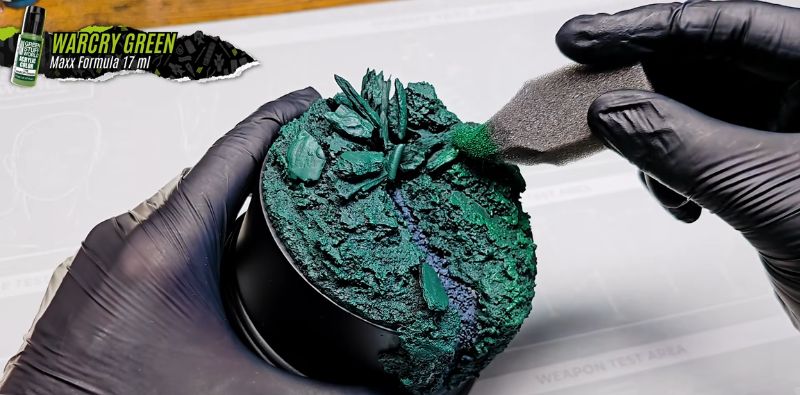
Repeat this same foam-dabbing technique over the water area by combining Terror Grey Blue and Mint Twister. To blend the colors together and reinforce the atmosphere of the terrain, apply Transparent Sepia Ink over the surface, allowing it to flow and settle into the recesses to create deep shadows.
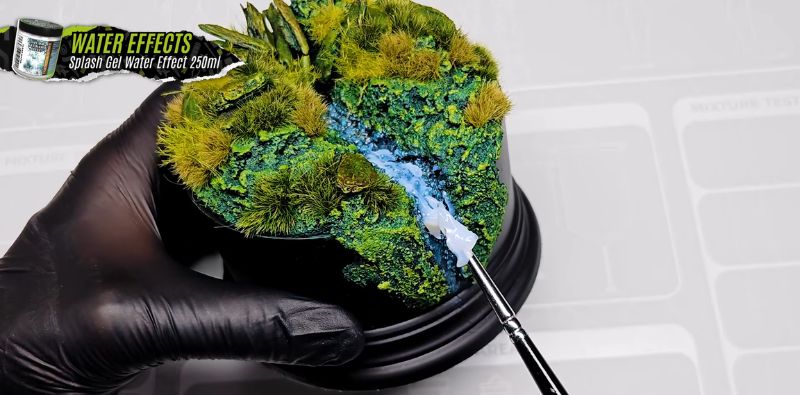
Immediately afterward, begin working on the realism of the water. Using a brush, apply a first irregular layer of the Water Effect product and let it dry completely so it takes on a turbulent and realistic look. After this step, and while this first layer is drying, you can begin decorating the diorama with all kinds of plant elements that evoke a true green forest.
3.The vegetation of a forest diorama
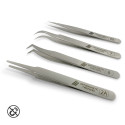
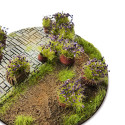
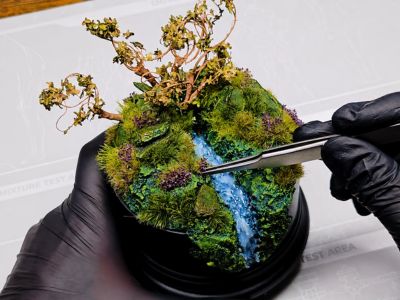
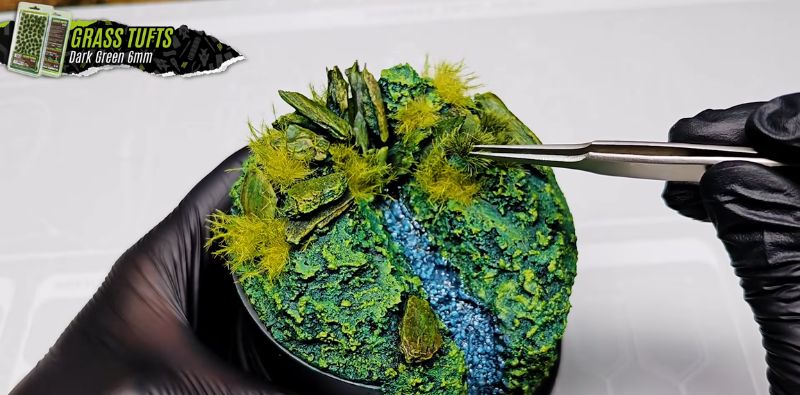
To make this diorama look like a real forest, you need to add flourishing vegetation, which will give it a lush appearance. To begin, you can mix thorny bushes with grass tufts. Use anti-magnetic precision tweezers to make the task easier and place them exactly where you want them. This vegetation is self-adhesive, but if you want to reinforce the bond, apply a little white glue or PVA Glue. Place them wherever you prefer, depending on your style and aesthetic judgment. It is advisable to alternate different shades in each area to achieve a more natural and varied finish.
At this point, the first layer of Water Effect will have dried completely, so you can apply a second one before continuing and leave it to dry while you keep working on your design. This time, try to recreate the effect of a waterfall by using a much larger amount of product in strategic areas to simulate a fast current.
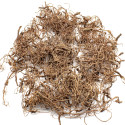
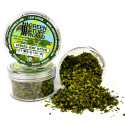
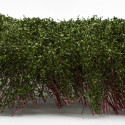
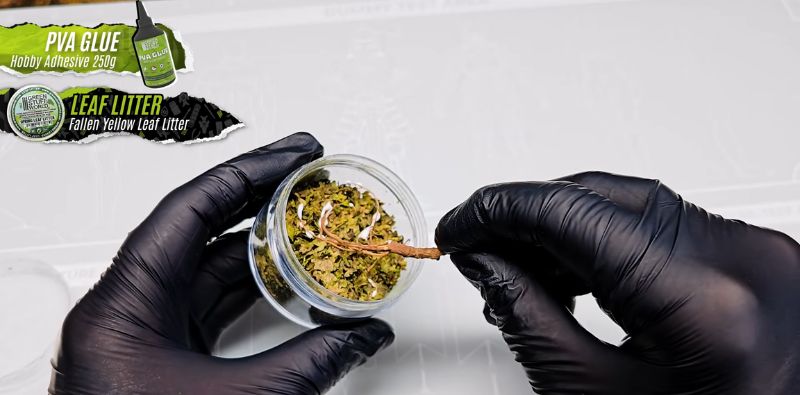
To give the vegetation of the forest diorama its final touch, you can create larger trees and bushes that stand out among the clumps by using roots for dioramas. The process is quite simple: take roots shaped like trunks and branches and apply white glue with a brush directly onto the tips of the roots that will act as branches. Then, press them into a container filled with micro leaves so they stick in place. Repeat the process with as many trees as you want.
Fix all your trees onto the diorama by taking advantage of the gaps left between the pieces of bark and the cork so they become perfectly integrated into the landscape. Insert and fit the roots firmly into the structure with cyanoacrylate glue so they do not move.
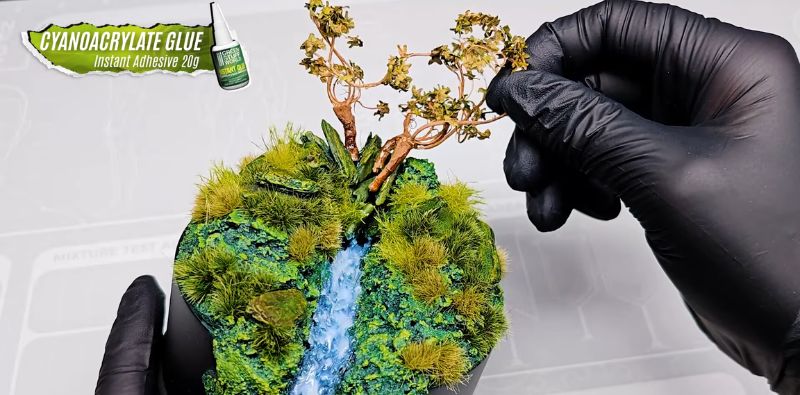
Finally, to add a touch of color, you can include tall bushes in the color that best suits your design and some tufts that simulate flowering plants to reinforce the impression of a blooming environment.
Share this content