

How to start a model train hobby in 8 steps
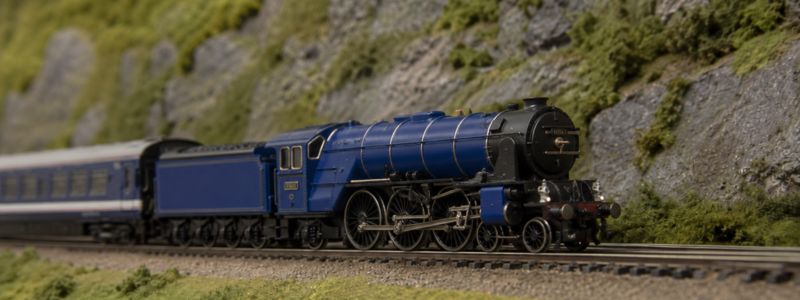
If you are wondering how to get started in the model train hobby, you have come to the right place. The model train hobby is the technical practice of building and operating a scale representation of the real world, using trains, tracks, landscapes, and miniature buildings. As a beginner, you will face a series of technical and mechanical decisions that range from spatial planning to electricity and scenery building. Below, we explain in detail everything you need to know to start your project from scratch.
1. Choosing the scale and era in the model train hobby
The most important decision you must make when starting your layout is the scale, which defines the physical size of the miniatures in relation to the real prototypes. This choice will determine the physical space you will need and the commercial availability of the products. In the model train hobby there are multiple options, and each one presents advantages and disadvantages regarding space and manual skill.
| Scale | Ratio | Mechanical and spatial characteristics |
| Z | 1:220 | It is one of the smallest commercial scales, suitable for very limited spaces. |
| N | 1:160 | It allows complex layouts in a small amount of space. It requires good manual dexterity because of the size of the parts. |
| TT | 1:120 | Intermediate scale, Tabletop. It is less delicate than N, but it saves more space than HO. |
| HO / OO | 1:87 / 1:76 | HO is the most popular scale. OO is its equivalent in the United Kingdom. Both share the same track gauge, although they do not have exactly the same scale, 1:76 vs 1:76.2. They offer the largest product catalog. |
| O | 1:48 | Large and heavy models that require a lot of physical space. The level of detail is very high. Around 1:48 according to the American standard, with variants depending on the country. |
| G | 1:22.5 | Large-scale size, designed mainly to operate in gardens and outdoor spaces. |
In addition to the scale, you must decide the era and the geographical location of your layout. This will define whether your tracks will be traveled by steam locomotives from the early twentieth century, transition-era machinery, or modern diesel trains. Maintaining historical consistency will make it easier for you to choose vehicles, structures, and types of cars for your track plan.
2. Planning the space and track layout
Once you have chosen the scale, you must evaluate the real space you have available. If you have an entire room, you can choose a perimeter design attached to the walls, which maximizes the length of the route. If space is limited, point-to-point designs, where trains go from one terminal station to another without running in circles, are very efficient and better replicate the operation of a real railroad.
When drawing your plan, you must establish the minimum radius of your curves. You should avoid excessively tight radii, since long trains, such as modern passenger cars or large steam locomotives, will not behave well mechanically and could derail. It is also advisable to implement transition curves, known as easements, which consist of gradually moving from a straight section into the maximum radius of the curve, reducing the lateral force on the couplers of the cars. To ensure that two trains can pass each other without colliding, you must maintain a standard separation between parallel tracks, based on track gauge measuring tools.
3. Building the base table
The physical support of your layout must be sturdy and perfectly level. When building the frame, there are several structural techniques in the model train hobby that you can apply:
• Open Grid: This consists of assembling a rectangular frame made of wooden strips, generally 1x4 inches, with interior crosspieces spaced regularly. This structure allows you to cut the base in specific areas to simulate elements below track level, such as riverbeds or ravines.
• L-Girder: 1x4 and 1x2 inch boards are assembled in the shape of an inverted “L” for the main girders, onto which the crosspieces are screwed. It provides great structural strength and allows you to easily move the crosspieces if they interfere with the wiring or the switch motors.
• Extruded foam insulation: On top of the plywood base, you can glue panels of extruded foam, for example 3 to 5 cm thick, depending on the relief you want to create. The foam is lightweight, insulates the noise from the rolling trains, and can be carved with blades or hot wires to form the relief.
You should always use wood screws, such as drywall screws, instead of nails, drilling pilot holes beforehand to prevent the wooden strips from splitting.
4. Types of track and their installation on the layout
The rail material will directly affect electrical performance. It is advisable to use nickel silver rails, since they offer better performance and maintenance than brass or steel in most modern layouts. The size of the rail is classified by its “code,” or Code, which indicates its height in thousandths of an inch. In HO, Code 100 is common in basic sets, but Code 83 offers a much more realistic and proportionate appearance.
You can install sectional track, which comes in fixed lengths and radii. Many beginners use sectional tracks with integrated plastic ballast because they keep the mechanisms away from dirt on temporary surfaces and guarantee firm electrical connections. However, for permanent layouts, flexible track, or flex track, is superior. It is supplied in sections of approximately 90 centimeters and allows you to form custom curves and reduce the number of metal joints, which decreases conductivity problems.
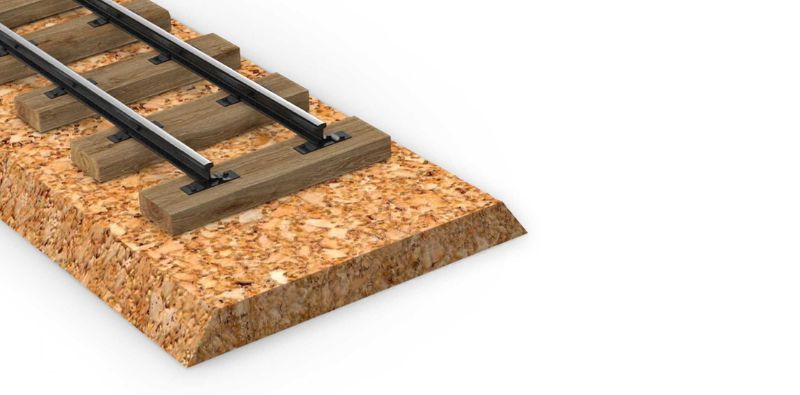
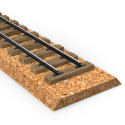
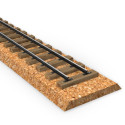
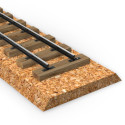
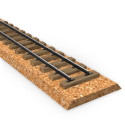
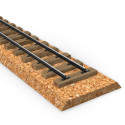
Before fixing the tracks, a cushioning base called foam or cork “roadbed” is usually installed. Cork provides a beveled profile that imitates the gravel shoulder of the real railroad. Finally, the track is fixed to this base using scale track nails or special adhesives compatible with plastics.
5. Power supply and electrical control systems
Providing constant power is a critical step in the model train hobby. Basically, you have to choose between two technological platforms: Direct Current, analog DC, and Digital Command Control, DCC.
With the analog system, DC, the voltage of the tracks varies to control the speed of the train. If you want to operate multiple trains independently in DC, you will have to divide the tracks into isolated electrical “blocks” using plastic connectors and use toggle switches on a control panel to direct power to each block.
The current standard alternative is the DCC system. In DCC, the track receives a constant digital bipolar square wave signal. Each locomotive incorporates a microprocessor, the decoder, which interprets the commands from the central controller. This allows you to control the speed, direction, and functions such as sound and lights of dozens of trains on the same track without the need for block switches. To ensure power distribution without voltage drops throughout your layout, you must install a main wiring line under the table, Bus, using 14 AWG wire, and connect thinner feeder wires, feeders, 18 AWG, soldered to the rails every 90 centimeters.
6. Selecting and maintaining rolling stock
The selection of locomotives will depend entirely on the historical accuracy of your track plan. Today, the vast majority of modern locomotives are sold in “Ready to Run” (RTR) format. It is advisable to purchase locomotives listed as “DCC Ready,” which operate on analog direct current but have standardized internal sockets to easily plug in a digital decoder if you decide to upgrade your system in the future.
The maintenance of your freight or passenger cars requires periodic checks. Many modelers replace plastic axles with metal wheels, since plastic accumulates electrostatic dirt that is deposited on the rails, harming electrical contact. Use an NMRA gauge to verify that the distance between the wheels and the height of the couplers is within the required standard to avoid accidental uncoupling or derailments on turnouts. You should also weigh your cars; rolling stock that is too light will derail easily, so you will have to add hidden adhesive weights inside the cars following the recommended weight standards by length and scale.
7. Developing the scenery, vegetation, and structures
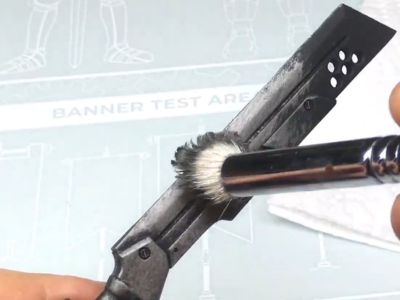
Scenery turns a simple table with tracks into a realistic geographic diorama. You should seal your carved foam base or apply a cardboard web covered with plaster-impregnated gauze to build the uneven terrain. Rock outcrops are made by pouring plaster into latex molds. Once dry, these plaster rocks are glued to the main structure and painted using stippling or dry brushing tequniques with liquid acrylics to highlight the mineral textures.
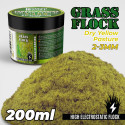
On the ground areas, paint the surface with acrylic or latex paint and scatter foam powder in various colors to imitate low vegetation. A professional finish in the model train hobby requires the use of static grass. Using an electronic applicator, a group of synthetic fibers is electrically charged so they fall vertically onto a layer of glue or matte medium, imitating grasses and weeds in a three-dimensional way. Track ballast is applied dry over the ties and then fixed permanently by dripping soapy water followed by a dilution of white glue. Buildings can be purchased as styrene kits, injection-molded plastic, or as laser-cut kits made of wood and cardboard, which must be glued using squares to ensure exact 90-degree angles.
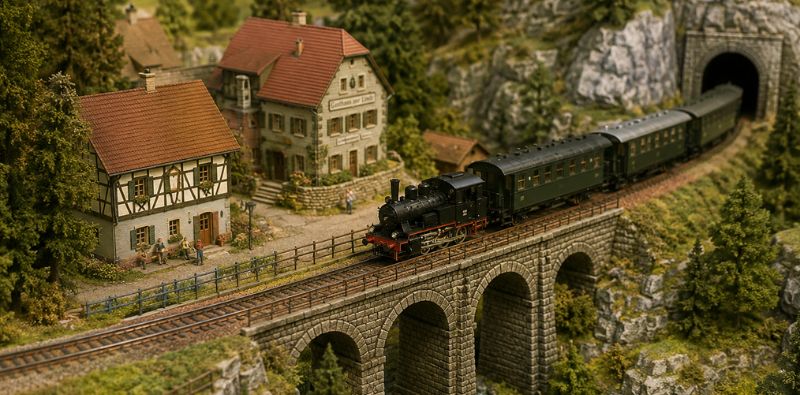
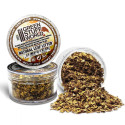
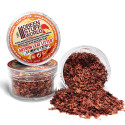
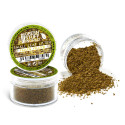
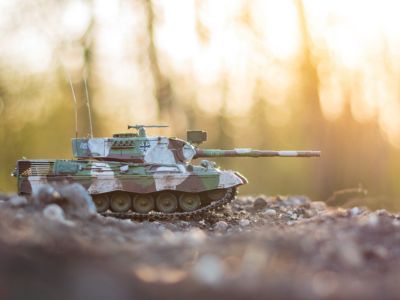
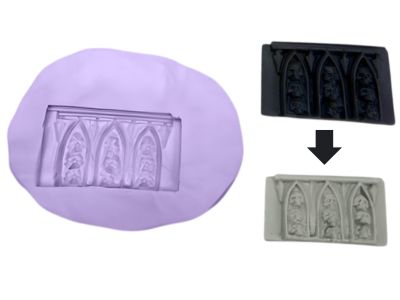
Other options for decorating the landscape around the train are elements that can be found in any modelmaking store for miniatures, such as cork to create structures, acrylic paints and effect paints to add more realism to the environment, molds for making buildings, hobby sand, or grass tufts.
8. Introduction to railroad operations
To maximize the useful life of your layout, you can implement “operations” sessions. Operating in this context means assigning real logistical purposes to your trains, instead of simply watching them run around the main line. You and other operators can take on specific roles: the dispatcher who controls traffic safety, the yardmaster who classifies and assembles the trains, or the engineer who drives the locomotive toward industrial customers.
To direct this flow of goods, physical documents are used, such as car cards, which contain a sleeve where a waybill is inserted indicating the destination of that specific load. Alternatively, printed switch lists are used, indicating which cars must be picked up or delivered on specific industrial tracks. This logistical simulation transforms the model train hobby into a very deep and methodical tactical exercise.
By following all these constructive and technical procedures, you will be ready to plan, wire, and build your own infrastructure with solid foundations, mastering the real basics of the model train hobby.
Share this content