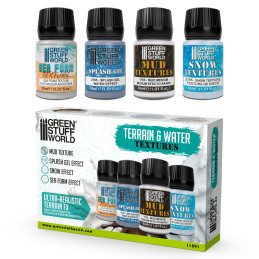
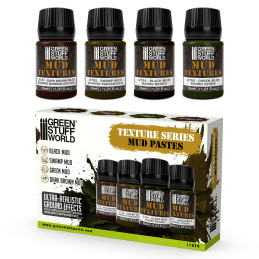
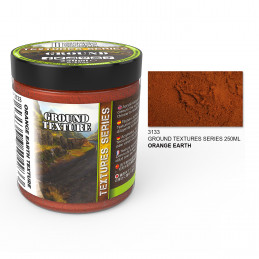
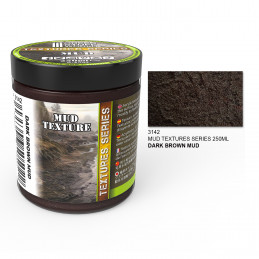
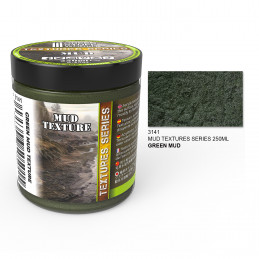
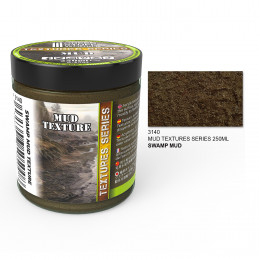
Texture paint for miniatures and scale models, often referred to as miniature texture paste, are specialized paints that add depth and dimension to your miniature models and dioramas. These unique textured paints contain added texture agents like sand, grit, or fine particles in different thicknesses to create realistic surfaces. They're particularly valuable for replicating finishes such as stone, mud, concrete, or rough terrain.
When applied, texture paint provides a tactile quality to your miniatures, making them stand out with lifelike surfaces. Whether you're working on a fantasy landscape, a sci-fi battlefield, or historical miniatures, they will allow you to achieve a remarkable level of detail and realism.
How to paint texture paint compatible with Warhammer Bases?
Applying texture paint to your miniature bases is a straightforward process that can greatly enhance the visual appeal of your models. Start by selecting the appropriate product for your desired effect.
Texturing a compatible Warhammer® base as well as any other wargame surface is an essential step in creating a visually appealing and thematic miniature for tabletop wargaming. They easily add depth and character to the base, making your compatible Warhammer® miniatures stand out on the battlefield.
Begin by priming your miniature with a suitable primer. Once dry, use a palette knife, a small spatula, or a paintbrush to spread it evenly over the areas where you want to add customization. Work in small sections to ensure precision and control.
Select an effect paint that suits the theme of your compatible Warhammer® miniature and its environment. There are various options available, such as a sandy finish for deserts, a grassy finish for meadows, or a rocky finish for urban or battlefield settings.
Squeeze a small amount onto your disposable palette. Using a palette knife or an old brush, carefully apply it to the base. Start by spreading the product around the edges and then work your way toward the center.
Use the palette knife or brush to shape and sculpt it to create natural-looking contours and variations. You can build up to create little hills or mounds, or you can create depressions to represent footprints or worn areas.
After applying the texture paint, allow it to dry thoroughly. This may take a few hours, depending on the thickness of the application and environmental conditions. Once dry, you can further enhance the effect by painting over the surface with acrylic paints, adding colors and highlights to match your army's overall design.
Depending on the theme and your creativity, you can add extra details at this stage. For example, you can embed small rocks, twigs, or plastic debris to simulate a more realistic environment. Just make sure they are securely adhered to the base.
Once the base is fully textured, painted, and sealed, you can securely attach your compatible Warhammer® miniature to the base using modeling glue or cyanoacrylate glue. Ensure that the figure is centered and positioned appropriately on the base.
By following these steps, you can effectively add details to your Warhammer® bases to match the theme of your army and create a captivating and immersive tabletop gaming experience. Experiment with different products and painting techniques to bring your minis, figures, and dioramas to life and make them stand out on the battlefield.
How to make textured paint?
if you want to make your textured paint, it will be a cost-effective and versatile way to customize various art and craft projects, including miniature bases for gaming miniatures. Here's a simple guide on how to make textured paint:
Materials You'll Need:
Decoupage Medium: This serves as the acrylic medium base and can be found at most Green Stuff World hobby shop
Baking Soda or Fine Sand: Depending on the finish that you desire, you can use baking soda for a finer finish or fine sand for a coarser finish.
Acrylic Colors: To tint the mixture to your desired color.
Mixing Container and Spatula: For mixing the ingredients.
Steps to make textured paint:
Measure and Mix: In a mixing container, begin by measuring out the decoupage medium. The amount you use will depend on how much paste you need for your project. Start with a small amount, as you can always make more if needed.
How to apply it: Now, add your choice of charge material, either baking soda for a finer finish or miniature basing sand for a coarser texture. Begin with a small amount and adjust to achieve the desired texture. Mix thoroughly until you reach a paste-like consistency.
Tint with acrylics or pigments: To give the desired color, mix it with acrylics or pigments. Mix the colors into the paste until you achieve the desired hue. You can use various shades to create depth and realism in your texture.
Apply the Paste: After it is ready, use a palette knife or an old brush to apply it to your project surface. You can sculpt and shape the paste to create the desired texture, whether it's rocky, muddy, or sandy.
Let It Dry: Allow to dry completely. Drying times can vary based on the thickness of the application and environmental conditions, so be patient. Once dried, you can dry-brush it and detail the textured surface as needed to match your project's theme.
Making textured paint allows for customization, cost savings, and the flexibility to adapt the product to your specific project requirements. Experiment with different charges, materials, and colors to achieve stunning and unique results in your art and crafting endeavors.
What Are the Benefits of Using Miniature Texture Pastes?
Miniature texture pastes offer several advantages for hobbyists and model enthusiasts. Firstly, they allow you to achieve intricate and realistic textures that would be challenging to recreate with traditional paints alone. Whether you're simulating cobblestone streets, rocky terrain, or weathered walls, these products will bring easily your figures to life.
Additionally, textured paints provide durability to the surfaces they cover. They can withstand handling, making your figures or dioramas more robust during gaming or display. The tactile nature of textured surfaces also adds a sensory element to your models, enhancing the overall experience.
Furthermore, these types of paint effects simplify the process of adding a special finish to your figures and dioramas. Rather than painstakingly sculpting every detail, you can achieve remarkable results quickly and efficiently with these specialized paints.
Can You Customize Miniature bases using texture pastes for unique effects?
Yes, you can easily customize your board game miniature bases using texture pastes to achieve unique effects that match your creative vision. Many board game players and artists mix textured paints with other mediums or pigments to create custom textures and colors. You can experiment with adding fine sand, crushed rocks, or other materials to the paste to achieve specific textures.
Additionally, you can blend or layer different products to create intricate surfaces. Combining various colors and textures allows you to simulate everything from lush moss to gritty industrial landscapes, adding diversity and richness to your projects.
Remember to experiment on a spare piece or test surface before further application onto your miniatures to ensure you achieve the desired result.
How Do You Seal and Protect Miniatures with Textured Paints?
To preserve and protect your miniature bases, it's essential to seal them properly. After allowing the layers to dry thoroughly, apply a suitable matt varnish or an acrylic sealer.
Varnishes or miniature sealants come in matte, satin, or glossy finishes, depending on your preference. Apply a thin, even coat of the sealant to ensure that it covers the textured surface without obscuring the details. Allow the sealant to dry completely before handling or displaying your miniatures.
Proper sealing not only protects the finish but also enhances the overall appearance, giving it a professional and long-lasting finish. It also helps prevent chipping and wear, ensuring your miniature creations stand the test of time.
Incorporating miniature texture pastes into your hobby projects can elevate your figures and dioramas to new levels of realism and visual appeal. Experiment with different products, materials, and techniques to create captivating and immersive miniature worlds that capture the imagination of both hobbyists and onlookers alike.
What are the best alternatives to citadel textured paints?
For those seeking alternatives to Citadel® textured paints, two prominent options include crafting your own DIY textured pastes and using Green Stuff World texture pastes.
1.- DIY pastes using decoupage medium provide cost-effective creativity, allowing you to tailor the finish to your preferences.
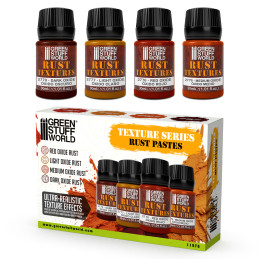
2.- Green Stuff World texture pastes, on the other hand, offer convenience and a range of pre-mixed products in different formats and colors, simplifying the basing process.
These alternatives cater to diverse miniature-basing needs, catering to both the budget-conscious and hobbyists looking for ready-made solutions.
Warhammer® and Citadel® are registered trademarks of Games Workshop Limited. The products offered are not affiliated with, authorized by, or endorsed by any of these companies. Green Stuff World only manufactures and markets compatible products designed for use with these and other miniature lines.