How to dry brush: Complete guide for modeling
The dry brush technique is one of the most versatile in the world of modeling. Using it is simple and fits almost any project that requires adding relief, lighting, natural contrasts, or volume in a very short time, without needing extensive knowledge and with minimal effort compared to other methods. Knowing how to dry brush allows for everything from the creation of arid deserts on bases to the highlighting of armor for galactic warriors.
Although it is sometimes described as a technique suitable for beginners, advanced dry brushing requires precise control of moisture, pigment load, and brush pressure on the surface. In this Green Stuff World guide, we break down every technical aspect so that you learn not only how to execute it but also how to turn it into a recurring precision resource that adds realism and depth to your miniatures.
What is the dry brushing technique?
Before delving into how to dry brush, we must understand what it is to comprehend the procedure we are carrying out. It consists of using a special brush with a minimum amount of paint to deposit pigment only on the most prominent parts of a textured surface. It is a subtractive lighting technique: instead of painting the entire surface, we only "stain" the edges and raised textures, leaving the gaps and crevices in the base color, which is usually darker.
This process generates instant contrast that defines the shape of the piece without the need for complex freehand gradients. It is especially useful on surfaces with organic textures such as scales, rocks, fur, or chainmail, where a traditional brush would take hours to highlight each individual detail.
Choosing the equipment: Suitable brushes and paints
The first step to obtaining a good result with the dry brush technique is choosing the right tools. Not all brushes are suitable, and using one without the proper characteristics will frustrate the process and will not give us the expected result.
Type of brush for dry brushing
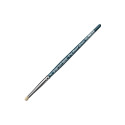
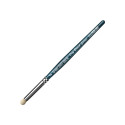
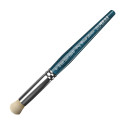
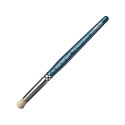
Specific brushes exist for this technique that offer unique results; brushes like Kolinsky sable and, in general, any with a sharp point are not suitable. Brushes are needed, preferably with bulb-shaped bristles and slightly rounded tips. However, traditionally, old or somewhat damaged brushes have been used—those with which it is no longer possible to paint meticulously—because it is a very aggressive technique for them. Ideally, they should at least be dense.
Additionally, we must choose between natural and synthetic bristle brushes. In this case, as resistance is needed in the bristles, a synthetic one will last longer instead of breaking as happens with natural bristles.
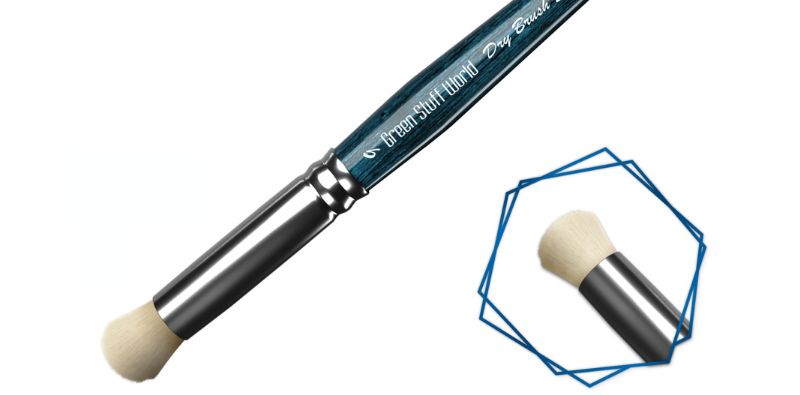
Regarding the shape, the ideal brushes are those with bulb-shaped bristles, dense and with a rounded tip closer to flat. In the Green Stuff World catalog, we have several options for dry brushes with a domed shape that allow the paint to blend smoothly without leaving unsightly streaks. You can choose between several thicknesses depending on the area where you want to apply the technique, or choose the pack to have the ideal brush for every situation on your workbench.
Paint for dry brushing
Several types of paint can be used, but standard acrylic paint is the most common, although it must contain a high pigment load. Paints with bases other than water or excessively diluted ones do not work well because they moisten the bristles too much, turning the dry brush into a liquid paint smudge without texture that runs into the gaps we want to keep dark.
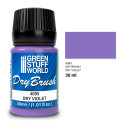
If you have the opportunity, use specific paint for dry brushing, as it is specially designed for this purpose, and the results cannot be compared to the use of any other paint. In fact, its texture is very different from the usual ones; it is much denser, almost a paste, so that only pigment remains on the bristles. Furthermore, it is most common to use pastel tones because they are less transparent. Primary and secondary colors are more transparent, so they may not be seen or stand out enough.
Preparing the brush: Loading and unloading paint
A large part of a good dry brush is based on the proper loading of the paint. So much so that many errors in this technique occur before the paint even touches the figure.
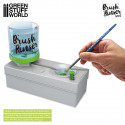
Before loading paint, it should be clarified that, despite the name of the technique, moistening the brush is a good practice to achieve a more regular finish and smooth transitions. If the bristles are totally dehydrated, the paint can dry on them or crack and flake off in lumps. To moisten it, use a dampening pad with very little water, as in this case, it is not about diluting the paint. If it remains too liquid, it will leave paint stains instead of a subtle deposition of pigment in the area to be highlighted. For the same reason, it is also not recommended to clean the brush in water and use it immediately because the moisture from the ferrule will travel down by capillary action and ruin the effect.
To know if your pad is at the perfect point of moisture, do a quick check with your finger. Press it with a finger. If there is only a shiny layer on it, the moisture is ideal; if small drops appear, it is too much for this type of painting. It is important to emphasize that the level of moisture the bristles need to apply this technique is tiny, but without becoming dry, so that the paint does not dry out and leave residual pigment "dust" instead of depositing it on the miniature.
Loading the bristles with paint
Lightly moisten the brush using the dampening pad, and dip the bristles into the paint. If it is too wet and you use too much paint, or load it too much, it can reach the ferrule (the metal part) and release at the most inopportune moment. On the other hand, it is difficult to clean the inside of the ferrule, which can damage the bristles and, therefore, the brushes. At the same time you learn how to dry brush, you must learn the maxim "less is more." It is preferable to make several passes than to ruin the miniature with an initial excess of paint.
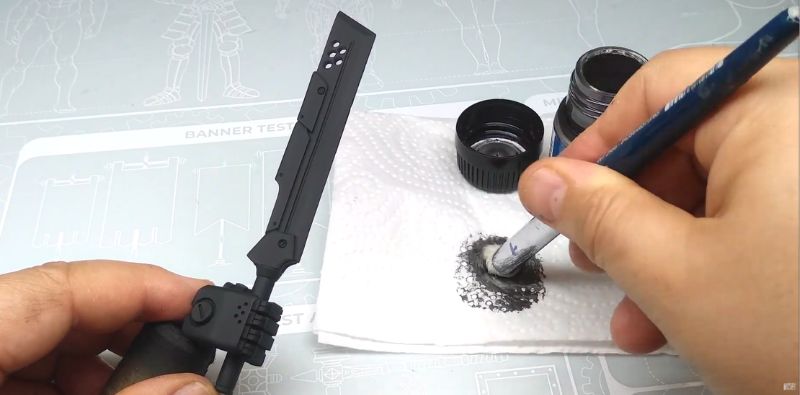
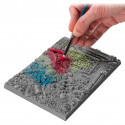
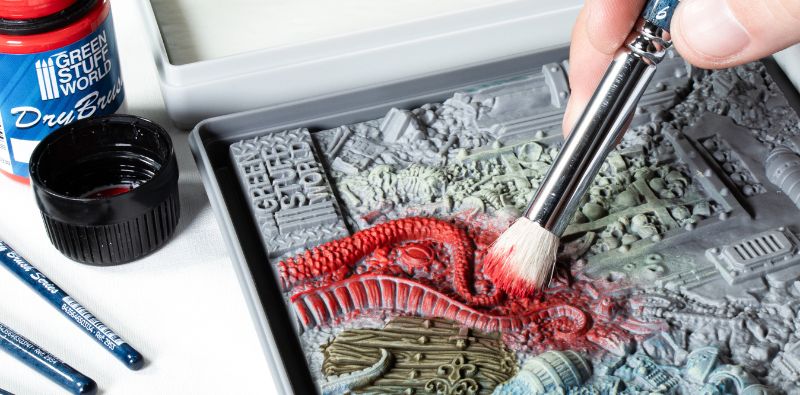
This technique needs very little paint on the bristles, so after saturating them with paint, you must remove a large part of it. To do this, at Green Stuff World, we have a textured palette where you can scrape the brush until almost all the paint is deposited. Despite obtaining very good results, it is slower than the traditional method of removing paint with paper towels; it all depends on your patience and preferences. Before applying to a miniature or diorama, test how it paints on a clean spot on the palette to check that it works as you need, or on your own hand. If a solid color smudge remains, there is still too much paint. It should paint, but not be excessively visible or cover too much.
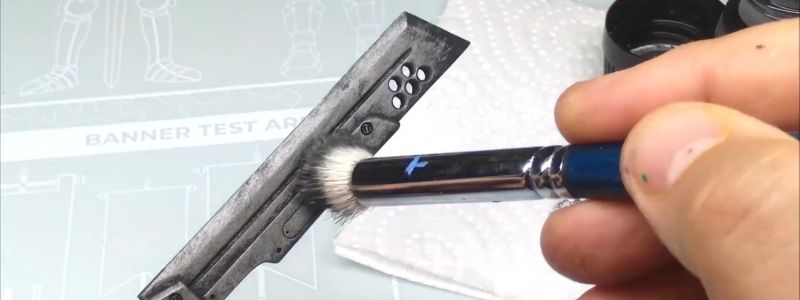
How to apply dry brush on a miniature?
Once the brush is moistened and loaded, having a clear direction for the stroke is fundamental to achieving a realistic result. It must always be perpendicular to the texture of the model. For example, if you are painting chainmail with horizontal links, move the brush from top to bottom (vertically). If you move it in the same direction as the crevices, you will fill them with paint and lose the relief and depth effect we seek with this technique.
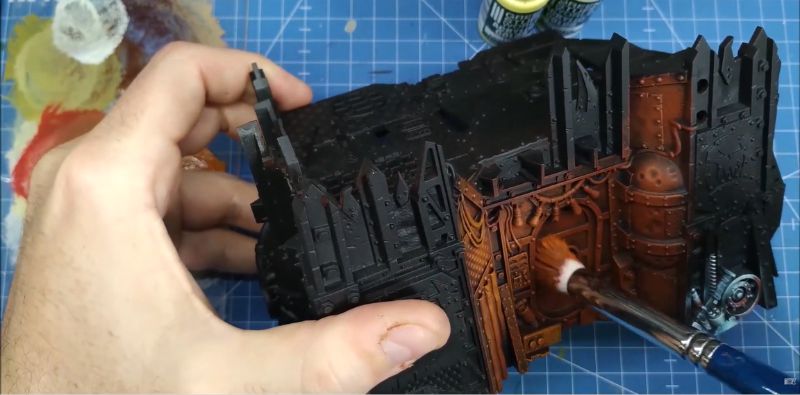
Keep in mind that you can apply several layers of dry brush on the same project to give more depth or highlight certain parts of the miniature or diorama above others. Even large areas of ground or rocks can be painted solely with this method, although in these cases, different layers must be used to obtain a realistic result.
Normally, you start by applying dark tones, although lighter than the base, and increase the lightness until reaching almost white (this depends on the color palette your project needs). For the transition to be natural, mix the previous color with the next one you are going to use to create intermediate tones. Some artists finish by applying a color filter once they reach white to unify the piece and harmonize its colors.
Lighting and edge highlighting of the miniature
Knowing how to dry brush allows you to create very realistic light effects through strategic layering. One of the most represented is zenithal light, simulating that the light comes from above. The easiest way is to use an airbrush and airbrush from the point where the light hits, but many artists do not have this tool, so they use the dry brush. It is very useful for marking the lights and shadows of the project and then painting with colors over the resulting pattern.
To achieve this effect, apply the dry brush only with downward movements from the brightest point. This will cause the paint to accumulate on the upper part of the reliefs, leaving the lower areas less saturated. In case you want to light the figure from another point, apply the same technique in the area that requires it.
To highlight the edges of tank panels, armor, or similar without using a fine brush, hold it at a 45-degree angle relative to the edge. Use the side of the bristles and slide it tangentially. The stiffness of the bristles will ensure that only the edge picks up the pigment, creating a defined and straight line with great ease.
Common mistakes and advanced maintenance
Even following a guide on how to dry brush, it is common to make mistakes that have an easy solution or to overlook ways to use it due to a lack of knowledge.
• Streaking. If you see parallel lines, the bristles are separated or the paint is too thick. Switch to a denser brush, remember to moisten it very slightly before painting, and unload more paint before touching the figure.
• Matte/Floury finish. This occurs when the paper has absorbed all the binder. Use high pigment load paints and avoid unloading on excessively absorbent paper. The best solution to avoid this problem is to get a textured palette.
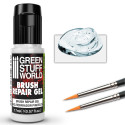
• Maintenance. Since this technique is aggressive, use a Green Stuff World soap after each session. The dry brush can accumulate small remains of dry paint on the upper parts of the bristles, sometimes even reaching near the ferrule, which opens the bristles. Avoid letting the paint reach the ferrule. On the other hand, shaping them with a repair gel after washing will significantly prolong their useful life. The most efficient way to clean them is with a brush-cleaning sponge with brush soap. Alcohol also cleans them faster, and the bristles will dry sooner, but it is more invasive. Proper care will allow you to use the same brushes for a long time, although in the end, the bristles will end up curling to the side,s and it will be time to change them.
• Stable support of the mini. For an optimal result with this technique, have a firm support point for your miniature or diorama while you paint it so that the paint is deposited exactly where you want and how you want. If it moves while you paint, there may be smudges or uneven painting.
• Smooth surfaces. A common mistake is thinking that this technique cannot be used on smooth surfaces because they are not textured. However, textures can be created with the dry brush but using it for stippling. In this context, both the pressure and the amount of paint used are higher. This way can be more complicated to apply, so it is recommended to master the original technique first and then be able to experiment with other variants and finishes.
In short, to know how to dry brush professionally, you have to control four aspects: the amount of paint, the moisture, the pressure, and the color. It may not come out perfect the first time; it is a fairly easy technique to apply, so a little practice is all you need. Dare to experiment with pressures and colors to discover its true potential! Also, remember that the Green Stuff World catalog has all the elements to apply this and many other techniques to your projects.
Share this content