How to use epoxy resin in modeling
Epoxy resin is a tool found in the workshop of many modelers who enjoy elevating the realism of their creations. Unlike other materials, it stands out for its ability to simulate deep bodies of water, encapsulate elements in dioramas, or create resistant pieces from scratch. Knowing how to use epoxy resin in modeling also implies mastering the technique, as an incorrect mixture or poor management of timing can ruin hours of previous work on a miniature.
In this technical guide, you will learn to control every phase of the process, from preparing the work area to the shiny and translucent finish, avoiding the common curing errors that frequently frustrate first attempts.
How to use epoxy resin in modeling step-by-step
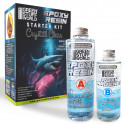
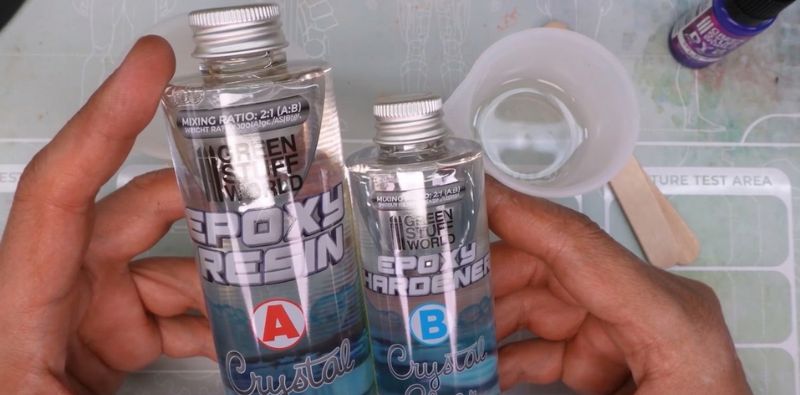
Using this material requires following a series of steps carefully to achieve a realistic water effect. The first thing you need to know to learn how to use epoxy resin in modeling is that it works through a two-component system: the resin (A) and the hardener (B). When mixed, a chemical reaction occurs that transforms the liquid into a crystalline solid. It is important to respect the proportion indicated on the packaging (normally 2:1 by volume), as an error in dosing is the primary cause of the mixture failing to harden or remaining with a sticky texture.
Before starting, and although it may seem trivial, make sure your work area is perfectly level. Otherwise, the mixture will shift toward one side of the diorama because, in this sense, it will act as a liquid, self-leveling to the surface it is on. Afterward, gather all the necessary utensils to work with this product.
Utensils needed
If you want to learn how to use epoxy resin in modeling, make sure you have these utensils:
• 2 silicone graduated cups
• A larger container to make the mixture
• Flat mixing sticks to be able to scrape the walls of the cup
• Eye protection
Additionally, to avoid a high concentration of vapors, the mixture must be prepared in a well-ventilated area.
How to mix epoxy resin
Once you have gathered everything necessary to work with this product, follow these steps:
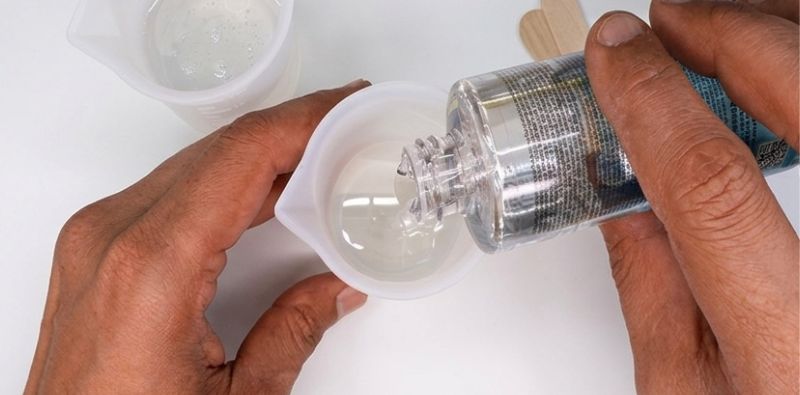
1. Use the measuring cups to place the exact proportion needed. The Green Stuff World epoxy resin mixture needs a 2:1 ratio—two parts of A for every part of B.
2. Pour part A into the mixing container. Next, add part B.
3. With a stick, stir both substances slowly and constantly for about 3 minutes. This is not about whipping the mixture as if you were making an omelet, as the goal is to integrate the components molecularly without introducing air into the solution. Make sure to scrape the sides and the bottom of the container constantly so as not to leave residue out of the concoction. If a part of the hardener remains outside the mix, soft spots will appear in the final result.
Can you dye epoxy resin?
Many of the projects that include this mixture need to be tinted to give the diorama or miniature a more realistic touch. To achieve this with a good result, several options exist. Keep them in mind if you want to become an expert in how to use epoxy resin in modeling:
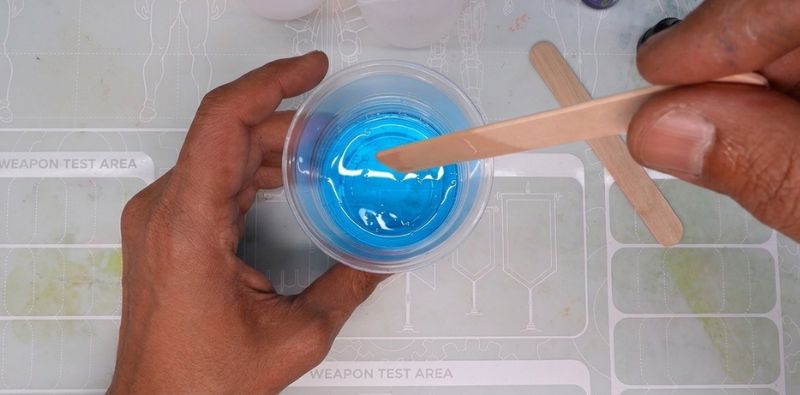
• Resin dyes: They are the best option for dyeing epoxy resin as they are specifically formulated for this purpose. All Green Stuff World resin dyes can be mixed with each other to create new colors. A small amount of this dye is sufficient for a mixture intended for modeling. It should not exceed 5% of the total mixture, which usually means one or two drops. However, it depends on the concentration of the dye and the total volume of the product used.
• Pigments: Specific powder pigments allow you to dye a large amount of the mixture in a few seconds and are very effective for achieving intense colors. It is important to disperse them well to avoid lumps and not to overdo the amount, as an excess can increase viscosity, reduce transparency, and even affect the curing.
• Post-curing paint: Once the surface is totally hardened, you can use normal GSW acrylic paints to add details such as sea foam, reflections, or specific effects. Keep in mind that any paint you apply after curing will reduce transparency in that area: you will be creating an opaque or semi-transparent layer over the resin.
It is worth noting that using water-based acrylic paint directly inside the epoxy resin can alter its chemistry, causing curing problems, loss of shine, or clouding. In general, it is not recommended to use it as a dye except in very controlled tests and in minimal quantities. Similarly, make sure that the additives and fillers you use (pigments, inks, decorative inclusions, etc.) are compatible with the mixture and resistant to the temperatures reached during the curing process, especially in large-volume pours.
The problem of bubbles: How to mix epoxy resin without bubbles?
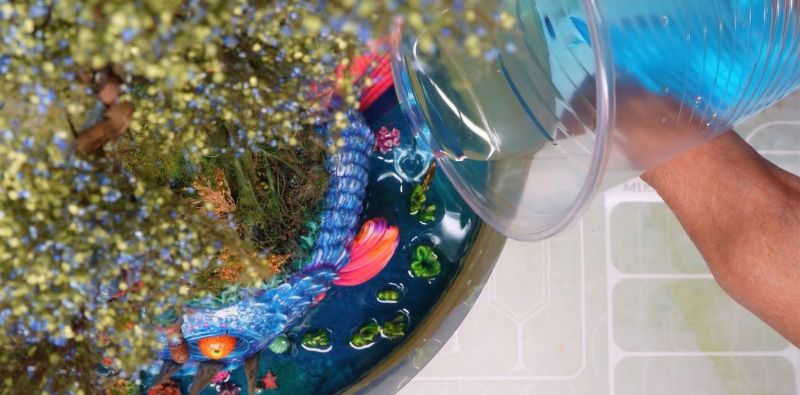
Bubbles are the greatest enemy of a crystalline finish. To minimize their appearance from the start, pour the resin slowly and constantly near the container from a low height, creating a fine stream. This helps the bubbles that already exist in the cup to break upon falling. If you are performing an inclusion of elements (such as rocks or miniatures), pour a small amount first to "seal" the object before filling the rest of the volume.
Once poured into the mold or diorama, if bubbles remain, you can use a kitchen lighter or similar and pass the flame quickly over the surface. The heat causes the trapped air to expand, making the bubbles pop almost instantly. An expert trick is to let the mixture rest for a couple of minutes in the cup before pouring it, which allows the larger bubbles to rise to the surface naturally.
How long does clear epoxy resin take to cure?
The curing process of epoxy resin occurs through an exothermic chemical reaction, which means it produces heat during hardening. This process takes time, so you must be patient. The time the product takes to dry from the moment both components are first mixed is known as the processing time (pot life) and, in this case, varies depending on the amount of mixture used; the larger the quantity, the sooner it hardens (as the heat produced will be higher). In general, it usually varies between 20 and 60 minutes, but to know with more accuracy, always read the manufacturer's instructions. This is the margin available to work the mixture before it begins to gel. If gelation begins in the cup, it should not be poured into the model, as it will lose its self-leveling capacity and trap bubbles massively.
Although it may seem hard to the touch a few hours after its placement, the total chemical curing usually takes about 24 hours, so it is advised not to do anything until this time has passed. Even so, the product can continue to improve its properties for several days. Temperature is a factor to take into account; the resin needs a warm environment (20-25°C) to catalyze correctly. Therefore, a very warm environment will accelerate the curing process, shortening the processing time. Conversely, a cold environment will lengthen both the processing time and the total curing time; it could even stop it, leaving the piece permanently soft or cloudy.
This trick is not usually mentioned in guides to learn how to use epoxy resin in modeling, since it cures through a chemical reaction that causes heat, the drying process can be accelerated by increasing the warmth of the room. Use a heat lamp or a hot air gun for this, always being careful not to spoil the mixture. Furthermore, it should be noted that you can’t cure epoxy resin with UV light. Only UV resin cures in contact with this type of light. Despite also being a two-component resin, its characteristics and its way of curing are totally different.
If you are going to perform a large-volume pour, take into account the self-generated heat the mixture produces when curing. An excessive amount at once can cause it to overheat, yellow, or even crack. Therefore, it is better to do two or three layers instead of one very voluminous one. In fact, manufacturers of these products usually report the maximum recommended thickness of each layer. For Green Stuff World epoxy resin, a thickness per layer of between 3 and 40 millimeters is recommended. On the other hand, ensure that the mold or container that comes into contact with this product is resistant to the heat the mixture will produce.
How to polish epoxy resin (Sanding and Polishing)
To learn how to use epoxy resin in modeling, you also have to know what to do once it is cured, as it does not end there. After curing it, it is possible to improve its shine and transparency by sanding and polishing. Sanding also serves to eliminate small surface impurities.. It is a process that must always be done with water (wet sanding) to prevent epoxy resin dust, which is an irritant, from floating in the air and, at the same time, to prevent the heat from friction from softening the surface. Even while wetting the area, it is recommended to use a respiratory mask to avoid inhaling possible sanding particles that may reach the air.
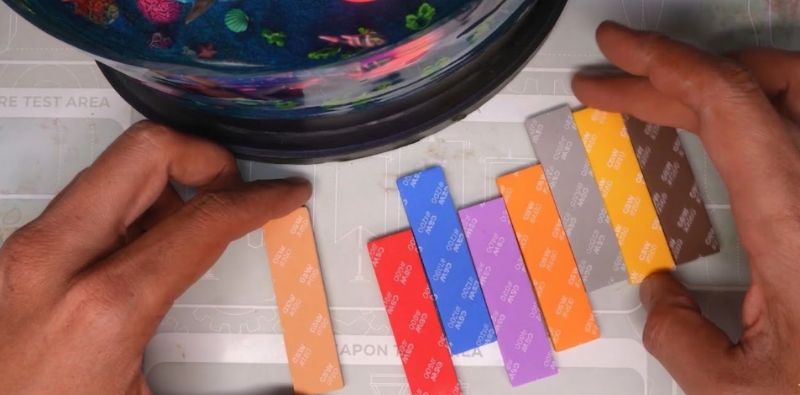
Begin sanding with 400-grit flexible sanding pad and progressively move up to finer grains, such as 800, 1000, 2000, or even 5000, depending on the level of shine you want to achieve.
After sanding, the resin will have an opaque and matte appearance, so it will be necessary to restore its crystalline shine. To do this, the entire surface is polished using a professional polishing paste. Place a small amount of paste on a soft, clean microfiber cloth and rub the entire area with constant circular movements until the original transparency (or even higher) returns. Not only will it be transparent again, but it will also acquire a more intense shine. This step marks the difference between an amateur job and a professional one.
Epoxy resin in modeling: uses and possibilities
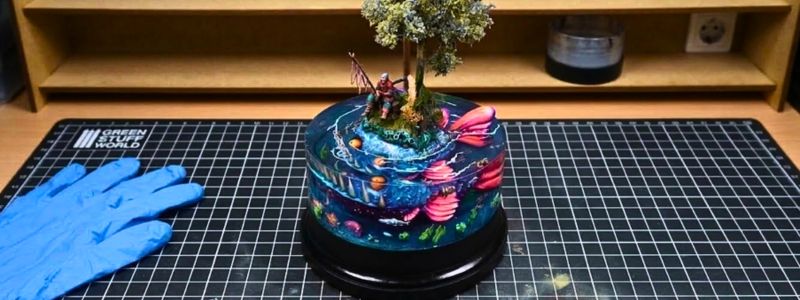
In our hobby, the possibilities are endless. The most common application is the creation of water effects, from subtle puddles to deep seas. For depth effects, the ideal is to work in layers, letting each one partially cure before adding the next. This also allows for placing elements at different heights, such as fish or algae, creating a sense of real three-dimensionality.
However, there exist materials that do not get along well with resin. Take special care with organic elements that contain moisture, such as untreated natural plants. The moisture will react with this product, creating white clouds or bubbles that are difficult to eliminate. On the other hand, epoxy resin does not adhere to plastics such as polyethylene or silicone, which is a strategic advantage for using silicone molds and being able to de-mold your pieces without effort.
How to clean tools
Cleaning must be carried out immediately after use, before the material hardens. Once the mixture has cured, it is practically impossible to remove from tools or surfaces without using abrasive methods.
• Tools: The sticks, cups, mixing containers, and other tools where epoxy resin remains are found. Clean them with dry kitchen paper, then soak them in isopropyl alcohol, or scrape them using this alcohol. You must work fast, as its evaporation rate is high; it disappears in a few seconds.
• Skin: It is important to try not to spill this product on the skin. In the event that it happens, do not use strong solvents as they can burn your skin. Use lukewarm water and plenty of soap or special wipes to remove residue from the hands.
• Floor maintenance: If it falls on the floor, clean it immediately with absorbent paper and a powerful degreaser to avoid permanent stains. If it has dried, try to file the stain or clean it with isopropyl alcohol.
Mastering how to use epoxy resin in modeling is not just about following a technical recipe, but about understanding how the material, the environment, and your own work rhythm interact so that they work in your favor. As you gain control over mix ratio, temperature, pot life, and the prevention of typical mistakes such as bubbles or incomplete curing, you will worry less about “not messing it up” and more about exploiting its full creative potential in dioramas, miniatures, and truly spectacular layered pours. With practice, patience, and proper safety equipment (gloves, respiratory protection, and good ventilation), every project becomes an opportunity to bring your scenes to an almost professional level of realism.
Share this content