How to paint metallic in modeling
Knowing how to paint metallic is a resource that can provide a lot of versatility and realism to any miniature or diorama. A good metallic finish does not only depend on the color you use, but also on how you prepare the surface, how you dilute the paint, what contrast you create, and the specific type of metal you wish to simulate.
In modeling, metallic colors reflect light and immediately give a figure more volume; however, they come with the difficulty that any excess paint, poorly prepared base, or other bad practices can easily ruin the effect.
What are metallic paints?
In the world of modeling, metallic paints are a specific category within acrylics. Their function is to reproduce the shine and visual sensation of metal without the need for using actual material. In this way, steel, iron, gold, bronze, brass, copper, and other shiny or semi-shiny surfaces are represented.
This allows you to paint anything from fantastic chainmail to a warrior's helmet, a sword, a firearm, or a piece of machinery. In fact, they provide a very convincing finish even at small scales, where light and texture become extremely important.
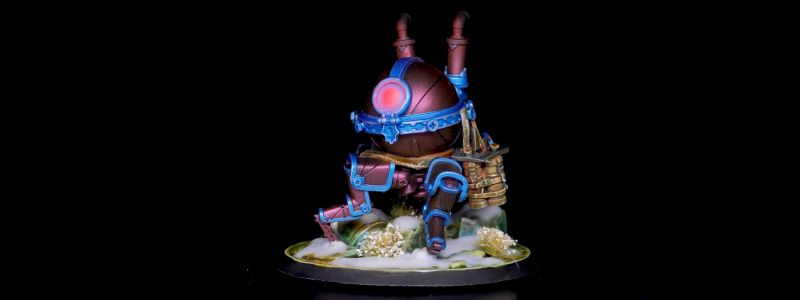
The key lies in the reflective pigments found in metallic paints. Unlike a flat color, a metallic one changes visually depending on how the light hits the figure. On armor, a sword, or a mechanical detail, this ability to reflect illumination helps them look more realistic.
It is also important to understand that not all metallic finishes should look the same. Sometimes a very bright metal is needed, and other times a duller one is preferred. To simulate polished metal or to represent an aged, dirty, or industrial surface, specific techniques are used after the metallic coat. Therefore, before you start to how to paint metallic, it is worth thinking about what kind of final effect you are looking for and how to achieve it.
How to paint metallic step by step
If you want to know how to paint metallic in the safest way, pay close attention. The first thing you should do is prepare the surface; the second is to work with controlled thin layers to build the effect bit by bit.
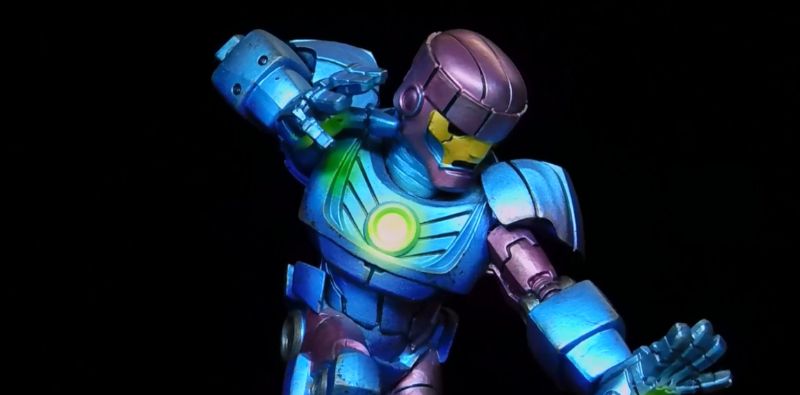
Let's start at the beginning: the base coat. The surface of a figure is usually very porous or very smooth, so it will need the proper treatment for the paint to grip. Additionally, in this case, you must keep in mind that the type of metallic finish you achieve on your miniature will depend, in part, on the type of primer you use. In other words, the primer will change both the surface texture and the effect of the metallic paint.
The standard for achieving the best metallic finish is black primer—it doesn't matter much if it is gloss or matte, as the depth of this paint will ensure the final result depends solely on the paint's composition, which provides depth and contrast. In fact, metallic paints have their own shine and, together with the effect of light, create highlights and shadows without the need for extra effects. However, if you want to highlight light areas, you can mix a lighter color than the base with silver to achieve a new tone. This practice is widely used after a wash.
On the contrary, if you prime with white, the metallic reflection will be lost. White ensures that the colors painted on top look purer, but it has much more presence than black and, as a result, will make the original color look better while losing its metallic luster.
Once the primer is dry, it's time to use the metallic paints. At this point, the question that arises for hobbyists starting to use these paints is: can metallic paints be diluted?
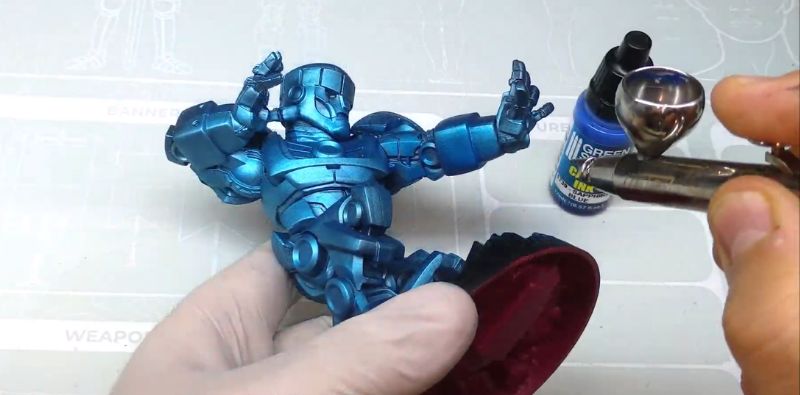
The quick answer is yes, but it depends on the viscosity of the paint. Each manufacturer formulates it with a particular fluidity. In the case of Green Stuff World paints, they are formulated so that you don't have to go through the dilution process, allowing you to paint directly from the pot as long as you are using a brush. For airbrushing, it will be necessary to dilute them at a 1:1 ratio to prevent the instrument's nozzle from clogging. On the other hand, if you want to apply very thin layers, you can also make them more fluid.
Many artists choose to use tap water to dilute paints, but it is not the best option. If the water is very hard or contains certain treatments, it can interfere with the paint's composition. When the only alternative is to use water, it is recommended to use distilled water, although the best option will always be a specific acrylic thinner that maintains the paint's properties while making it more fluid.
After achieving the desired texture, apply several thin layers by brush or airbrush. Make sure the previous layer is completely dry before applying the next one.
Finally, to have all the data on how to paint metallic, it is worth mentioning that metallic paints are compatible with resin figures, plastic, or metal minis. In all three cases, the surface must be prepared before painting with a suitable primer.
The surface of metal figures is usually smoother than plastic or resin ones, so the paint may adhere poorly if not cleaned and primed correctly. Degrease the piece and apply primer; even lightly sanding the base coat helps the paint fix better. On this base, the metallic behaves much better.
Can metallic paints be mixed with normal paint?
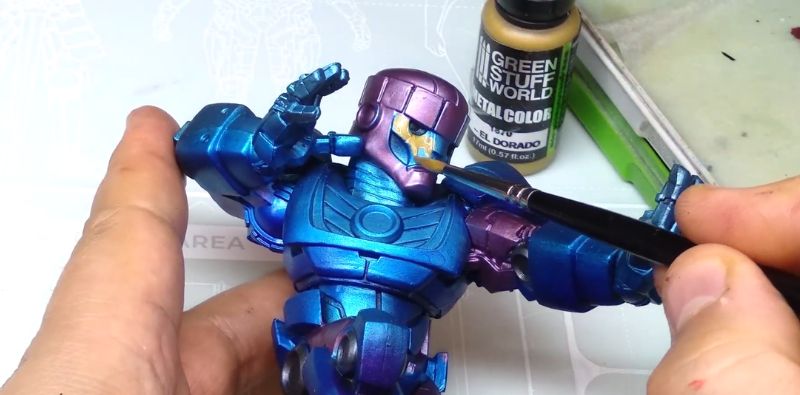
It is possible to mix metallic paints with normal paints, but the metallic effect will lose intensity, or the normal paint will be given a metallic touch, as the proportion of metal particles is reduced. Another option is to add metallic pigments to normal paints to give a finish similar to the original.
That is not necessarily a bad thing. In modeling, many times you are looking precisely for a duller, darker, or more weathered metal. A mix between metallic and gray, for example, can work for a piece of steel with less reflection. A mix between metallic and brown can give a dirtier or more rusted tone.
The important thing is to know what you are sacrificing when mixing. The more normal paint you add, the further you get from a pure metal. If you want to maintain a clearly metallic effect, use the mixture sparingly.
In any case, before making the mixture, you should take certain considerations into account:
• Compatibility. To ensure the paints do not separate and can be mixed successfully, they must have the same base type. Mix water-based metallic paints (acrylic or latex) with normal water-based colors, and oil or solvent-based ones with normal paints of the same base. You can check if the manufacturer provides any indications for successfully performing this mix.
• Initial checks. Perform an initial mix using small amounts of paint to check that the metallic particles are distributed uniformly in the normal paint. Also, before starting, apply the paint to a small, inconspicuous area to evaluate the result.
• Effect. Normally, this mix will result in a subtle shimmer in the normal color, without the intensity of the original metallics. Furthermore, you will be able to create your own tones with this new finish.
• Precautions. If not mixed well, metallic particles can spread unevenly, resulting in an inconsistent shine. Similarly, in some cases, the mixture can vary the coverage and texture properties of the product.
Metallic paint is a popular choice for painting models, miniatures, and any craft elements because it provides a very realistic and beautiful metallic finish, besides being easy to work with. Metallic paint can be diluted with water or acrylic thinner, and you can clean your brushes with soap and water, making it a convenient option for both beginners and experienced modelers.
When using acrylic metallic paint, it is important to shake the pot well before use to ensure the metallic pigments are completely mixed with the diluent. Using mixing balls helps a lot with this task. You can also mix it with other transparent inks to create custom metallic paint tones, especially if you start from a white metallic color like Mystic White.
Is metallic paint shiny?
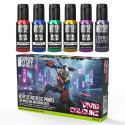
Yes, metallic paints usually contain tiny particles of aluminum or other components like mica (especially in golds, bronzes, or pearlescent effects) that reflect light and create that reflective surface sensation that cannot be achieved with a matte acrylic. Now, not all metallics shine the same. Some shine more intensely and others have a more discreet finish. This allows you to choose between polished metal, worn metal, a duller iron, or a more luxurious gold. This difference can be observed in the Vivid Colors metallic paints, whose finish is more pearlescent than traditional ones.
It is also worth remembering that the shine can be reduced if you apply too many opaque washes on top. Sometimes this is desirable because it helps age the metal. Other times, however, it is better to recover the reflection with a final touch of metallic color on the high areas.
In the end, mastering how to paint metallic in modeling requires understanding three things: how the paint behaves, when to dilute it, and what contrast the piece needs. If you control these three points, the finish improves tremendously. There is no need to overcomplicate things. A correct primer, a well-applied base, balanced shadows, and a final highlight are usually enough to achieve a convincing metal.
Share this content