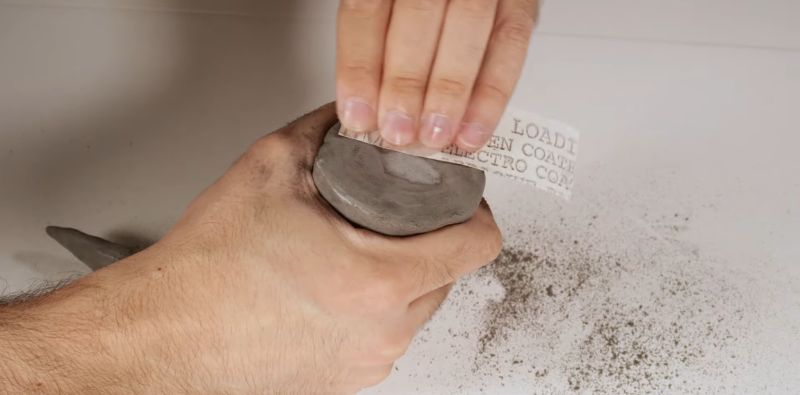
How to use modeling sandpaper?

Modeling sandpaper is one of the most commonly used tools by hobby artists, as it is necessary at the beginning of almost any project. Miniatures and other elements usually require removing imperfections produced during manufacturing, and the most common way to do so is by sanding them. To do it correctly and achieve a surface ready for priming, it is essential to understand how to use modeling sandpaper.
What Is Modeling Sandpaper?
Modeling sandpaper is an abrasive tool (which wears down or reduces a surface by scratching it) designed to work precisely on common miniature and model materials such as plastics, resin, metal, or wood. Its main function is to remove mold lines, smooth imperfections, and prepare surfaces before processes like gluing, priming, or painting. Unlike conventional sandpaper, in this field a wide range of grit sizes is used, and sheets are typically cut into smaller pieces.
Here, grit selection is key: coarse grits allow you to fix defects involving a lot of material, medium grits are used for visible imperfections closer to the surface of the miniature or any other element, and fine grits are used to achieve a smooth, scratch-free finish or even polishing. Using sandpaper not only improves the final look but also enhances paint adhesion and glue bonding, contributing to cleaner and more professional results in any modeling project.
What Is Modeling Sandpaper Made Of?
The effectiveness of sandpaper depends not only on grit size but also on the material that the grit is made of (abrasive material). In modeling, you work with very different materials, from polystyrene plastic to resin and white metal, and not all sandpapers are compatible with all of them. When choosing sandpaper, there is one golden rule: the abrasive material must be harder than the piece being worked on. If you try to use soft abrasive sandpaper on a metal part, the grains will detach or wear down almost instantly, leaving the tool useless and the part unchanged. For this reason, particles made of high-hardness materials such as silicon carbide (typical in black wet sandpaper), quartz sand, or even diamond powder in high-performance tools are used.
There are major differences depending on the component you choose. Paper or foam sandpapers usually use quartz and are consumables, meaning they wear out with use. On the other hand, there are steel files, whose durability depends on the hardness of their metal; if the miniature’s metal is stronger than the file, the tool will eventually break. The ultimate exception is diamond files, as nothing is harder than diamond. They work on any material and, unlike paper sandpaper, they hardly wear down, so they can last a lifetime with proper use.
Types of Modeling Sandpaper
Before learning how to use modeling sandpaper, it is important to distinguish between the different types, as each has specific usage nuances. There are many formats available for modeling. At Green Stuff World, we offer four types of tools designed to handle different sanding needs in miniatures or any project element. Sandpapers can be classified in several ways:
Types of Sandpaper by Structure
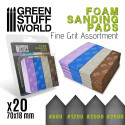
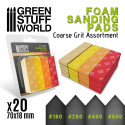
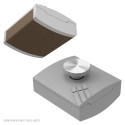
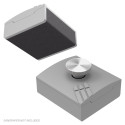
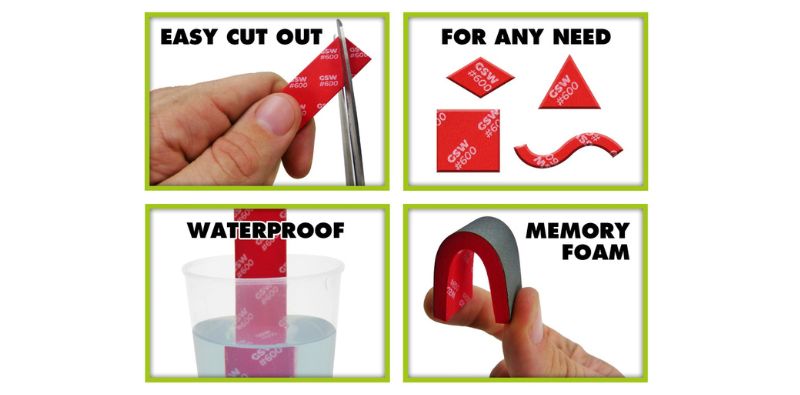
1. Foam sanding pads. The abrasive is mounted on EVA foam, making it flexible and useful for curved or irregular surfaces. For smaller areas, they are sold in strips, while larger areas use bigger square sheets to make the job easier. All of them can be cut to fit any surface.
2. Rigid Sanding Pads. The sandpaper is attached to a solid base and is used when a straight, flat finish is needed, since foam sandpaper tends to flex and makes it harder to maintain perfectly flat surfaces.
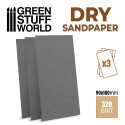
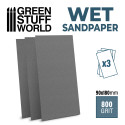
3. Sandpaper sheets. These are the most common, as they are used in other fields like woodworking. They consist of a sheet with abrasive on one side and paper backing on the other, making them very flexible. They can be glued onto any surface if needed to facilitate sanding certain parts. Like EVA foam sandpaper, they can be cut into any shape using scissors or a hobby knife.
4. Diamond files. These are rigid tools mounted on a metal shaft with a handle and are available in different shapes for various uses:
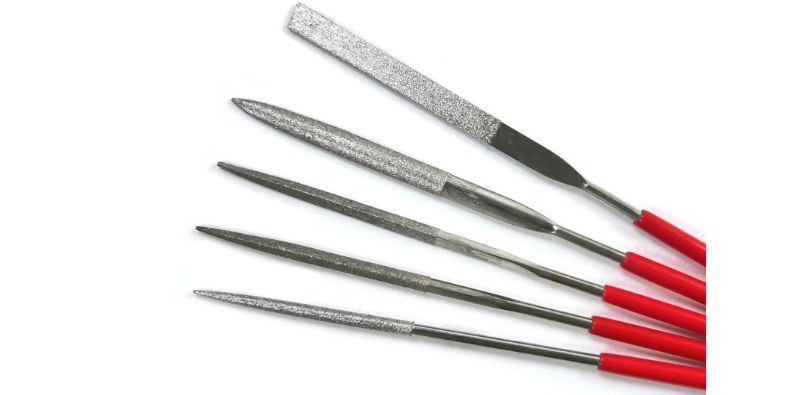
• Flat file
• Half-round pointed file
• Triangular sharp file
• Square sharp file
• Round sharp file
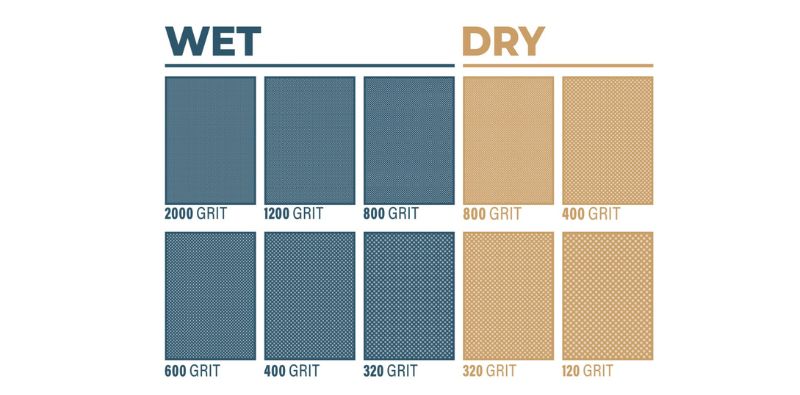
Additionally, sandpapers can be divided into two main groups: those suitable for wet sanding and those that are not.
Modeling Sandpaper by Usage Method
Wet sandpaper can be used with water or oil. The main reason for moistening them is to achieve a polished surface finish, especially when using oil. It also helps prevent clogging and reduces the risk of deep scratches on delicate surfaces.
In contrast, dry sandpapers are not suitable for wet use. Generally, mounted sandpapers (those attached to a base) can be used wet, while paper sheets can be either type, so you should check product specifications before purchasing.
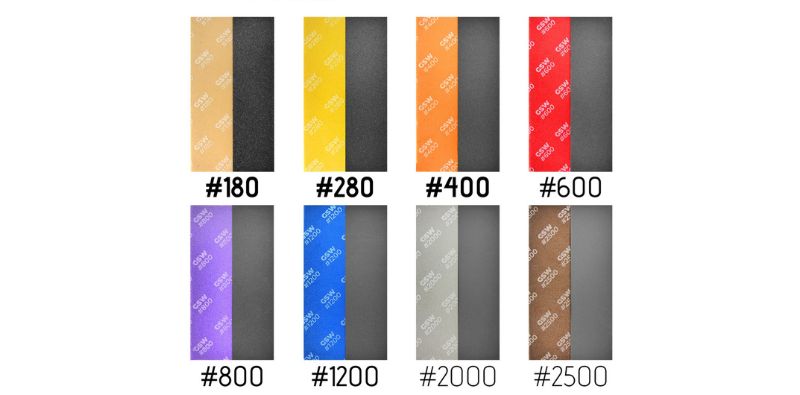
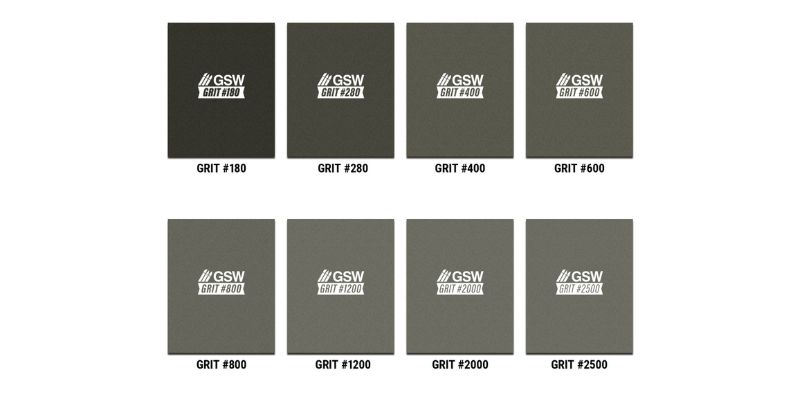
Modeling Sandpaper by Grit Size
Grit size determines how aggressive the sandpaper is and is classified by a number based on the number of particles per square inch. As a general rule, the lower the number, the larger the grit and the more material it removes (more abrasive). They are mainly divided into three categories:
• Coarse grit sandpaper (approx. 180–240): Removes the most material. Ideal for initial shaping tasks such as removing thick mold lines or leveling resin and metal parts quickly. They cut aggressively but leave deep scratches that must be refined later.
• Medium grit sandpaper: Acts as a bridge in the preparation process. It removes deep scratches left by coarse sandpaper, smoothing the surface without risking damage to nearby details, leaving the piece even.
• Fine-grit sandpaper (1200 and above): Used only for polishing and final finishing. They are not designed to remove material but to refine the surface and eliminate micro-scratches, preparing it for priming or a perfectly smooth finish.
How to use modeling sandpaper
Not all surfaces are treated the same. Depending on hardness and the material to be removed, specific tools and techniques are required. In modeling, materials can be divided into three groups:
• Porous surfaces (wood, MDF, cardboard, etc.). Due to their porous nature, these materials absorb liquids, altering their structure, so water or oil should never be used. Any type of sandpaper can be used, depending on the project, but always dry.
• Plastic and resin. The ideal method is wet sanding. Water acts as a lubricant and coolant, preventing heat from deforming plastic, reducing airborne particles, and achieving a smoother finish. For a super polished finish, oil is used instead of water.
• Metal. The metal used in miniatures is usually soft, so most sandpapers can be used. However, diamond files are often the most comfortable option and provide the precision needed to clean vents and mold lines on small figures.
How to use modeling sandpaper on miniatures step by step
Traditional sanding theory recommends three steps for a proper finish:
1. Shaping phase. When material needs to be removed from an edge, start with low grit sandpaper (180–400). These remove bulk material; avoid reaching the miniature surface directly with them as they leave deep grooves. It’s better to move to the next step to refine them. If the defect is very small, this phase can be skipped.
2. Leveling phase. Use medium grit sandpaper (600–800). These are less aggressive and smooth out grooves from the previous step without fully polishing the surface, leaving the piece even and clean.
3. Smoothing and polishing phase. Use high-grit sandpaper (1200–2500) to remove any remaining texture. Going above 2000 is only necessary for a glossy, polished finish. In that case, finish with 2500 grit using water or oil. Polishing compounds can also be used for a glossy finish, depending on the project and materials.
It’s not only about grit but also the backing material. Foam sandpaper adapts to rounded and organic shapes or helps create them. However, since it is soft, it makes it harder to maintain perfectly flat surfaces.Rigid sandpapers are better for flat surfaces and sharp angles. Often, the tool is placed on a table, and the miniature is moved over it for better control.
Finally, sandpaper sheets allow access to tight areas thanks to their flexibility. Both paper and foam sandpapers can be cut and shaped to simplify the sanding process.
Important Considerations
With use, sandpapers accumulate debris from the material being sanded, which gets trapped in the grit. This is especially problematic with fine grits on soft materials like resin. To prevent this and avoid frequent tool replacement, using a brush with stiff bristles is very helpful. However, fine grits are harder to clean and wear out faster, so more units are needed compared to coarse grits.
It is also important to understand how not to use modeling sandpaper. It is not recommended to sand ultra-soft materials (like chalk), as the tool will quickly destroy them. For such materials, scraping or using a stick or similar tool is a better option.
Share this content