How to make silicone molds for modeling
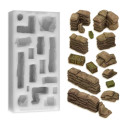
One of the resources available to modelers for our projects are silicone molds, which allow us to make our own pieces for dioramas or any other context. However, sometimes we need to duplicate pieces we have at home that are not sold, that we cannot buy, or our own creations that we are interested in replicating. Whether it's duplicating specific shoulder pads to unify an entire army, creating repetitive scenery elements like bricks, skulls, or tiles, or simply saving a discontinued piece from an old miniature, learning how to make silicone molds for modeling is a means that allows us to professionalize our workshop and optimize our resources.
There are various methods and materials for cloning pieces, but for those seeking immediacy and who do not have the time to wait 24 hours for their mold to cure, Green Stuff World's violet silicone putty is the best option. It offers not only speed but also a quality that cannot be achieved with other products in such a short time. Unlike traditional liquid silicones that require the construction of formwork, volume calculations that can be tedious, and long curing times (including over 24 hours), the violet putty allows you to work tangibly, immediately, and without the risk of accidental spills. In this guide, we explain how to use it step by step to make it much easier for you to make silicone molds.
How to make silicone molds step by step with violet silicone putty
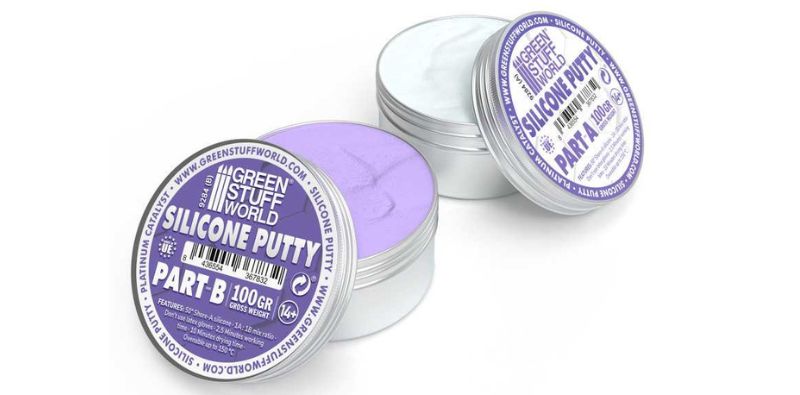
To explain how to make silicone molds for modeling with violet putty, we must first understand what this material is. Violet silicone putty is a two-component addition silicone compound; that is, it needs two compounds to be joined to activate and harden. Therefore, it comes in two jars: Part A (base) and Part B (catalyst). Upon physical contact through kneading, a chemical polymerization reaction begins, transforming two malleable pastes into a flexible elastomer with memory.
Prepare the "master" or original piece
Before starting the mix, the original piece or "master" must be treated with respect. Silicone can copy absolutely everything: from the texture of the material to a fingerprint. Make sure to clean the piece with isopropyl alcohol to remove grease or remains of previous release agents. Although GSW silicone has self-releasing properties, a pure surface guarantees that the finest details (such as rivets, veins in the skin, or fabric textures) are transferred clearly.
Mix the silicone (1:1 ratio)
Precision in this step determines the lifespan of your mold. In this step, you must extract a visually identical amount of the violet paste and the white paste. It is not strictly necessary to use a precision scale, but you must be meticulous; if the difference between the two pastes is noticeable, it will not cure correctly.
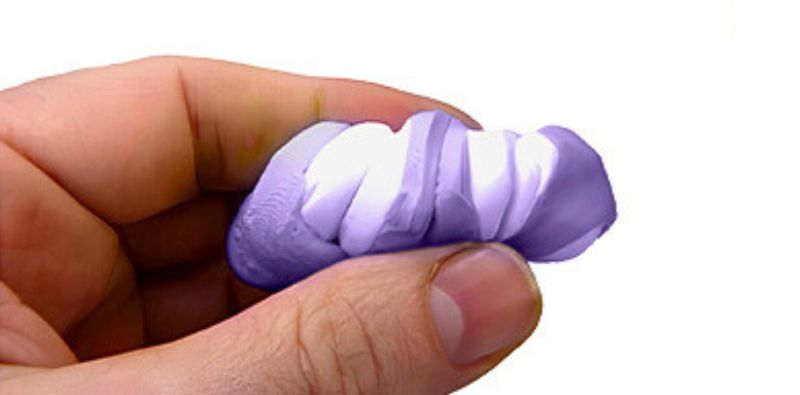
• Kneading. Join both portions and work them with your fingertips. The goal is not just to mix them, but to integrate them molecularly. To have a clearer perspective of the amount of both parts, you can knead them into balls separately before joining them.
• Homogeneity. You must knead until the white streaks disappear completely and you obtain a solid and uniform violet tone. If the color is not homogeneous, the mold will have soft or sticky areas that will not be able to copy the original piece because it will eventually deform.
• Creation time. You have approximately 1.5 to 2.5 minutes of "pot life." This is the period before the viscosity of the material increases so much that it can no longer capture fine details, so you will have to fix the mixture to your original piece as soon as possible, ensuring that all details have been embedded enough to be reflected in the mold.
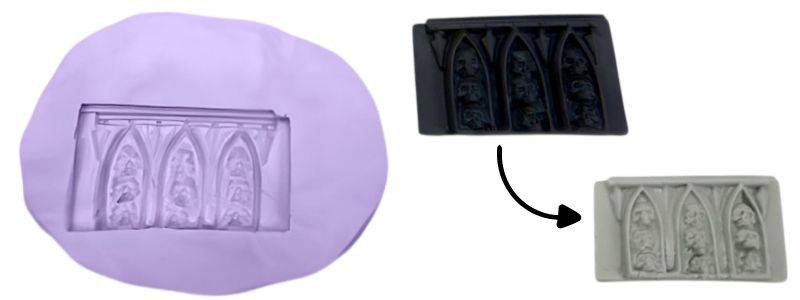
Capture the details
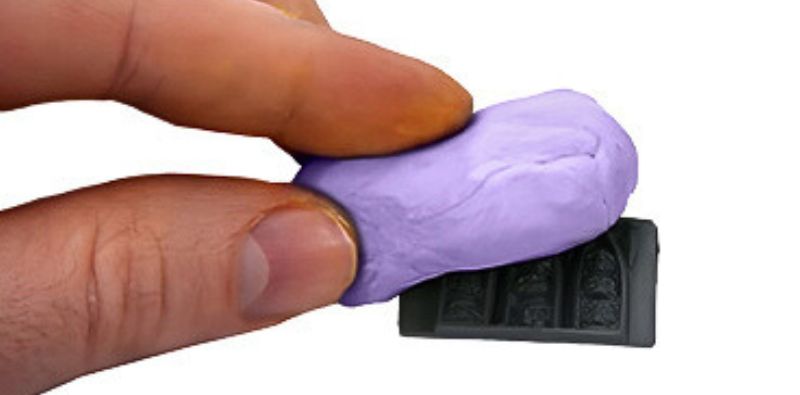
Once the two colors are well mixed, make a sphere and start creating your mold! Press the master piece onto the active silicone (or vice versa) and make sure all parts are inserted into the putty. To guarantee a good impression, start pressing from the center of the piece and continue toward the outer edges. This also forces the air out through the sides, avoiding any air pockets. Remember to completely surround the sides of the piece to create a "lip" or edge that will serve to contain the resin you fill the mold with in the future, so the mold does not overflow or empty.
Let it cure
Unlike other putties, violet silicone putty cures in record time: it does not exceed 3 minutes at room temperature (approx. 22ºC). Additionally, the heat from your hands during kneading will accelerate the process slightly. One way to know if it is fully cured is to gently press the material with the tip of a tool or your fingernail; if it does not retain the mark and recovers its original position almost instantly, it is ready to be used.
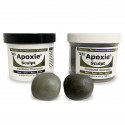
You only need to keep in mind that not all materials are suitable for filling these silicone molds, as they do not withstand temperatures over 150ºC. Therefore, most materials can be used except for those that need high temperatures in the oven. At Green Stuff World, we have several perfect products for filling this type of mold, such as acrylic resin, blue stuff, or epoxy putties like Green Stuff, Milliput, or Apoxie Sculpt. Of course, it is also possible to use plaster or gypsum, a classic for filling molds. In any case, it is recommended that you evaluate shock resistance and other characteristics you need in your final piece before choosing the material to fill it with.
How to use silicone molds
Once you know how to make silicone molds for modeling, it's time to learn how to use them. As we have explained, the chemical stability of silicone makes these molds compatible with practically all materials used in the hobby. However, depending on what you choose, it will be used in one way or another.
• UV Resins. For immediate results, apply UV resin into the mold and use the ultraviolet flashlight to harden it. Keep in mind that curing UV resin requires patience—not because of the drying time, which does not exceed 5 minutes, but because if the piece measures more than 1-2 mm, the resin must be applied in layers, drying each one before placing the next.
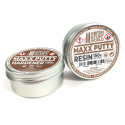
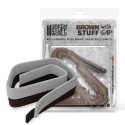
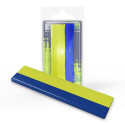
• Epoxy Putties (Green Stuff / Brown Stuff / Maxx Putty / Apoxie Sculpt). In this case, instead of pouring liquid into the mold, the procedure is slightly different: activate the putties by mixing 1:1 and press the result (similar to playdough) against the mold. Remove the excess and let it dry in the manner and for the time indicated by the manufacturer.
• Acrylic Resins (like DAS) and High-Density Plasters. These are economical products, and you can use them for heavy scenery because they offer very good structural resistance once dry (walls, ruins, columns, etc.). Their method of use is different from the rest, as you have to create the material by mixing powders with water and pouring them into the mold. Unlike UV resins, whose texture is thick, acrylic resin and plasters become a bit more liquid after mixing, and care must be taken so that the mold does not overflow.
How to demold a silicone mold safely
Demolding is a crucial moment in duplicating pieces, where care must be taken not to break any part of it. The flexibility and elasticity of violet putty make the whole process simpler and safer even for pieces with "undercuts" (areas where the mold wraps around the piece). Although it is usually easy, it is important to consider certain actions to avoid any risk.
• Verify curing. Never try to extract a copy if the material (especially if it is resin) still emits heat or feels slightly flexible. Premature demolding can deform or break the mold because the material inside will remain stuck to the walls.
• Take care of the details. Molds made with violet silicone putty are usually easy to demold because they are not complex; even so, if there is a detail on a protrusion, be very cautious when removing that part. The easiest way is to peel the entire piece from the mold and finish by carefully extracting that detail by rolling the mold outward, if allowed, gradually uncovering that part of the piece.
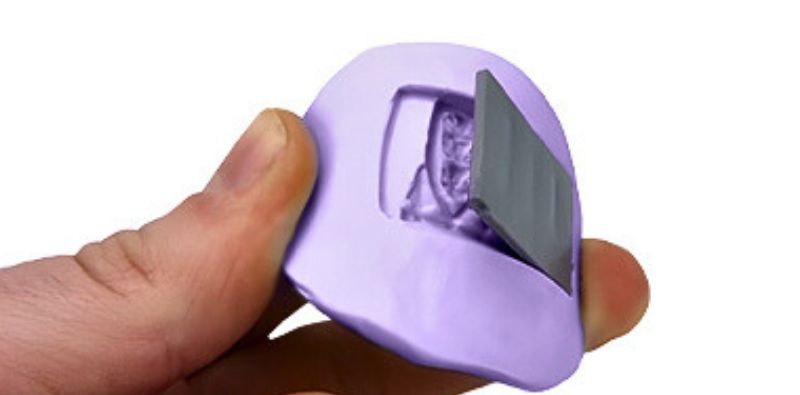
• Simple molds. The simplest molds will be demolded by gently pulling the excess material you left outside of it, as is the case with duplicating windows or similar items.
How to clean silicone molds correctly
Proper maintenance of silicone molds is necessary to prolong their lifespan. Depending on the material you use to make your replicas, the mold may get more or less dirty. With each use, small particles and oils can be transferred, degrading the silicone. Certain materials may not leave residues, but an error in curing the resin or in a mixture can stain the molds. There are several ways to clean a mold; it is always better to use the least aggressive ones to avoid damaging it, but sometimes a slightly more powerful method is needed to remove residues.
• Clean after use. After a cloning session, wash it with warm water and neutral soap. Do not use any type of hard utensil to scratch or scrub it that could damage it. If necessary, use a soft-bristled brush to clean nooks or lumps without scratching the surface.
• Remove grease. If the cloning material has deposited grease, you notice that the mold begins to repel the resin, or the copies come out stained, perform a deeper cleaning with isopropyl alcohol. Do not submerge it completely; simply use a damp cotton swab or a soft-bristled brush.
• Do not use solvents. Acetone or other strong paint solvents can "swell" the silicone or make it brittle, blocking its elastic capacity. Use acetone only in extreme cases and rinse the mold very well afterward.
To remove grease or stickiness, you can also make a paste with baking soda and water, rub gently, and then rinse. If it is still slippery, a wash with a little soap and repeated rinsing usually totally eliminates any oil film. If it only has a few particles on it, like glitter, it can be removed with a bit of low-tack adhesive tape. Another way to get silicone molds dirty is by storing them carelessly, so it is also important to store them properly.
how to store silicone molds so it lasts for years
Storing a silicone mold well is as important as keeping it clean. Silicone is a material with "memory," so it can deform if stored under pressure.
The recommended practices for storing these molds are, first of all, to store them flat and with the cavity facing upward, without objects around that could bend the sides and change their shape over time. Additionally, you should avoid places like attics or garages where temperatures fluctuate drastically, as well as very humid and hot corners.
On the other hand, to prevent dust from settling in the mold, especially in the smallest details and crevices (which would also require constant cleaning), store each mold in individual zip-lock bags or wrapped in well-sealed plastic wrap. This prevents dust and other external agents from depositing on its surface.
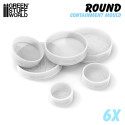
In the end, knowing how to make silicone molds for modeling with Green Stuff World's violet silicone putty has simplified the way silicone molds are created. Now, tedious preparation like when using liquid silicones, is not necessary. It is clean, fast, and offers copy fidelity worthy of a professional diorama. If you prefer, we have pre-made silicone molds in our catalog to make it even easier to obtain your molds.
Share this content