How to apply waterslide decals?

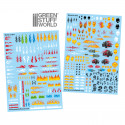
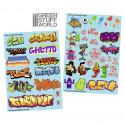
Waterslide decals for miniatures are small printed adhesives placed on a scenery object or a model figure to add realistic decorative details. They often take the form of symbols, insignias, graffiti, letters, Arabic numerals, Roman numerals, or any type of mark that visually enriches the piece. However, to get the best result when applying them to any project, you need to know how to apply waterslide decals step by step.
These decals allow artists to accurately reproduce elements that would be very difficult to paint by hand or to achieve with the quality of these prints, contributing a higher level of detail to the final result. They are especially popular among those looking to customize armies, vehicles, or scenes with a very specific aesthetic, combining practicality and visual quality. Additionally, they allow for maintaining design unity across entire collections without sacrificing time or effort on complex details.
Now, let's get straight to answering the question you keep asking yourself: "How to apply waterslide decals" We explain it step by step below.
Applying Waterslide Decals
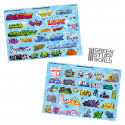
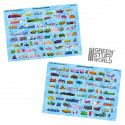
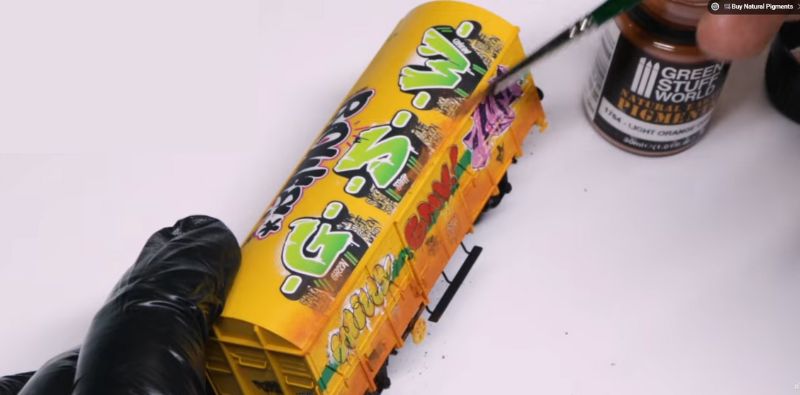
Decals for miniature figures and scenery are ideal for customizing any part of a figure, terrain for your games, or dioramas: shields, containers, boxes, armor, tattoos, walls, streetlights, vehicles, etc. To show you how to apply waterslide decals, we at Green Stuff World have decorated a pair of gondola cars from altrenonline.com. Observe how their appearance can change with a few decals and some paint in the right place.
The goal is to create typical old wagons, with accumulated grime from the years and covered in urban artists' graffiti. Before starting to explain how to apply waterslide decals or for any type of miniature hobby, make sure you have the necessary tools and materials.
Products and Tools Needed to Apply Decals
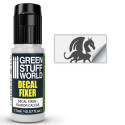
• Decal Fixer from Green Stuff World
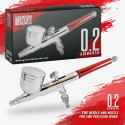
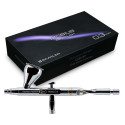
• Airbrush
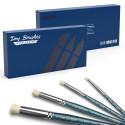
• Brush
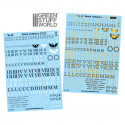
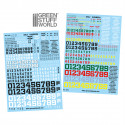
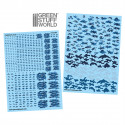
• Decals
• Lukewarm Water
• Nitrile Gloves (optional)
• Paints for adding dirt:
• Zima Blue (depending on the wagon's color)
• Light Orange Oxide (depending on the wagon's color)
Applying Waterslide Decals Step by Step
1. Prepare the Base
For optimal decal integration, preparing the surface where they will be placed is essential. A specific product called "Decal Fixer" exists for this, which leaves a smooth finish and disguises the decal's silhouette while protecting the painted area underneath. It is applied to the surface just before placing the decal to soften the paint's solvents, while also making the decal's adhesive stronger, more flexible, and more adherent. Furthermore, it helps prevent "silvering," that "ghost" or silvery effect seen around the decal.
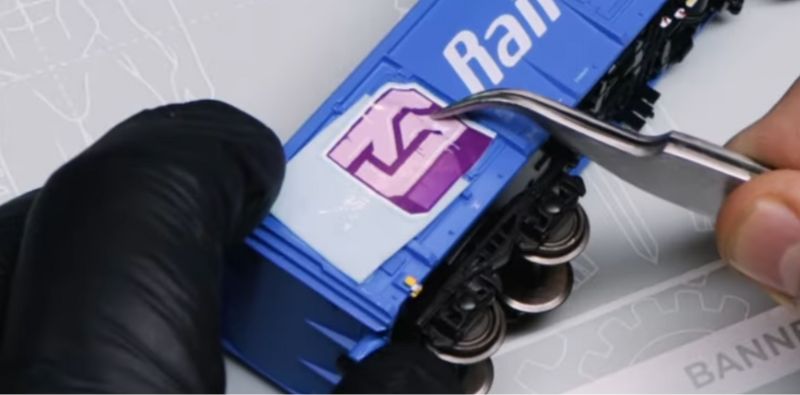
2. Affix the Decal
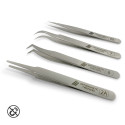
Choose the decal, or decals, that best suit your project and, using a hobby knife, trim it from the sheet, leaving the minimum white border possible. Next, fill a container with lukewarm water and let it soak for a few seconds to separate the decal from the backing paper. With precision tweezers, pick up the decal and position it on the surface, gently pushing to one side to separate it from the paper it was glued to. Be careful not to wrinkle or tear it. If the surface where you want to place it is curved or irregular, apply Decal Softener to soften the decal, prevent wrinkles, and ensure it conforms to the shape of the surface.
3. Adjust and Seal the Decal with Decal Softener
If the surface where you want to fit the decal is irregular, the GSW Decal Softener allows you to soften it so that it conforms to the unevenness. Apply between 2 and 3 layers so that it settles exactly in the desired position, and once dry, you can apply another layer to finish sealing and disguising the edges. Apply it with a brush to finish shaping the decal and perfectly adapt it to the surface.

4. Painting
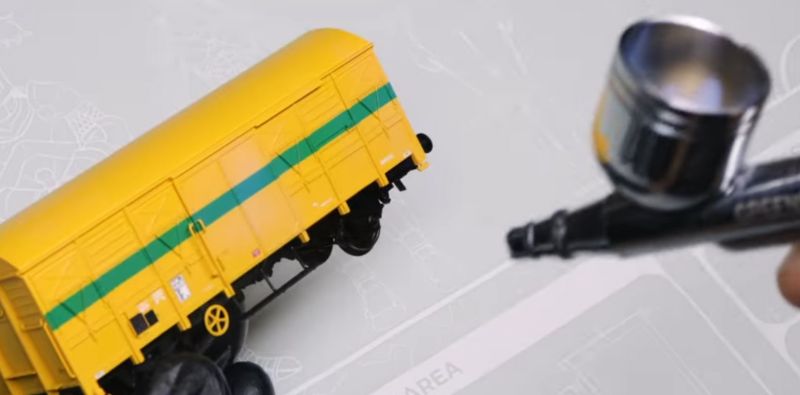
To give realism to the object or character where you have placed the decal, it is advisable to paint the effect over it to fully integrate it into the project. In this case, having used graffiti on miniature wagons, our team of artists decided to simulate the passage of time on them, painting the stained effect they would have after many years of working with these gondola cars.
There are hundreds of techniques and products, from immersion inks (dips) to natural earth pigments and liquid pigments. However, in these cases, the paints and effects that we will explain below have been used, focusing on the points where dirt naturally accumulates, such as the undercarriage, edges, and along the rails.
• Blue Wagon
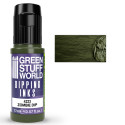
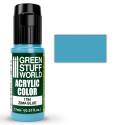
We start with a coat of Zombie Dip. This semi-transparent acrylic paint, designed to speed up shading and highlighting, will darken the wagon's walls, giving it a touch of aging crucial for the effect we want to achieve. Then, with Zima Blue, we use the dry-brush technique to highlight the highest areas and give the effect that the initial color was much lighter and, therefore, the wagon's dirt is greater than it actually is.
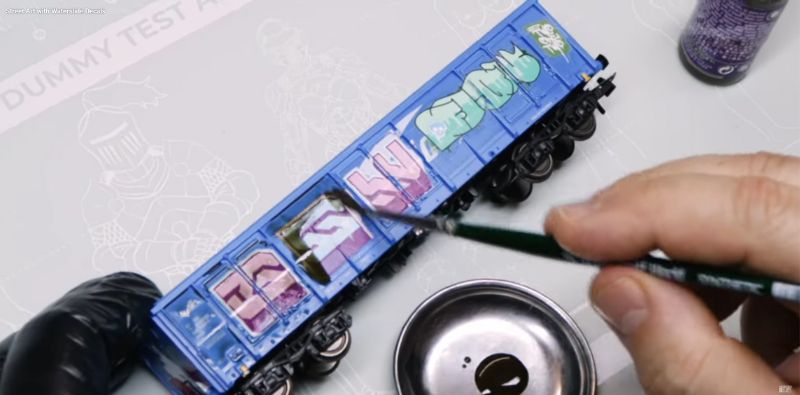
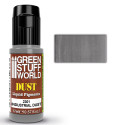
Finally, use Industrial Dust on the lower part to give it a whitish touch that simulates accumulated grime coming from the ballast under the tracks. Apply it with an airbrush for a more realistic result, as the blending you can achieve is difficult to perform with a brush by hand.
• Orange Wagon
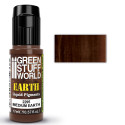
On this wagon, we employ a simpler technique but with an equally impressive and realistic result. We use the Light Orange Oxide shade from Green Stuff World's natural earth pigments in the areas where rust and dust would accumulate on this type of wagon. Place it, in this case, on the lower part, near the wheels, and on the edge of the roof section. Use a brush and make sure to create a natural gradient effect.
This is just one example of how to apply waterslide decals to your projects, but we have many other examples on our YouTube channel, like this one. Don't hesitate to visit it to find the best video tutorials and stay up to date with everything we upload every week!
Share this content