- On sale!
- Reduced price




GSW's blood effect paint, True Blood. Valid for brush and airbrush.


True Blood by Green Stuff World is a transparent glossy acrylic paint designed to recreate fresh stains on miniatures, scale models and dioramas. Suitable for brush and airbrush, it adds wet red details to weapons, wounds, clothing and scenic bases. Its slightly thicker consistency and subtle clumps help reproduce the texture and appearance of real blood as closely as possible.
In miniature painting, this type of finish represents recently spilled fluid through colour, shine and placement. A streak on a sword can suggest recent combat, while scattered droplets can link a wounded figure to its surroundings. Choose the position and size of each mark to suit the character, its pose and the scale.
Standard red paint can establish the colour of an injury, but a matt finish often looks like painted decoration. A fresh blood effect adds the reflective and transparent appearance associated with a wet surface, helping separate a recent stain from surrounding skin, clothing or armour.
Use that contrast deliberately. A narrow glossy streak across a weathered sword can be more convincing than covering the entire blade. Leaving some metal visible also preserves the highlights and scratches underneath, so the miniature retains the detail you have already painted.
Finish the surrounding paintwork first and let it dry. Place a little product on your palette, then load the tip of a fine brush for precise marks. Start around a sculpted wound, between teeth or along a cutting edge, adding small amounts until the coverage suits the model.
For a smear, draw the brush across the surface in one direction, then break up the edges with a few lighter touches. An older brush works well for rougher patches. Keep the centre relatively concentrated and the outline irregular; a perfectly even border can make the mark look like a symbol or painted stripe.
Lightly load a stiff brush and flick the bristles towards the target using a modelling tool. Practise on spare card first to judge the droplet size, spread and distance. A heavily loaded brush can release large blobs that overwhelm a small figure.
Shield nearby details with a piece of card while working. Aim the marks in a direction that suits the pose: an axe swing, for example, suggests a different pattern from a dripping hand. Finish with a fine brush to place individual droplets where random spraying would be difficult to control.

Can you use a sponge for irregular stains?
Yes. A small piece of torn sponge is useful for broken patches on armour, shields, stonework and scenic bases. Pick up a little paint, dab away the excess on a palette, then touch the surface gently.
Rotate the sponge between touches so the same shape does not repeat. Keep the marks clustered around a plausible contact point rather than distributing them evenly. You can then connect selected patches with a brush, creating a dragged smear across a floor or a rough handprint on a wall.
How do you paint drips, streaks and small pools?
For a drip running down a surface, paint a narrow trail following gravity and finish with a slightly rounded end. Vary the length of neighbouring trails and avoid arranging them at equal intervals. On clothing, follow the folds instead of drawing straight lines across every raised area.
To suggest a small pool, outline an uneven shape on the base and build the colour with controlled applications, allowing each layer to dry. Include nearby specks or a short trail if they help explain its position. Keep the pool shallow and follow the contours of the ground, leaving raised stones or debris partly visible.
Can True Blood be applied with an airbrush?
Yes, the paint is suitable for airbrush application. This method is useful for soft staining over larger surfaces, such as scenery, vehicle panels or display bases. Work in light passes, keeping nearby areas covered when necessary.
Check the flow on a test surface before approaching the finished model. If thinning is needed, use a suitable acrylic thinner and adjust gradually for your equipment. Avoid relying on a fixed dilution ratio without testing. Add sharp droplets and defined edges afterwards with a brush, so the result includes both diffuse staining and deliberate focal details.
How can you combine it with other effects?
For darker stains, apply Coagulated Blood first, allow it to dry, then add True Blood selectively over parts of the area. Leave the deeper shade visible around some edges or inside recesses, creating variation between established residue and fresher marks.
On a weapon, concentrate the darker shade near grooves and use brighter wet accents along the cutting edge. Avoid covering both layers completely, which would hide the difference between them.
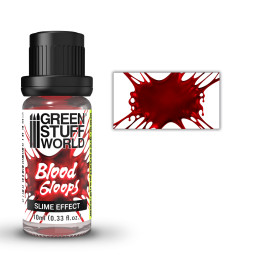
For optional raised strands or thicker deposits, Blood Gloops can be added as an accessory alongside the painted stains.
Where should you place the effect on weapons and scenery?
Look at how the model would interact with its surroundings. On an axe, work around the cutting edge and the lower part of the head. On a creature, place small marks around claws or teeth, keeping the surrounding sculpt visible.
For scenery, try a short dragged trail across paving, a partial footprint near a doorway, or a stain beneath a wounded figure. Carry one or two marks from the miniature onto its base to connect the composition. Vary their size and spacing, and leave enough of the original surface exposed for each detail to remain readable.
On pale clothing, use small, broken marks around tears and contact points, leaving the folds readable. A few touches on nearby straps can connect the staining across separate materials.
How long should you leave it to dry?
Drying time should be around 2-10 minutes, depending on the thickness of the application and the conditions at your painting desk. Thin marks and heavier deposits may need different waiting times, so check a sample painted alongside your model. Allow the layer to dry before adding another product, and avoid touching the surface while it is setting.
Should you apply varnish before or after the effect?
If the model needs an overall matt varnish, applying it before the final wet details is a practical approach. A matt coat over glossy areas will reduce their shine and change the intended appearance.
When additional protection is needed afterwards, test your chosen clear finish on a sample first. Selective gloss varnish can help distinguish wet patches from adjacent dry textures, but covering the whole figure may weaken that contrast. Let each product dry adequately before applying the next layer.
What mistakes should beginners avoid?
A common visual problem is simply using too much. Oversized splashes, identical streaks, and completely covered weapons can hide sculpted details and make the scene harder to read. Begin with a few marks, inspect the miniature from normal viewing distance, and add more only where needed.
Keep the placement consistent with the pose and surroundings. A stained blade, a marked sleeve, and a few droplets on the base can suggest the same event without covering every surface. Concentrate the strongest red accents around focal areas, and let clean spaces preserve contrast across the finished model.
Content: 17 ml

I have been using this on my models for Zombicide and for Etsy orders and combining it with Coagulated blood makes some great and realistic looking gore!
looks verry good
(note when painthing it looks a bit weard couse it has a pink/purple kinda look to it but after it dries it become reailstic clear red shiny blood)
Excellent for blood, but you can also paint some small details with gold or silver paint and with true blood after that and it will look like a ruby.
So realistic so if you get it on your fingers you'll thibk you're bleeding
Reference: 8436554363438ES
Brand: Green Stuff World
3D Printed Resin Skulls | Warhammer skulls compatible
Reference: 8436554368280ES
Brand: Green Stuff World
Brush Repair Gel | Paint brush restorer
Reference: 8435646541358ES
Brand: Green Stuff World
Green Stuff World’s Blood Gloops Effect is perfect for creating gore effects such as blood strands, filaments, drops, and buildups of thick blood, adding volume and a wet, realistic finish to miniatures, models, and dioramas.
Reference: 8435646541327ES
Brand: Green Stuff World
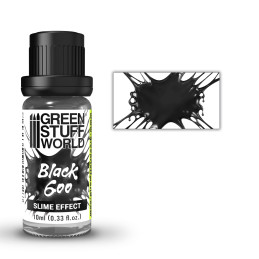
Green Stuff World's Black Goo Effect paints allow you to create strands of slime, mucus, and viscous fluids with volume and a realistic finish on miniatures, models, and dioramas.
Reference: 8435646532653ES
Brand: Green Stuff World
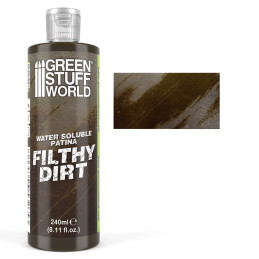
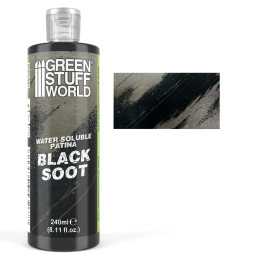
Water-soluble patinas to make miniatures, scale models, terrain, and props look dirty and worn down.
Reference: 8436574506495ES
Brand: Green Stuff World
Valid for brush and airbrush.
Reference: 8435646530628ES
Brand: Green Stuff World
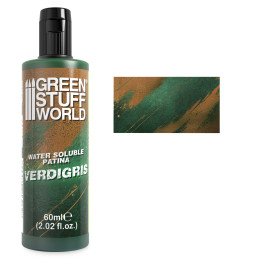
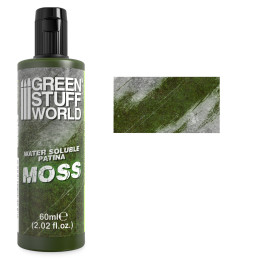
Water-soluble patinas to make miniatures, scale models, terrain, and props look dirty and worn down.
Reference: 8436574506501ES
Brand: Green Stuff World
Valid for brush and airbrush.
Reference: 8435646541358ES
Brand: Green Stuff World
Green Stuff World’s Blood Gloops Effect is perfect for creating gore effects such as blood strands, filaments, drops, and buildups of thick blood, adding volume and a wet, realistic finish to miniatures, models, and dioramas.
Reference: 8435646541365ES
Brand: Green Stuff World
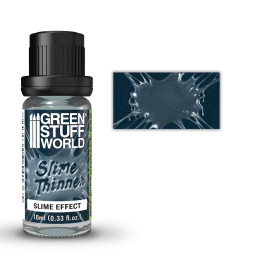
Thinner for slime effects: Reduces the viscosity of snot, blood, and other gore effects to create layers, puddles, and flowing liquids.
Reference: 8435646508665ES
Brand: Green Stuff World
Intensity White ink for OSL Technique
Reference: 8436574505443ES
Brand: Green Stuff World
Transparent acrylic gel designed to make realistic waves, splashes and moving water.
Reference: 8435646532677ES
Brand: Green Stuff World
Water-soluble patinas to make miniatures, scale models, terrain, and props look dirty and worn down.
Reference: 8436574504538ES
Brand: Green Stuff World
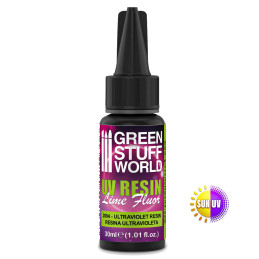
UV Resin 30ml - Fluor Toxic Effect
Reference: 8435646530697ES
Brand: Green Stuff World
Water-soluble patinas to make miniatures, scale models, terrain, and props look dirty and worn down.
Reference: 8435646514444ES
Brand: Green Stuff World
Maxx Darth Paint - The blackest black paint in the world.
Reference: 8436574500165ES
Brand: Green Stuff World
Spider Serum Cleaner
Reference: 8436574507577ES
Brand: Green Stuff World
GSW's bile effect paint. Valid for brush and airbrush.
Reference: 8435646541297ES
Brand: Green Stuff World
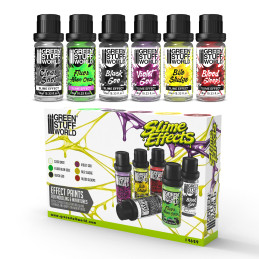
Green Stuff World set of 6 Slime Effects for creating snot, slime, blood, secretions, and viscous fluids with volume on miniatures, models and dioramas.
GSW's blood effect paint, True Blood. Valid for brush and airbrush.