Price €18.75 Regular price €25.00
In stock
There are 2 products.
Reference: 8435646504384ES
Brand: Green Stuff World
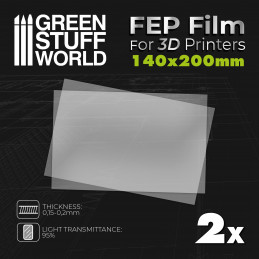
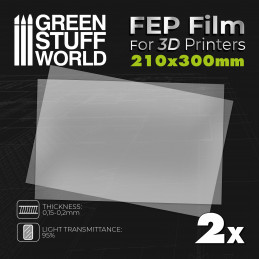
Replacement FEP release film liner
An FEP film is a type of material known as Fluorinated Ethylene Propylene film. It is commonly used in 3D printing, particularly in many desktop resin printers. They are valued materials for their excellent chemical resistance and non-stick properties, making them an ideal choice as release material in resin printing. Although there are several alternative options available, FEP sheets have become somewhat of a standard choice.
To buy FEP films, you can find them from various sources online and in physical stores that specialize in 3D printing supplies. One reputable online option is Green Stuff World, which offers a wide range of 3D printing accessories, including a FEP sheet for 3d printer. Green Stuff World is known for its quality products and has a good reputation among hobbyists and professionals alike.
You can also take the opportunity to buy acrylic paints, modeling glue, and miniature paint brushes for painting in the same place.
The way to know when to change fep film is whenever it becomes bent, deformed, or perforated during the printing or operation process. Maintaining a clean FEP film is crucial for allowing the UV light to properly cure the liquid abs-like resin throughout the entire printing procedure. If the film is damaged or worn out, successful prints may not be achieved.
Replacing the transparent layer involves a straightforward process. Follow these nine steps to successfully replace it:

Yes, any of them that you come across will generally work well with most SLA (Stereolithography) printers. While some materials may exhibit variations in quality and performance, the majority of them will function properly. It is essential to consider the film's quality, but, in general, all of them are compatible with various 3D printers.
How many prints can you typically get from a single sheet?
Their lifespan varies depending on their condition and usage. Replacement becomes necessary when noticeable indications of wear and tear emerge, like deep scratches or punctures that result in frequent print failures. With proper care, some FEP sheets can endure around 20-30 prints without damage, but eventually, replacement becomes necessary.
Why is important transparency and stick properties?
The importance of transparency and non-stick properties lies in their role within 3D printing technology. Transparency is vital because it allows UV light to pass through the material unhindered. This unobstructed passage of light is crucial during the printing process, as it facilitates the proper curing of liquid resin, leading to accurate and successful prints.
On the other hand, non-stick properties prevent the printed objects from adhering to the material during the curing process. This anti-adhesive characteristic ensures that the finished prints can be easily removed from the surface without causing any damage or deformations.
Both transparency and non-stick properties are critical factors in enabling smooth and effective 3D printing, enhancing the overall quality and reliability of the process.