Can you completely drybrush a miniature?

The drybrushing technique is one of the most efficient techniques for adding depth and texture to any miniature or landscape element, giving it texture and realism. It is often used to highlight raised areas, but can you completely drybrush a miniature? In this article, we explore whether it is possible to paint an entire miniature using only the drybrush technique, the results that can be achieved, and the best practices for doing so successfully. First of all, it is important to know exactly what the dry brush is.
What is the dry brush?
As mentioned in the introduction, drybrushing is a painting technique widely used to highlight textures in relief, as well as to create wear and aging effects. It also allows for improving the depth of the surface quickly, efficiently, and with less effort compared to other techniques.
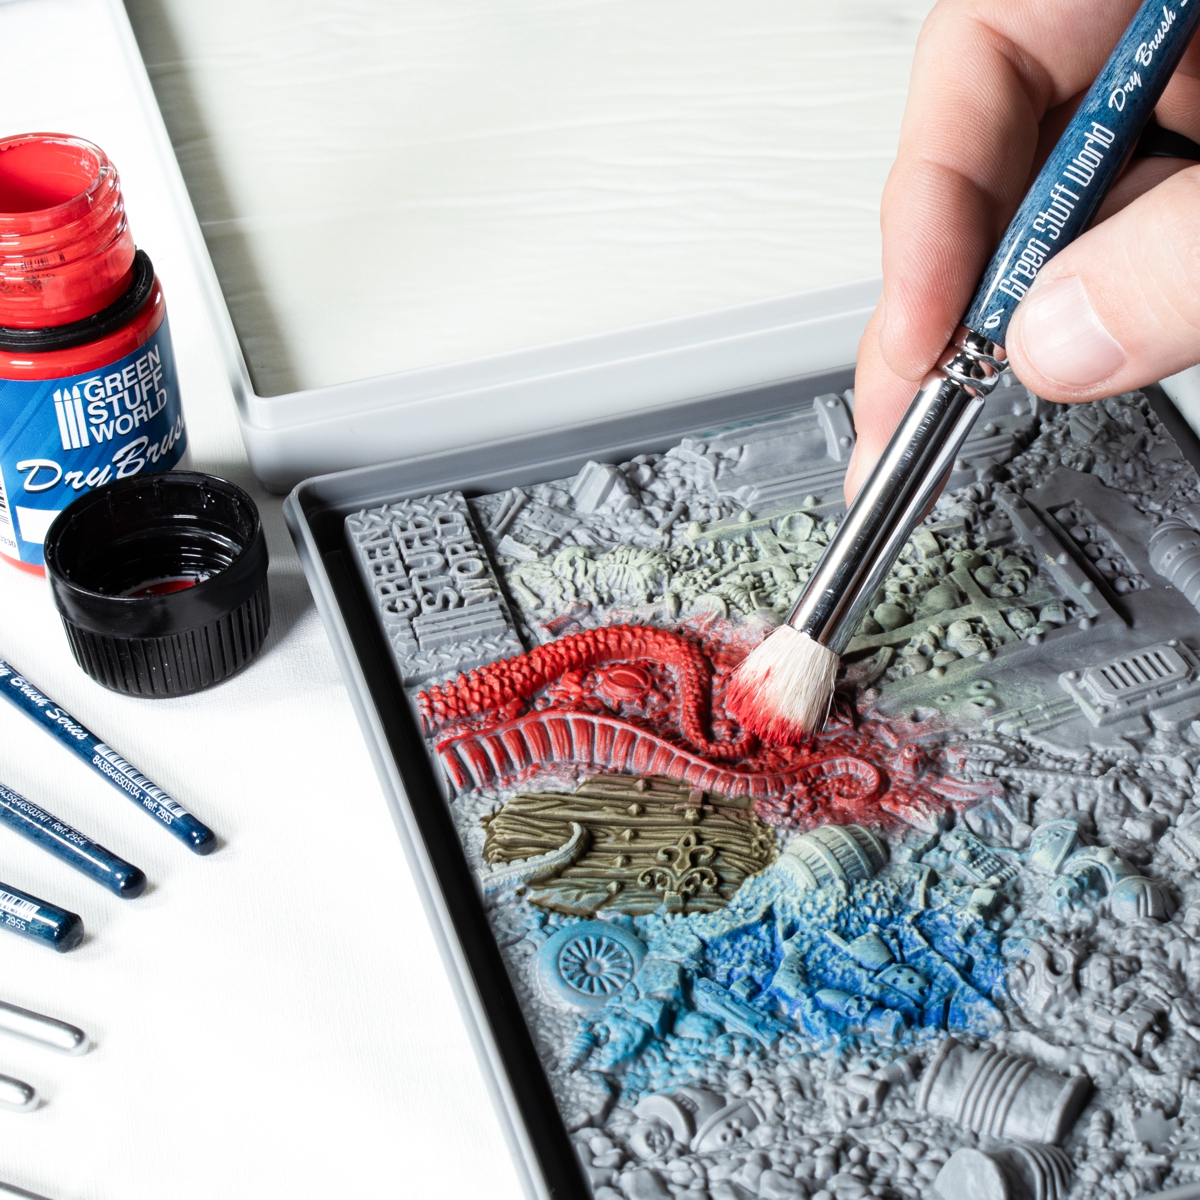
To carry it out, a specific dry brush paint is loaded onto the brush, and most of the paint is removed by passing the brush over a surface such as paper or cloth, leaving only a small amount on the bristles. The dry brush is then dragged lightly over the surface of the miniature, depositing paint on the higher areas. But can you completely drybrush a miniature?
Traditional uses of the dry brush in modelling
Although there are currently artists who use the dry brush technique to paint their miniature completely, traditionally, it is applied, above all, in three contexts:
• Textured surfaces: it works exceptionally well on areas with natural ridges such as fur, chainmail, or rocky terrain.
• Aging effects: it simulates dust, dirt, and wear and tear on armor, weapons, vehicles, etc.
• Adding details: this technique provides a shortcut for achieving contrast without extensive blending, making it ideal for quickly painting armies.
Paint the base layer with the dry brush technique
To answer the question “can you completely drybrush a miniature?” you have to start by thinking about the possibility of painting a primer layer with this technique. Normally, before painting a miniature it is prepared (dust is removed, imperfections are sanded down...) and a base layer of a solid color is applied, usually white or black. Colors are then applied on top of this base, shading and details are highlighted. However, replacing the base layer with drybrushing significantly changes the approach, as this technique is not designed for that purpose. It may work when the color scheme is very similar to the color of the plastic, but having the deepest recesses of the figure vaguely shiny could make the embossed details more difficult to see from a distance.
Therefore, if you want to completely paint a miniature with a dry brush, we recommend a primer base before starting with the technique. If not, the effects on the miniature can be several:
• Color vibration: drybrushing results in more textured, non-opaque layers, which can give a faded appearance compared to smooth base coats.
• Texture emphasis: since drybrushing highlights raised areas, many surfaces will appear rougher or more uneven.
• Irregular shading: without an underlying color, certain areas may be left unpainted or too shiny.
• Mixing limitations: achieving smooth transitions between colors is more challenging, often resulting in a rougher appearance for the miniature
Painting a miniature completely with a dry brush
Taking all of the above into account, the answer to the question “Can you completely drybrush a miniature?” is yes, as long as the primer is respected. The result will be more textured and stylized, but it can be an effective way to paint miniatures and, above all, accessories, quickly maintaining a high level of detail. In fact, it is a very useful technique among many other possibilities for:
• Highly textured miniatures: models with prominent details, such as fur, chain mail and battle-worn armor, benefit the most from drybrushing.
• Grimdark and weathered styles: this technique stands out for achieving a worn and gritty aesthetic common in grimdark and post-apocalyptic settings.
• Fast painting: if time is a limiting factor, drybrushing can produce surprising results quickly without sacrificing legibility on the work table.
On the other hand, few miniatures will look good painted using only a dry brush, as they will require small brush details to make them more realistic and authentic. However, there are elements of the scenery that are perfect for painting using this method, such as embossed walls or somewhat devastated metallic objects like shields and the like.
How to completely drybrush a miniature?
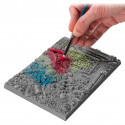
Now that you know that you can completely drybrush a miniature, we will explain how to do it step by step in an easy way on a stone wall or a tiled floor. It is necessary to point out that, depending on the figure you are going to paint and the result you want to obtain, you will need other paints or modify some steps.
Step 1 . Prepare the surface
Check the surface to be painted for imperfections. If there are any, file or remove them using a craft knife. Then clean off any dust or other agents that could create imperfections in the primer layer.
Step 2: Primer
Choose a color for the primer to enhance the dry brush effect. Black creates deep shadows, gray is neutral, and white provides the greatest contrast. For most finishes, black is used for practical reasons.
Step 3. Base color
Choose a color slightly lighter than the primer, such as a grayish blue. For this step, you can use a large or extra-large brush as you have to apply a thick layer of color all over the piece. Remember to brush the surface gently, without applying force.
Step 4. Establish shadows and mid-tones
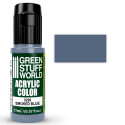
As we go on layering, the tendency will be to use less and less paint and to use less pressure in the dry brush technique. For the next one, we can use a shade like Green Stuff World's Grey Teal for the entire surface. We can follow with a shade like Smoked Blue or similar. In this case, we will apply the paint with little pressure, make circles, and use a brush with very little paint, which will begin to highlight the texture of the stones.
Step 5. Building layers for texture and reflections
The following tones will be a little brighter and lighter, always within the same color palette, so that it blends with the previous step and the details begin to be seen more clearly.
This paint can also be applied in circles or in a specific direction to create an effect of luminosity from a particular angle. The last layer should be a very light gray, almost white, which should also be applied in circles with very little paint and very little pressure. In this layer, you have to be careful not to ruin the tone and texture that you have achieved in the rest of the steps. As a final, and totally optional, step, a subtle touch of matte white can be applied to highlight the edges, giving it a more realistic and sophisticated touch.
Step 6. Sealing
Layers applied with a dry brush are thin, so they can come off easily. To avoid this, apply a matte or satin varnish to protect the paint and increase its durability.
Although drybrushing is traditionally used for highlighting, you can completely drybrush a miniature, provided that a primer layer is applied first. This ensures proper paint adhesion and preserves the intended texture. The stylized and textured result makes it ideal for models that are worn, sandy, or painted in a short space of time. However, it lacks the smoothness of layering and blending techniques. Even so, it is an effective technique for large surfaces or for painting large armies quickly.
Share this content