What happens when you thin fluorescent paint?
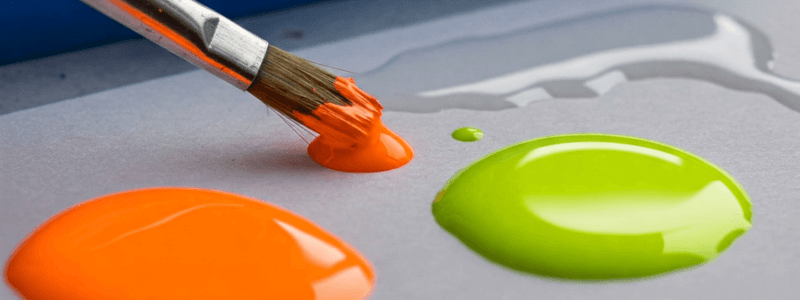
Fluorescent paints are a type of paint that contains special pigments capable of absorbing ultraviolet (UV) light and re-emitting it in a visible spectrum, generating an intense and vibrant shine. Specifically, these colors light up under black or UV light, although they also stand out under normal light due to their high saturation, but the perception for the eye is different, without brightness. Its effects can change when diluted, so it is important to know what happens when you thin fluorescent paint.
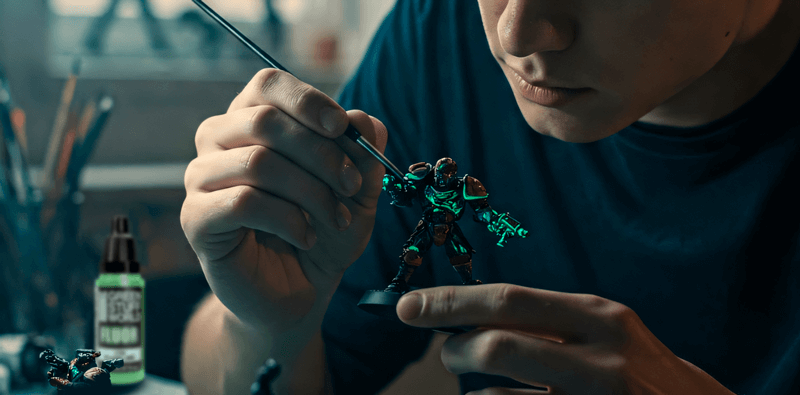
This type of paint is used in many sectors such as safety signage or interior decoration in businesses such as nightclubs, bowling alleys, and other leisure venues. However, it has also found its place in model making, where it is very useful due to the large number of contexts in which it can be used. Among them, the OSL lighting effects stand out, in which it simulates bright lights from magical energy sources, energy cells, glowing eyes, fires, plasma or neon. It can also be used to highlight details of energy weapons, mystical symbols or radiation effects; as well as to create cyberpunk effects in miniatures or futuristic and science fiction themes where intense and striking colors are sought.
For many of the projects that are done with these fluorescents, it is necessary to dilute the paint. However, some modelers have difficulty diluting it effectively and achieving pigmented and uniform layers. In this article, we will explain exactly what happens when you thin fluorescent paint and how to do it.
Characteristics of fluorescent paints
They work differently to standard acrylic paints. It is their unique composition that makes them appear exceptionally bright and that makes it necessary to dilute them, taking into account their characteristics:
• Translucency. In general, these paints are more transparent than standard acrylics.
• Higher pigment load. The pigments in these colors are more delicate and sensitive to dilution. In addition, quality fluorescents tend to have a high pigment load, as is the case with Green Stuff World paints.
• Reactivity to UV rays. The most distinctive feature of fluorescents is their reaction under black light, which makes them glow. When not exposed to this light, their color is still vibrant and eye-catching, but without the glow effect.
Taking all of the above into account, it is easy to deduce what happens when you thin fluorescent paint, among them the possibility of reducing its brightness, reducing its coverage, and, if not done well, causing uneven application.
Effects of diluting fluo paints
There are several techniques for diluting fluorescents, which depend on the chosen acrylic paint thinner and the way in which the paint is to be applied (miniature paint brushes, or airbrushes).
1. Dilution with water
Water is the most common thinner for acrylic paints, but in this case, we have to bear in mind what happens when you thin fluorescent paint with water. The positive aspect is the capacity of this liquid to maintain the binding properties of the paint while facilitating its application in thin layers.
However, excessive dilution makes the paint too transparent, so for optimal results, different surfaces will require more layers and, on occasion, the excessive separation of the pigments will make it impossible to achieve the desired effect. This can result in streaks on the surface or uneven coverage.
If you choose to use water, it is advisable to dilute the paint with distilled water and avoid tap water, as impurities affect the consistency of the paint. To preserve color intensity, keep the dilution ratio at 1:1 or less (paint to water).
2. Dilute with acrylic mediums
Acrylic thinners help to dilute the paint while maintaining its structure. In fact, they preserve the integrity of the pigments better than water, as well as helping to maintain adhesion to the surface of the miniatures. On the other hand, the number of brushstrokes needed to obtain a good result is reduced and allows for smooth blending.
However, this type of thinner requires experimentation to find the right proportion for each color. Even so, the recommendation is still 1:1, or slightly less, to maintain color intensity. Another drawback of acrylic thinners is the prolonged drying time.
3. Dilution for airbrushing
These paints can also be used with an airbrush, but require proper dilution. Now, what happens when you thin fluorescent paint for airbrushing? When done properly, you should achieve smooth, even layers, as you should achieve precise color control. But, as always, it's not all rosy, as fluorescent pigments are fragile, and over-dilution reduces their opacity. In addition, if the dilution is not carried out correctly, the pigment can clog the airbrush.
In this case, as airbrush paint require a higher level of fluidity, the recommended paint-thinner ratio is 1:2 for optimal atomization. To ensure that the texture is correct, it is advisable to test the dilution on a test surface before applying it to the miniature or painting.
Tips for better application results
To achieve a good result, it is not enough to dilute the paint properly and know what happens when you thin fluorescent paint, you also need to know how to apply it to your miniatures.
• Layering for opacity. Since fluorescents are translucent, the key is in the layers. Apply several thin layers instead of one thick layer to increase intensity and avoid imperfections.
• Use a white or light base. These types of paints work best on a white or light-colored base. This improves their brightness and prevents them from fading when dry.
• Avoid over-diluting. If the paints become too watery, they will not adhere well and will require many additional coats. Adjust the dilution ratio as needed.
• Mix to achieve custom effects. You can mix these paints with other acrylics to create unique reflections and transitions. However, adding too many non-fluorescents can reduce the glow effect.
• Seal with varnish. These types of paints tend to be fragile once dry, so you should use a clear or satin gloss varnish to protect the finish and preserve the intensity.
Therefore, diluting fluo paints correctly is essential to achieve smooth and vibrant results in miniature modeling. Whether using water, an acrylic medium, or an airbrush thinner, it is important to find the right balance to maintain opacity and color intensity. Now that you know what happens when you thin fluorescent paint, remember to apply layers, use a matt white primer, and seal the final product to ensure that your miniatures shine with the unique brilliance of fluorescents.
Share this content