Reference: 8436554360475ES
Brand: Green Stuff World
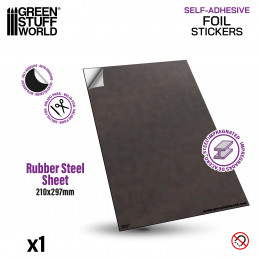
Metal sheets for magnets
Review(s): 8
Metal sheets for magnets | Rubber Steel Sheet Self Adhesive
Price $4.31
In stock
 Cookie preferences
We use our own and third party cookies to collect information to improve our services and to analyze your browsing habits. If you continue browsing, you accept their installation. You can configure your browser to prevent their installation.
Required cookies
Always active
These cookies are strictly necessary for the operation of the site, you can disable them by changing the settings of your browser but you will not be able to use the site normally.
Cookies used
Functional cookies
These cookies provide necessary information to applications of the website itself or integrated by third parties, if you disable them you may find some problems in the operation of the page.
Cookies used
Performance cookies
These cookies are used to analyze the traffic and behavior of customers on the site, help us understand and understand how you interact with the site in order to improve performance.
Cookies used
Guided cookies
These cookies can be from the site itself or from third parties, they help us to create a profile of your interests and to offer you advertising aimed at your preferences and interests.
Cookies used
The user is informed that he/she has the possibility of configuring his/her browser so that he/she is informed of the reception of cookies, being able, if he/she so wishes, to prevent them from being installed on his/her hard drive.
Below we provide links to various browsers, through which you can make such configuration:
Firefox from here: https://support.mozilla.org/es/kb/Deshabilitar cookies de terceros
Chrome from here: https://support.google.com/chrome/answer/95647?hl=es
Internet Explorer from here: https://support.microsoft.com/en-us/windows/manage-cookies-in-microsoft-edge-view-allow-block-delete-and-use-168dab11-0753-043d-7c16-ede5947fc64d
Safari from here: https://support.apple.com/es-es/guide/safari/sfri11471/mac
Opera from here: https://help.opera.com/en/latest/web-preferences/#cookies
Reference: 8436554360475ES
Brand: Green Stuff World
Metal sheets for magnets | Rubber Steel Sheet Self Adhesive
Reference: 8436554365050ES
Brand: Green Stuff World
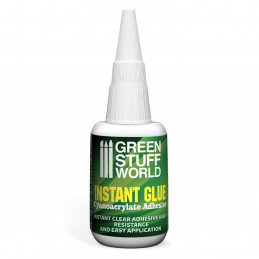
Instant glue | CA glue
Reference: 5035167000490ES
Brand: Green Stuff World
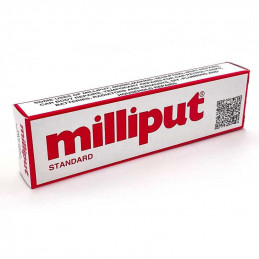
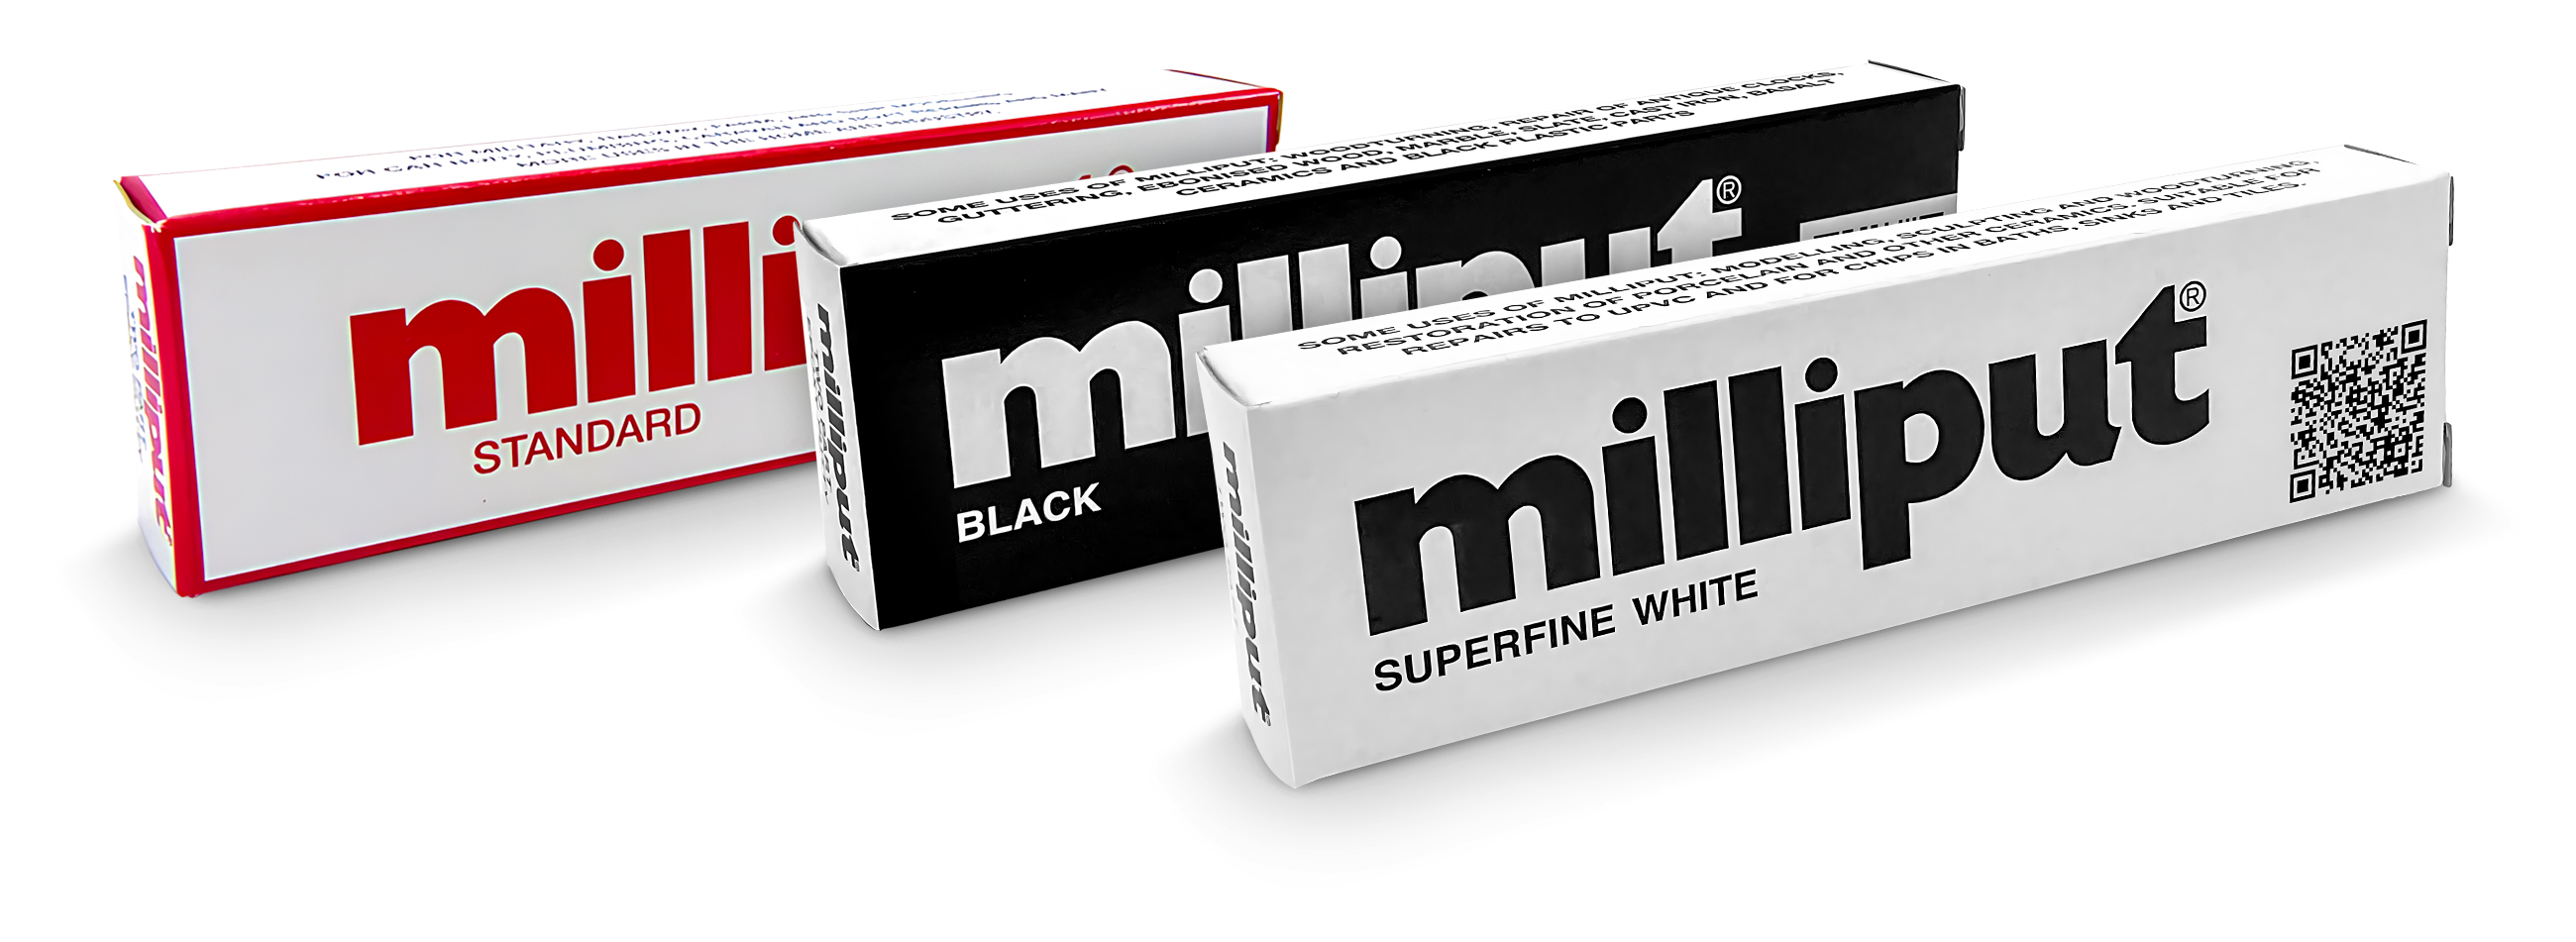
Milliput Standard Yellow Grey - Epoxy putty for all kinds of applications.
Reference: 8435646509365ES
Brand: Green Stuff World
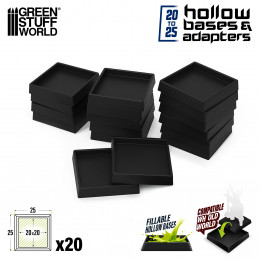
Black Plastic Bases | Black plastic base adapters 20-25mm
There are 6 products.
Reference: 5035167000490ES
Brand: Green Stuff World
Milliput Standard Yellow Grey - Epoxy putty for all kinds of applications.
Reference: 5035167005372ES
Brand: Green Stuff World
Epoxy putty for all kinds of applications.
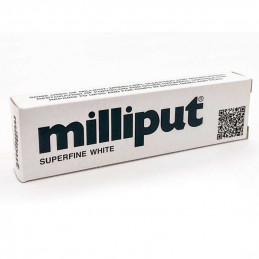
Reference: 5035167000506ES
Brand: Green Stuff World
Milliput Super Fine White - Epoxy putty for all kinds of applications..
Reference: 8435646529653ES
Brand: Green Stuff World
Display Box Milliput Standard Yellow Grey x10 | Epoxy putty for all kinds of applications.
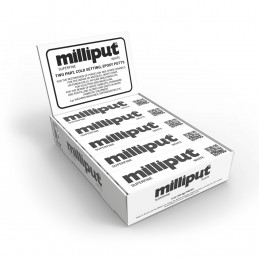
Reference: 8435646529677ES
Brand: Green Stuff World
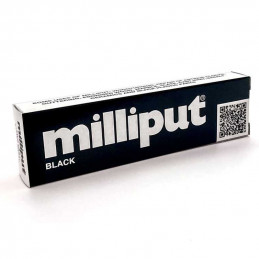
Display Box Milliput Black | Epoxy putty for all kinds of applications.
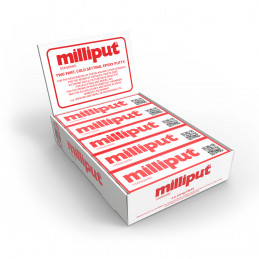
Reference: 8435646529660ES
Brand: Green Stuff World
Display Box Milliput Super Fine White - 10 units | Epoxy putty for all kinds of applications.
Milliput putty is a two-part, epoxy-based sculpting epoxy putty that is often used for modeling and sculpting in various applications, including hobby and craft projects, automotive and industrial repairs, and prototyping. It is known for its versatility and ability to be molded and shaped into a wide range of forms while retaining a high level of detail.
To use milliput putty, you will need to mix equal parts of the two components together until is an even color. This material can then be shaped and molded using tools such as sculpting knives, files, and sandpaper. It can be smoothed and polished to a finish similar to plastic or metal, and it can also be painted or sanded after it has cured.
This sculpting material is a popular choice among hobbyists and professionals because it is easy to work with and dries to a hard, durable finish. Miliput is also resistant to water, oil, and most solvents, making it suitable for use in a variety of applications.
There are several milliput types available, including:
The curing time for this epoxy will depend on the size and thickness of the project, as well as the ambient temperature and humidity. Generally, it will take around 4-6 hours to totally cure at room temperature, and it will be fully cured in 24 hours. In warmer temperatures, it will cure faster, while in colder temperatures it will cure more slowly.
It's important to allow full cure before sanding or painting, as it will continue to harden over time. You can speed up the curing process by using a heat lamp or placing the project in a warm area, but be careful not to expose it to temperatures that are too high, as this can cause it to cure unevenly or become brittle.
After Miliput has fully cured, you can sand it, drill it, or paint it as desired. This epoxy material is resistant to most solvents and can be painted with most types of paint, including acrylics, enamels, and oil-based paints. It can also be polished to a high shine using fine-grit sandpaper or a buffing wheel.
It is generally possible to mix Miliput with other sculpting putties, such as Brown Stuff, Green Stuff or Maxx Putty, to create custom sculpting compounds or to achieve specific properties or effects. However, it is important to keep in mind that different putties may have different curing times, hardness levels, and other properties, so the resulting mixture may not behave exactly like either of the original putties.
It is generally best to experiment with small amounts before attempting to mix larger quantities, as it can be difficult to predict how different families of putties will behave when mixed together. You may also need to allow the mixture to cure for longer than either of the individual putties, as the curing time may be affected by the presence of the other materials in the mix.
Plasteline, also known as plasticine, is a type of modeling clay made from a mixture of clay, oil, and a plasticizing agent. It is soft and pliable when worked, but hardens as it dries, making it ideal for sculpting and modeling.
It is usually possible to mix it with plasteline to create a custom sculpting compound. To do this, start by taking small amounts of each material and kneading them together until they are well combined. You may need to adjust the ratio depending on the desired properties of the final mix, with the recommended mix being 50% / 50%.
A potential advantage of mixing it with plasticine is basically the low cost of the mixture. On the other hand, modeling clay can help to make the material easier to mold, especially when working on large projects.
It is important to note that the curing time of the mixed clay may be affected by the presence of the modeling putty and that the mixture may take longer to harden completely. You may also need to allow the mixed one to cure longer than either of the individual putties, as the cure time may be affected by the presence of the other material.
Green Stuff World is a well-known distributor of sculpting and repair materials for hobbies. We have a wide range of products for hobbyists, modelers, and sculptors.
To buy Milliput Putty for miniatures from Green Stuff World, you can visit our official website. We offer worldwide shipping, so you can place an order regardless of your location. We provide secure online payment options, and their website is available in multiple languages to cater to a global audience.
Both are two popular epoxy putties widely used in modeling and miniature work, each offering distinct advantages.
Milliput is a two-part epoxy putty belonging to the family of clayey putties that react and soften with water and are more brittle when dry. It cures to a hard and durable finish, making it ideal for applications where strength and longevity are paramount, such as filling gaps, sculpting intricate details, or creating sturdy bases.
On the other hand, Green Stuff, also a two-part epoxy putty that belongs to the family of flexible putties, although they can be handled without sticking with water and sculptor vaseline, its drying is flexible as if it were chewing gum, and instead of dissolving with water, on the contrary, it dissolves with alcohol. Green Stuff provides a slightly more flexible and rubbery texture when fully cured, which can be advantageous for applications requiring some degree of flexibility, like sculpting organic shapes or attaching parts subject to movement.
Ultimately, the choice between them depends on the specific needs of the project and personal preferences. Those seeking extended working times and maximum durability may prefer the first one, while those prioritizing quick curing and some flexibility might opt for Green Stuff. Both epoxy putties are versatile tools in the hands of modelers and hobbyists, offering the means to sculpt, fill, and create with precision and reliability.
Yes, this putty can be painted once it has fully cured. Painting over cured Milliput is a straightforward process. First, ensure that it is completely dry and hardened. Then, lightly sand the surface to create a smooth and even texture, which will help the paint adhere better. After sanding, you can apply a primer suitable for the type of paint you plan to use. Once the primer has dried, you can proceed to paint the surface with your chosen paint. Acrylic paints, enamels, and oil-based paints are all suitable options for painting this material. Allow the paint to dry completely before applying additional coats or finishes to achieve the desired look.
Painting Milliput allows for endless creative possibilities, whether you're adding color to a sculpted model, repairing a surface, or enhancing a craft project. With proper preparation and the right paint, you can achieve professional-looking results that enhance the overall appearance of your creations.
Additionally, it's worth noting that the material itself can be tinted or colored during the mixing process using various pigments or dyes. This allows you to customize the color of the putty before sculpting or applying it, reducing the need for extensive painting afterward. However, if you prefer to paint over the cured material, it's entirely feasible and offers versatility in your artistic endeavors.
Indeed, Milliput putty for miniatures exhibits strong adhesive properties and can adhere well to various materials, including plastic. When properly applied and allowed to cure, it forms a durable bond with plastic surfaces. To ensure optimal adhesion, it's essential to prepare the plastic surface before applying it.
Start by cleaning the plastic thoroughly to remove any dirt, grease, or residue that could hinder adhesion. Abrading the surface lightly with sandpaper can also improve the bond by providing a roughened texture to grip onto. Once the surface is clean and roughened, mix and apply by pressing it firmly onto the plastic. Allow to cure fully, typically within three to four hours, before subjecting it to any stress or load. After curing, it should form a strong and lasting bond with the plastic, suitable for various applications such as repairs, sculpting, or model-making.
In practical terms, its ability to adhere to plastic surfaces makes it a valuable tool for repairing or modifying plastic objects. Whether you're fixing a broken toy, reinforcing a plastic component, or sculpting onto a plastic base, Milliput putty provides a reliable bonding solution. Its versatility and compatibility with a wide range of materials, including plastic, cement its status as a go-to adhesive for hobbyists, craftsmen, and DIY enthusiasts alike.
Milliput putty for miniatures exhibits impressive strength once fully cured as well as brittle, making it suitable for a wide range of applications that require durable and reliable bonding. The strength primarily depends on factors such as the thickness of the application, the quality of surface preparation, and the curing time.
When applied correctly and allowed to cure fully, It forms a robust and resilient bond that can withstand various stresses and loads. It can be used to repair structural components, fill gaps, or reinforce weak areas in materials such as wood, metal, plastic, and resin.
Moreover, its strength extends beyond its adhesive properties. It also offers excellent sculpting capabilities, allowing artists and craftsmen to create intricate and detailed models with confidence. Its ability to hold fine details and retain its shape when sculpted makes it a favorite among sculptors and model-makers. Whether used for repairs, modeling, or crafting, its strength ensures that your creations stand the test of time, providing long-lasting and reliable performance in a variety of applications.
To expedite its drying process, several techniques can be employed.
First and foremost, ensure that it is mixed thoroughly and applied in a uniform manner, as proper mixing and application contribute to quicker curing.
Secondly, increasing the ambient temperature can accelerate the curing time. Placing the project in a warm area or using a heat lamp can help speed up the drying process. However, be cautious not to expose it to excessively high temperatures, as this may cause uneven curing or compromise the integrity of the bond.
Additionally, reducing the humidity in the environment can aid in faster drying. Utilizing a dehumidifier or placing the project in a dry, well-ventilated space can facilitate quicker curing.
Finally, applying a thin layer and ensuring adequate airflow around the project can also promote faster drying. By implementing these methods, you can effectively reduce the curing time of Milliput putty and expedite your project's completion.
Removing cured Milliput putty can be challenging but is achievable with the right approach. Begin by assessing the nature of the surface from which you intend to remove it. For softer materials like wood or plastic, gently scraping it with a knife or sandpaper may suffice. For harder surfaces like metal or glass, a more aggressive approach may be necessary.
In such cases, carefully chisel away the product using a sharp tool, taking care not to damage the underlying surface. Alternatively, soaking it in a solvent such as acetone or mineral spirits can soften it, making it easier to remove. Allow the solvent to penetrate the cured material for a sufficient duration before attempting to scrape or wipe it away. Repeat the process as needed until it is fully removed.
Additionally, applying heat with a heat gun or hairdryer can soften it, facilitating its removal. Exercise caution when using heat, as excessive temperatures can damage the surrounding materials.
Sculpting with Milliput putty is a rewarding and versatile process that allows for the creation of intricate and detailed models. To begin sculpting, ensure that it is thoroughly mixed according to the manufacturer's instructions.
Once mixed, it can be shaped and molded using various sculpting tools such as knives, sculpting wires, and modeling tools. Begin by forming a rough shape or outline of your desired sculpture, gradually refining the details as you work.
This epoxy material can be easily manipulated and smoothed with wet fingers or a damp cloth to achieve the desired texture and finish. Take your time to sculpt each detail carefully, periodically moistening the surface to prevent sticking and facilitate easier shaping. Additionally, It can be layered and built up to create more complex forms and structures. Allow the sculpted pieces to cure fully before further detailing or painting. With practice and patience, you will notice that using this material for sculpting offers endless creative possibilities, allowing you to bring your artistic visions to life with precision and finesse.
If you need to soften Milliput for reworking or blending purposes, there are several methods you can use.
One approach is to knead the 2 parts together vigorously with your hands, applying pressure to break down the hardened structure and make it more pliable.
Alternatively, you can apply heat to soften it. Using a heat gun or hairdryer, gently warm the surface until it becomes softer and more malleable. Take care not to overheat it, as excessive temperatures can cause it to become too soft or even burn. Another method is to soak the mixture in warm water or a mild solvent such as acetone or mineral spirits. Allow it to absorb the liquid, softening it in the process.
Once softened, you can manipulate it as needed, whether for blending, reshaping, or sculpting. Experiment with these methods to find the one that works best for your particular application, ensuring that you achieve the desired level of softness without compromising the integrity of the Material.
Using it is a straightforward process that begins with proper preparation and mixing. Start by ensuring that the surfaces to which you will apply it are clean, dry, and free from grease or debris. Next, knead equal parts of the two components from the pack together until they form a uniform color and consistency.
Once mixed, putty can be shaped, molded, or applied to the desired surface using sculpting tools or your hands. Take care to work quickly but methodically, as Milliput begins to cure once mixed. If necessary, moisten your fingers or tools with water to prevent sticking and facilitate smoother shaping.
Once applied, allow it to cure fully according to the manufacturer's instructions before sanding, painting, or further detailing. Throughout the process, maintain a clean working environment and handle the putty with care to ensure optimal results. With practice and attention to detail, you can harness its versatility for a wide range of applications, from repairs and modeling to crafting and sculpting.