Reference: 8436554367887ES
Brand: Green Stuff World
Hobby hand drill
Hobby hand drill - Precision Pin Vise
There are 8 products.
Reference: 8436554367887ES
Brand: Green Stuff World
Hobby hand drill - Precision Pin Vise
Reference: 8436554364466ES
Brand: Green Stuff World
Diamond Burr Set compatible with hand drills
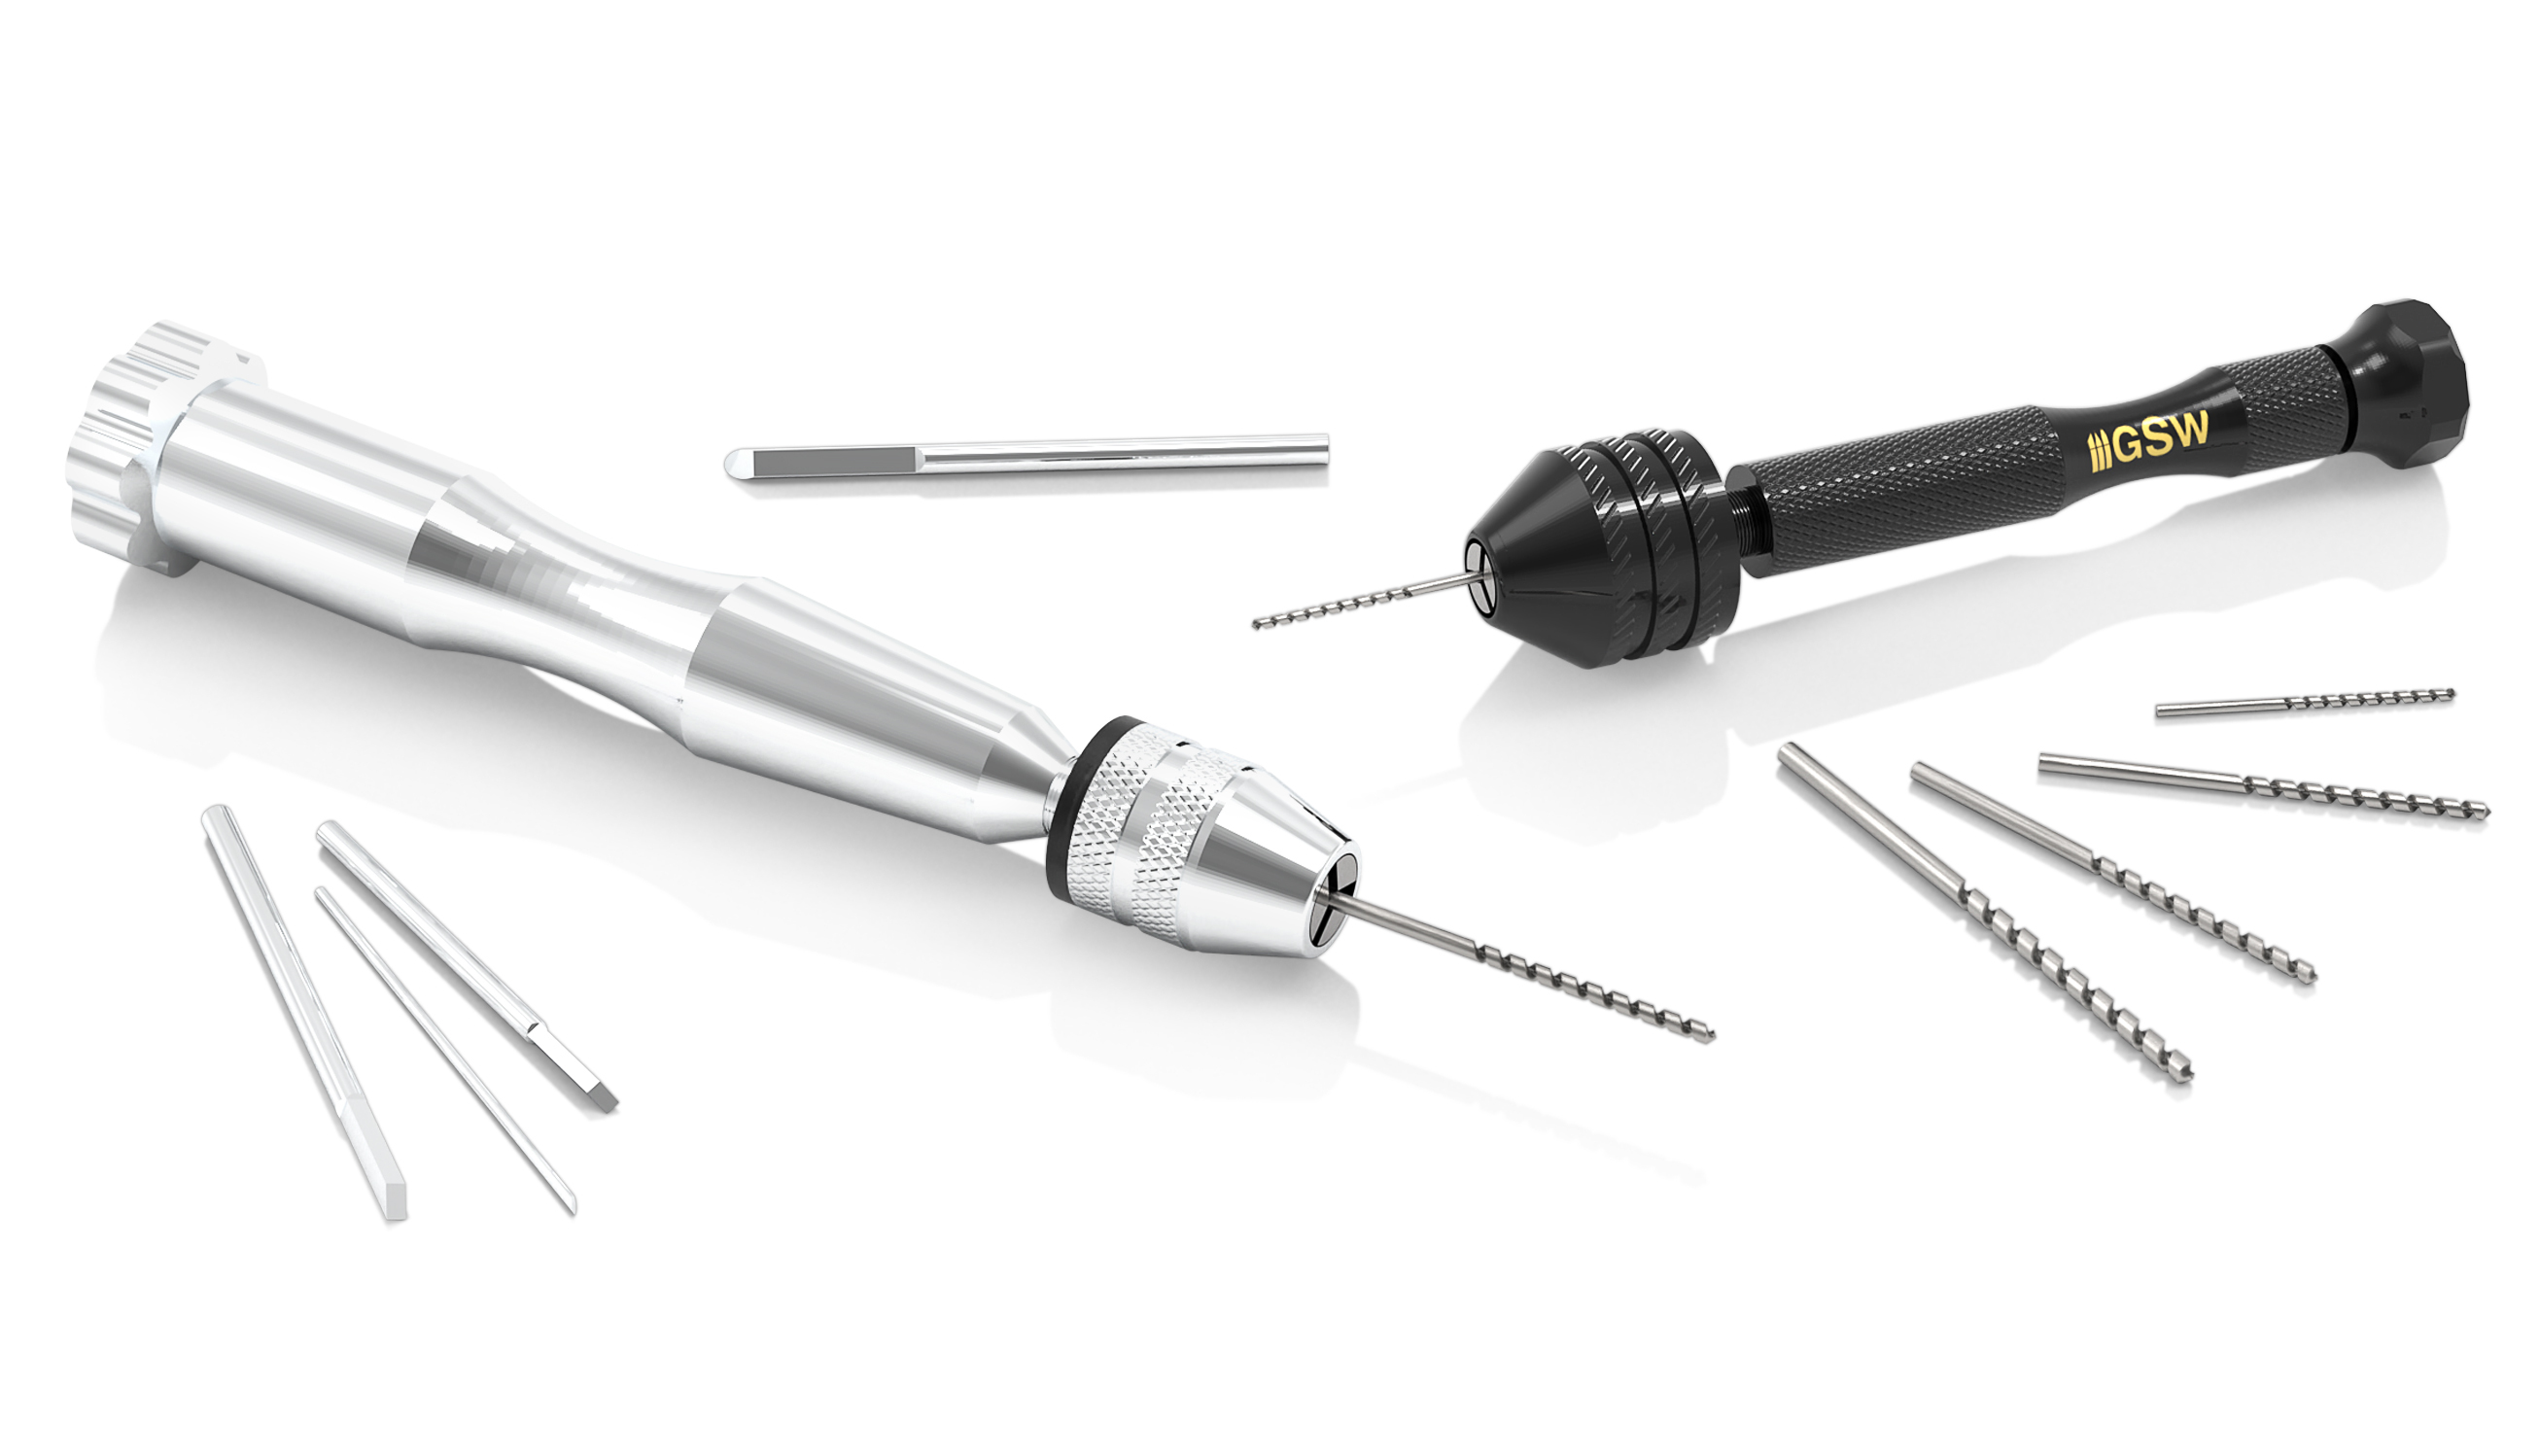
The versatile and compact Hobby Drill, also called Precision Pin Vice, is a precision tool designed for drilling and tapping in tight and confined spaces. Resembling a pen in design, it is easily controlled with one hand, and the Swivel Head allows for accurate drilling angles.
Hobbyists and enthusiasts who work with models, miniatures, and other small projects will find this type of hand drill, also known as a Pin Vise, particularly useful. It is ideal for creating tiny perforations and holes in materials such as plastic, resin, wood, and metal, thanks to its compact size and precise control.
The Pin Vise is constructed with lightweight and durable aluminum, making it easy to handle and resistant to wear and tear. Its freewheeling head ensures smooth and consistent twist-bit rotation, reducing the risk of damage to the material being drilled.
Compared to larger, more powerful drills, the Hobby Drill offers greater precision and control, as it has been designed specifically for small-scale work. It enables users to create highly accurate perforations, even in confined spaces.
To ensure safe and careful use, always wear protective gear, including safety goggles and gloves, and securely clamp or hold the material being drilled in place to prevent slipping or movement.

The Green Stuff World mini hand drills are a compact and easy-to-use tool. It is manual, so it has no wires and does not need power or a battery to operate. All you have to do is place the right twist bit for each occasion and turn it on the surface to be drilled. The steps to prepare these mini-drills are as follows:
Some surfaces can be slippery for modeling drills. To avoid damaging the material, you can use one of the tips of the Hobby carving set to mark the exact place to pierce, which will guide the twist bit.
Model drill bits are an essential tool for any model hobbyist or miniature DIY project. These hobby tools are specially designed to make small holes in materials such as plastic, wood, and metal accurately and effortlessly.
They are very small in diameter, ranging from 0.7 to 2.0 mm, making them ideal for working on small-sized plastic, resin, and metal parts. In addition, they are available in a variety of shapes and sizes, for example, the Chisel Tips used in the Hobby Carving Set, or also Diamond Burr Set including many different grits, allowing you to choose the right one depending on the type of project and material you are working with.
To use a model twist bit, you need a hobby drilling tool that is specially designed to work with small, precise parts. The tools have an adjustable clamping nipple to hold the bits securely while working and at the same time make them interchangeable.
Other sizes available:
The pinning technique is a fundamental method used in miniature modeling and wargaming to enhance the structural integrity of assembled models, particularly those composed of metal or resin. It involves using a mini hand drill to create small holes in the components to be joined and then inserting metal pins made from brass rods or even metal stationery clips cut to size to reinforce the joints.
To begin the pinning process, modelers select a mini craft drill and a drill bit appropriate for the size and diameter of the metal pins to be used and the size of the part to be drilled. The tool should be held firmly to prevent it from slipping during the drilling process. The parts of the miniature to be joined are then carefully aligned, making sure that the drilled holes correspond precisely.
The depth of the holes should be sufficient to accommodate at least half the length of the pins while avoiding excessive penetration that could compromise the model's structural integrity.
Once the holes are drilled, metal pins or brass rods are inserted into the holes to serve as a bridge between the components. These pins serve as internal reinforcement, distributing stress and load more evenly throughout the joint and minimizing the risk of breakage or loosening, especially in areas subject to frequent handling or impact.
The use of a precision hand-held bolt drill in the pinning technique offers several advantages. Its compact size and ergonomic design allow for precise control and maneuverability, even in tight spaces or intricate assemblies. In addition, manual operation eliminates the need for external power sources, making it convenient for hobbyists working in a variety of environments.
Using this hobby tool to help you build your miniature models and dioramas can be a great way to achieve solid bonds between the various parts of the model. Here's a step-by-step guide on how to create joints for miniature models:
By using a hand drill to create joints in your miniature models, you can achieve solid bonds between the various parts of the model, resulting in a more durable and realistic finished product.
Not what you are looking for? You might be interested in our neodymium magnets and other hobby supplies.