Reference: 8435646504476ES
Brand: Green Stuff World
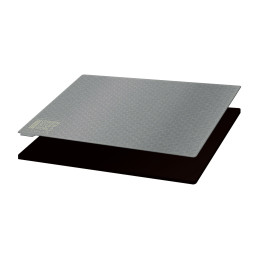
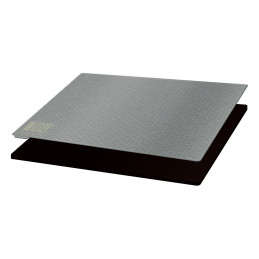
Flexplates For 3d Printers - 202x128mm
Review(s): 0
Flexplates For 3d Printers
Price £10.51 Regular price £14.01
In stock
There are 6 products.
Reference: 8435646504476ES
Brand: Green Stuff World
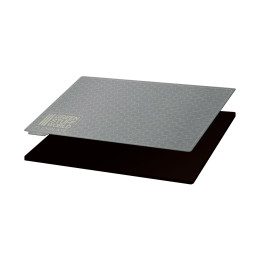
Flexplates For 3d Printers
Reference: 8435646504469ES
Brand: Green Stuff World
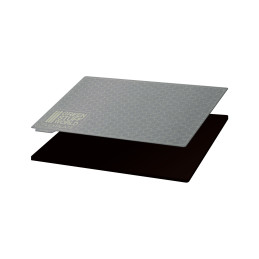
Flexplates For 3d Printers
Reference: 8435646504452ES
Brand: Green Stuff World
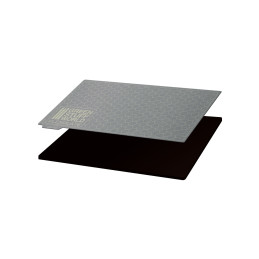
Flexplates For 3d Printers
Reference: 8435646504445ES
Brand: Green Stuff World
Flexplates For 3d Printers
Reference: 8435646504438ES
Brand: Green Stuff World
Flexplates For 3d Printers
Reference: 8435646504421ES
Brand: Green Stuff World
Flexplates For 3d Printers
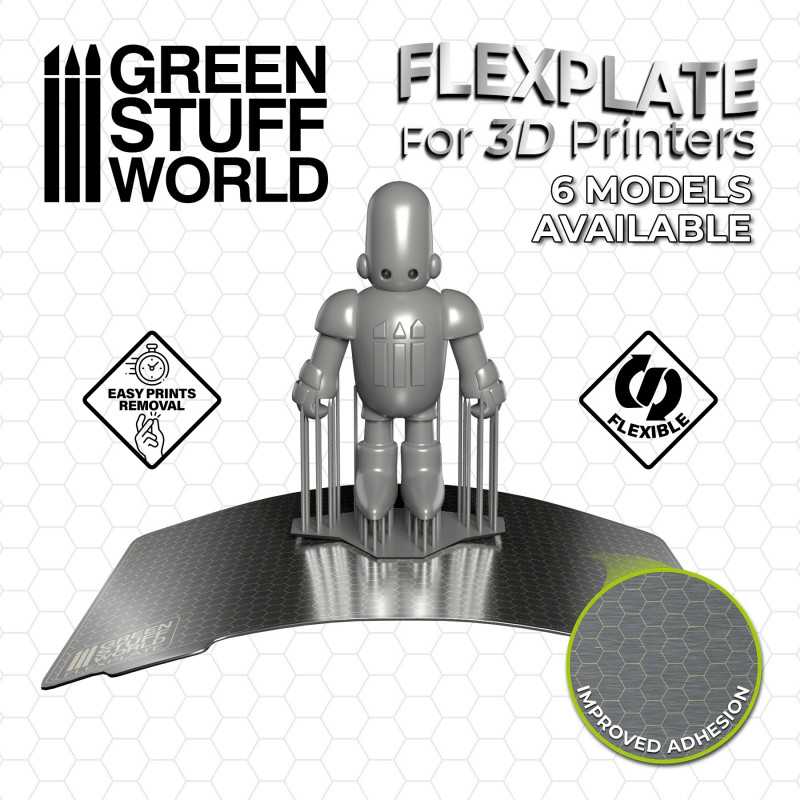
A flexible build plate, also known as a 3D printer flex plates or resin flexplate system, is a special surface used for 3D printers to facilitate the adhesion and removal of printed parts. It is composed of a magnetic build plate adhesive and a flexible one made of steel, which prevents it from returning to its original shape after bending.
Once installed, after printing, the 3D printer flexplate can be separated from the magnetic panel to facilitate the release of the printed model by gently bending the panel. For this reason, they are made of flexible materials such as spring steel or PEI (polyetherimide) which gives them both flexibility and strength offering several advantages over traditional printing bases:
Green Stuff World's flexible build plates are available in various sizes to choose the most suitable one according to the printer model used. In addition, their hexagonal surface pattern enhances the adhesion of our flexplates. They are ideal for printing with a wide variety of materials, including PLA, ABS, PETG, TPU, and resin for 3D printers. It is primarily used in FDM (fused filament deposition) and SLA (stereolithography) 3D printers.
The installation of them may vary slightly depending on the type of printer, although the general steps are usually the same. The first thing to do is to make sure that your printer is compatible with the magnetic panel. Once purchased, to place it, it is necessary to prepare the device: clean panel by removing any remaining liquid resin, if possible, with isopropyl alcohol. Make sure that there are no traces of oil, water, detergent, powder, or any other residue.
The base must be completely dry. For safety, it is advisable to expose it to UV light or sunlight to remove any remaining liquid resin. In the event that your stainless steel sheet is damaged with a scratch or similar, after cleaning it thoroughly, lightly sand it with a fine-grit sandpaper, removing the imperfection. After wiping it again with alcohol and letting it dry, the large amount of chromium in it will cause it to transform into chromium oxide once exposed to oxygen. This keeps corrosion away.
In addition, the ambient temperature must be between 21 °C and 38 °C (67 °F and 100 °F) and the humidity between 40% and 60%. If you need to increase the temperature, you can heat the build plate slightly. Once you have controlled these factors, you can install the 3D printer magnetic build plate:
Placing this panel on the printer will increase the thickness of the original base, so you will need to level it again. To do this, loosen all the screws to avoid breaking the screen. If you are having problems with adhesion, make sure you are printing on the brushed side (the smooth side is the side that goes towards the magnet). If this is not the problem, try increasing the initial layer time in the data segmentation software.
A flexible build plates typically last up to 3 years. Their shelf life is usually shorter than that of rigid printing plates, such as glass or PEI, although their life span depends on several factors:
We encourage you to get to know polymer clay.