Reference: 8436554360475ES
Brand: Green Stuff World
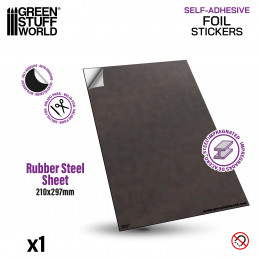
Metal sheets for magnets
Review(s): 7
Metal sheets for magnets | Rubber Steel Sheet Self Adhesive
Price $3.75
In stock
Reference: 8436554360475ES
Brand: Green Stuff World
Metal sheets for magnets | Rubber Steel Sheet Self Adhesive
Reference: 8435646506234ES
Brand: Green Stuff World
Brush Rinser | Paint Brush Cleaner toolCopyright © 2022 Green Stuff World SL. All Rights Reserved.
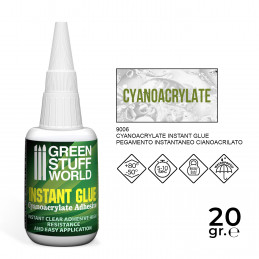
Reference: 8436554365050ES
Brand: Green Stuff World
Instant glue | CA glue
Reference: 8436554360208ES
Brand: Green Stuff World
Milliput Standard Yellow Grey - Epoxy putty for all kinds of applications.
There are 12 products.
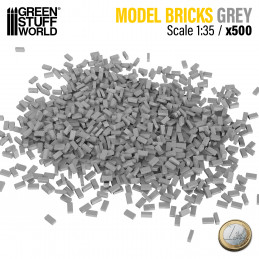
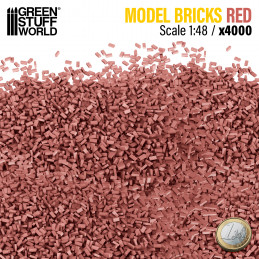
Reference: 8436554367047ES
Brand: Green Stuff World
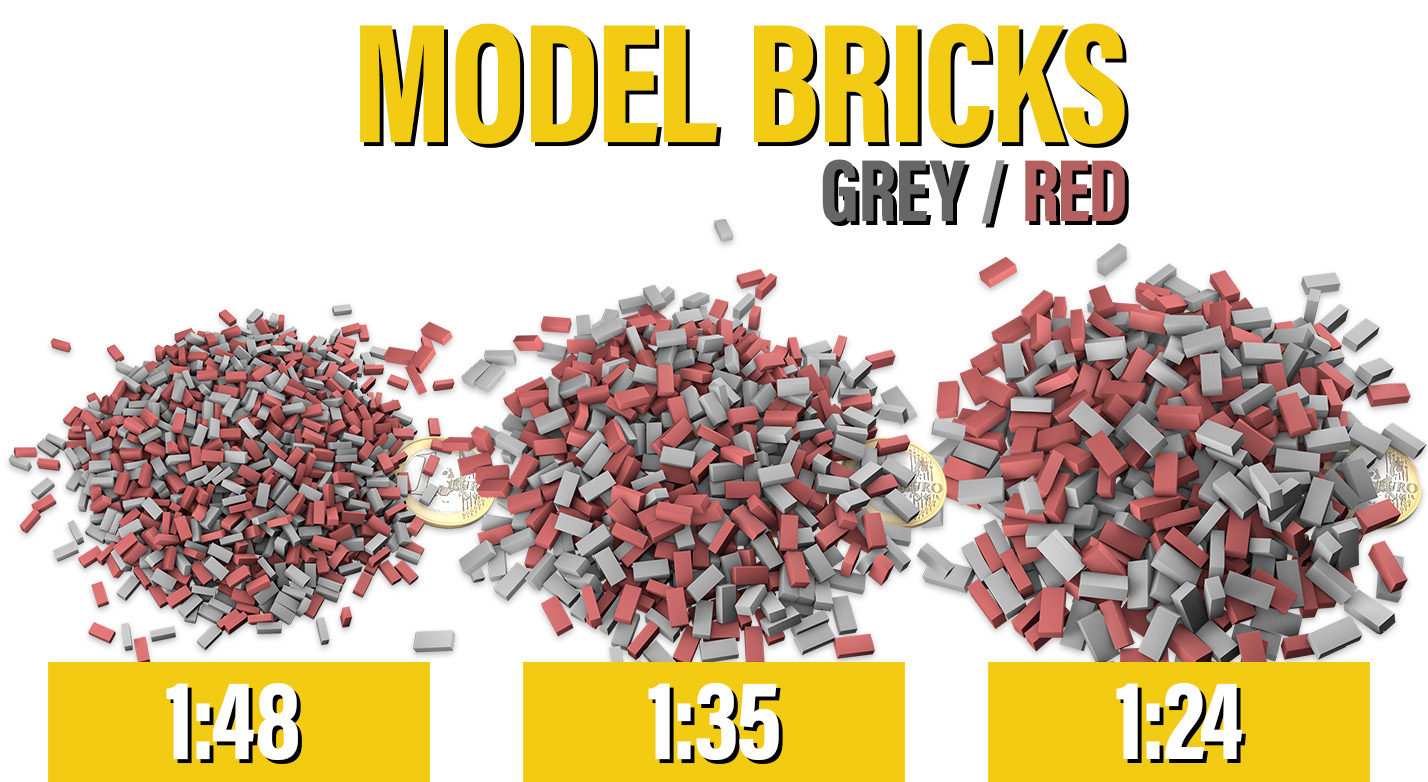
Ceramic bricks. Scale 1:48 (1:35-1:24-1:12)
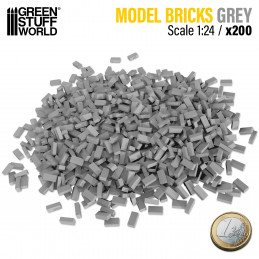
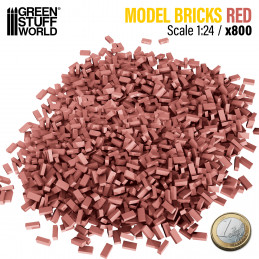
Reference: 8436554367122ES
Brand: Green Stuff World
Ceramic bricks. Scale 1:24(1:52-1:48-1:35)
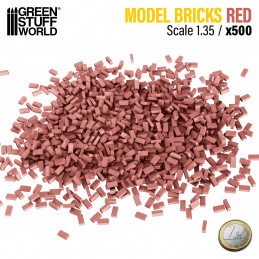
Reference: 8436554367030ES
Brand: Green Stuff World
Ceramic bricks. Scale 1:35 (1:32-1:43)
Reference: 8436554367108ES
Brand: Green Stuff World
Ceramic bricks. Scale 1:48 (1:35-1:24-1:12)
Reference: 8436554367023ES
Brand: Green Stuff World
Ceramic bricks. Scale 1:35 (1:32-1:43)
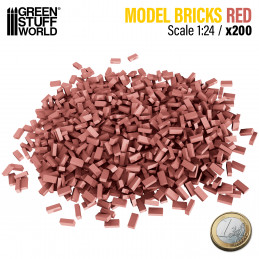
Reference: 8435646521381ES
Brand: Green Stuff World
Ceramic bricks. Scale 1:24(1:52-1:48-1:35)
Reference: 8436554367078ES
Brand: Green Stuff World
Ceramic bricks. Scale 1:48 (1:35-1:24-1:12)
Reference: 8436554367139ES
Brand: Green Stuff World
Ceramic bricks. Scale 1:24(1:52-1:48-1:35)
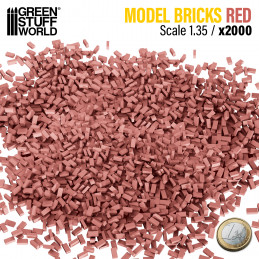
Reference: 8436554367061ES
Brand: Green Stuff World
Ceramic bricks. Scale 1:35 (1:32-1:43)
Reference: 8436554367115ES
Brand: Green Stuff World
Ceramic bricks. Scale 1:48 (1:35-1:24-1:12)
Reference: 8436554367054ES
Brand: Green Stuff World
Ceramic bricks. Scale 1:35 (1:32-1:43)
Reference: 8435646521398ES
Brand: Green Stuff World
Ceramic bricks. Scale 1:24(1:52-1:48-1:35)
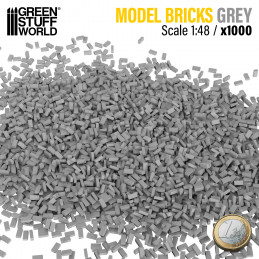
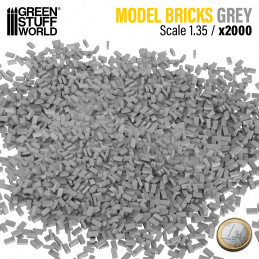
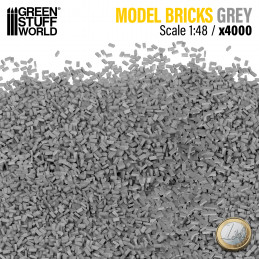
Miniature bricks, often referred to as scale model bricks or mini bricks, are tiny replicas of real building blocks, made from materials like plastic, clay, ceramic, or resin. These diminutive building blocks serve a vital role in the world of scale modeling and hobbies. Their application extends beyond just model buildings, finding use in various creative projects.
In scale modeling, mini bricks are employed to recreate the authentic appearance of structures in reduced proportions. They come in different sizes and colors to replicate various architectural styles, scales, and periods. Whether you're building a small diorama, a historic castle, or a modern skyscraper, they will allow you to replicate the intricate details of real-life construction.
They are crafted from a variety of materials, each with its own set of advantages. Common materials include plastic, resin, clay, and even wood, although the material that performs best in terms of ease of gluing, carving, weight, and realism would be the ones made of ceramic. Plastic LEGO versions are lightweight and available, making them a popular choice among children. The ones made of resin offer greater detail and durability, ideal for intricate projects.
Clay miniature bricks provide heat resistance and authentic texture and appearance, often favored by artisans looking for a more rustic and traditional aesthetic. The wooden versions are easy to produce manually at home and though less common, can be used for certain projects, where not too much precision is required, providing a natural and unique look.
Finally, the best types of mini bricks for modeling would be ceramic bricks which are made from a mixture of clay and other materials such as silica, feldspar, and kaolin. This mixture is called ceramic clay or porcelain. These are fired at higher temperatures than the clay versions, which makes them denser and less porous and therefore easier to paint.
They are renowned for their durability and resistance to high temperatures, they excel in replicating realistic structures, especially for dioramas or architectural models. Unlike materials prone to warping or degradation, they maintain structural integrity over time, ensuring the longevity of scale models. Additionally, their environmentally friendly composition aligns with sustainable modeling practices. In sum, our mini bricks stand out in the scale modeling world for their reliability, realism, and suitability for crafting enduring miniature landscapes.
The choice of material depends on your specific project needs and personal preferences, ensuring you can achieve the desired level of detail and realism.
Painting them is a crucial step in achieving realism in your scale model or hobby project. To get started, gather acrylic paints in suitable colors that match your desired style. Thin the paint slightly with water to achieve a smoother finish.
Apply the acrylic paint using a fine brush, taking care to paint each of them individually. This allows you to create variations in color and shading, mimicking the natural wear and tear seen on real ones. Don't forget to add some weathering effects to enhance the authenticity.
After the paint dries, you can further enhance them using a dry brush paint with lighter or darker shades to create highlights and shadows. This technique adds depth and dimension to your mini bricks, making them appear more realistic.
Gluing miniature bricks to achieve a realistic finish is a crucial step in creating lifelike scale models or intricate hobby projects. Proper adhesion ensures stability and authenticity in your design. This is how it should be done:
You can buy them at Green Stuff World, your model store specializing in model kits and model supplies. We offer a wide range of products for creating models and dioramas.
A miniature brick wall is a resource widely used in dioramas. They are useful to represent scenarios devastated by war, by battles, or by the end of the world; as well as to recreate many other environments. To achieve a realistic wall there are several options.
The first is to use resin bricks like the ones in this category. This is a quality product and easy to use, as they are easy to glue and can be painted with virtually any paint. Making this wall is as easy as finding a clean base with the shape you want the wall to have, choosing the miniature brick in the most appropriate scale for the project, and glue them in an original way. Finally, to give it a more realistic touch, use paints and modeling elements that go best with the diorama such as static grass, basing materials, resin animals, or many other scenery components.
Another way to get a model wall is to print the drawing by combining putty and one of the Dutch brick rollers. The model of rolling pins to use will depend on the finish you prefer your wall to have. Finally, you can make your own model brick or you can make complete walls using the molds on our website, where you will find several models to customize your figures and dioramas.
They can be purchased manufactured in resin on the Green Stuff World website, although, for those who like to perform each step with their hands, you can purchase the necessary tools to create your own mini bricks. The main ones are the balsa stripper and the molds.
First, the balsa stripper is a device equipped with blades for cutting balsa wood and other soft materials such as foamed PVC, plastics, cork, and foams into thin, even strips. It is very useful for building a model and scale models as it makes it easy to obtain the necessary parts. In addition, it is used in mechanical architecture, art, and crafts, as well as in small do-it-yourself projects.
Before putting it into operation, it is necessary to choose the thickness of the strips with precise measurements in millimeters or inches using the indicator on the cutter. Next, the blade position is chosen, depending on whether the person cutting is right-handed or left-handed. All that remains is to use the tool mechanism to lock the width of the material and slide the machine on the long support guide so that the cuts are straight and stable. Using this strip method, it is easy to cut rectangles, which will later be glued together to make a wall.
Secondly, we have molds. These can be made of silicone or methacrylate; depending on the one you choose, you will have to use one material or another to fill them. In the first case, it works with all types of materials, including resins. In the second case, the most common is to use air-drying pastes and similar products. In both cases, you will have to fill the molds according to the product's instructions, let them dry completely, and unmold them.